Wine Stained Live Edge Serving Board
Welcome to my first blog post. I’m hoping to use this blog as a way to share some of my DIY projects with the world and help other people do similar projects at home.
So recently I decided to make live edge cutting/serving board with my girlfriend. I’ve made a couple in the past but ended up giving them away. My girlfriend really wanted one to keep and she had the awesome idea to stain one naturally with red wine.
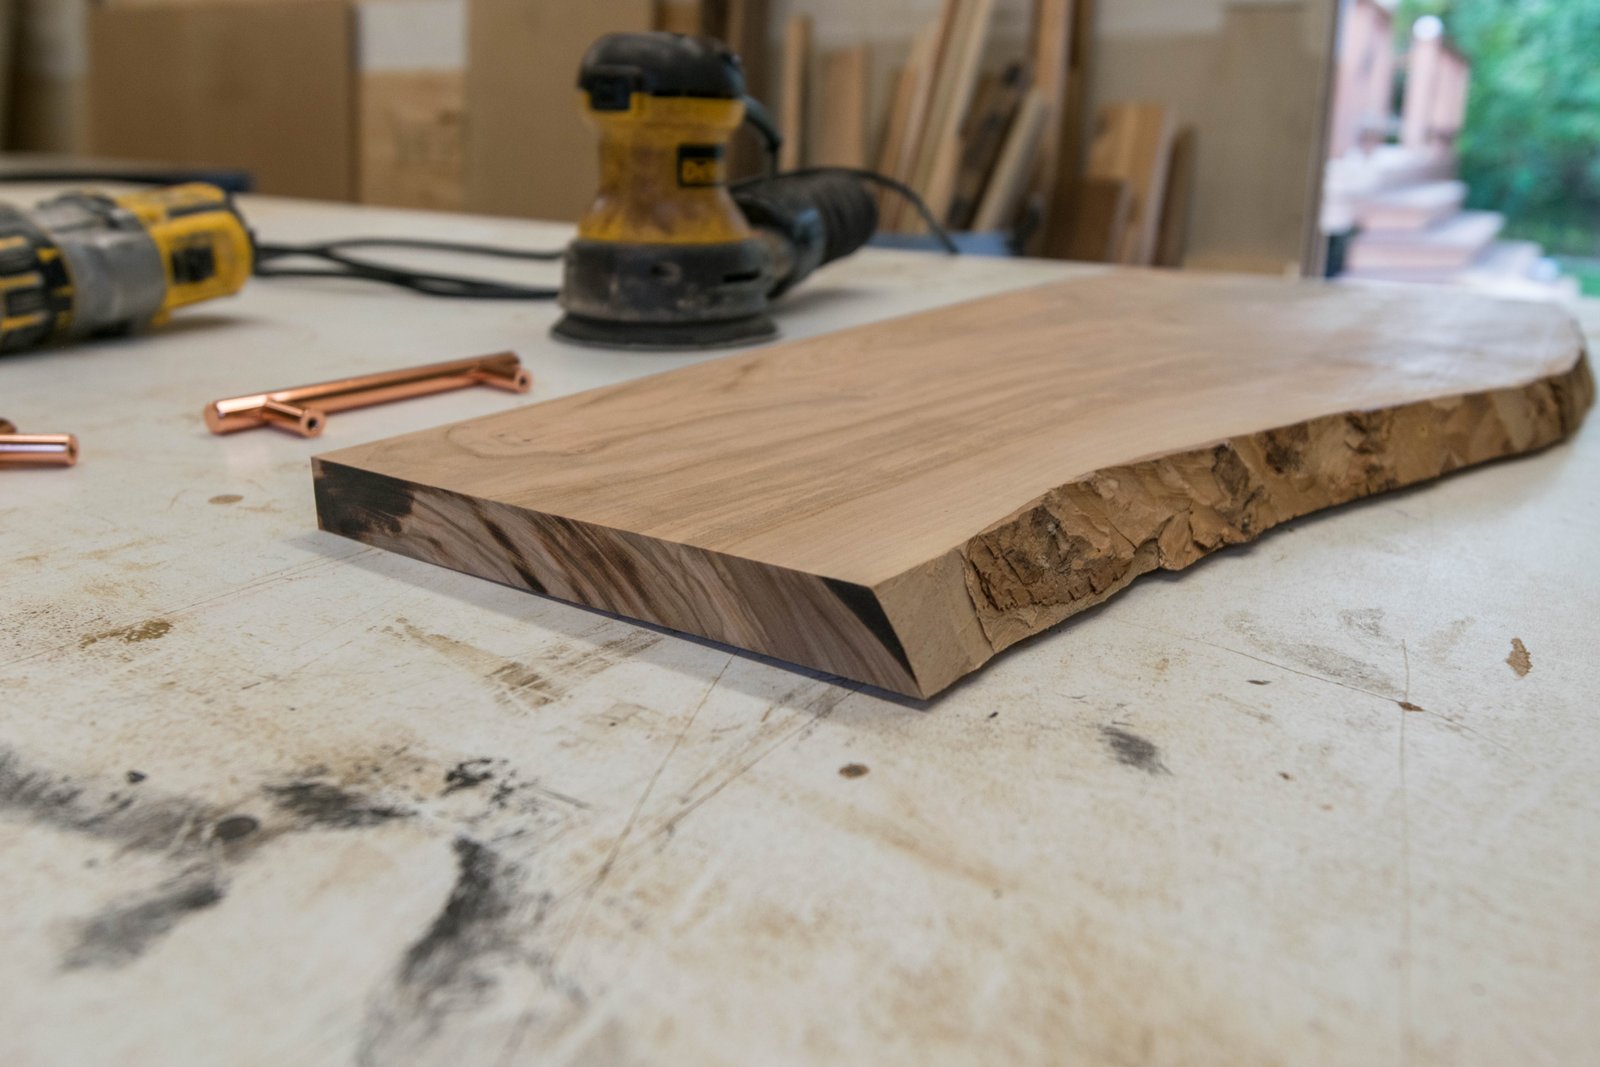
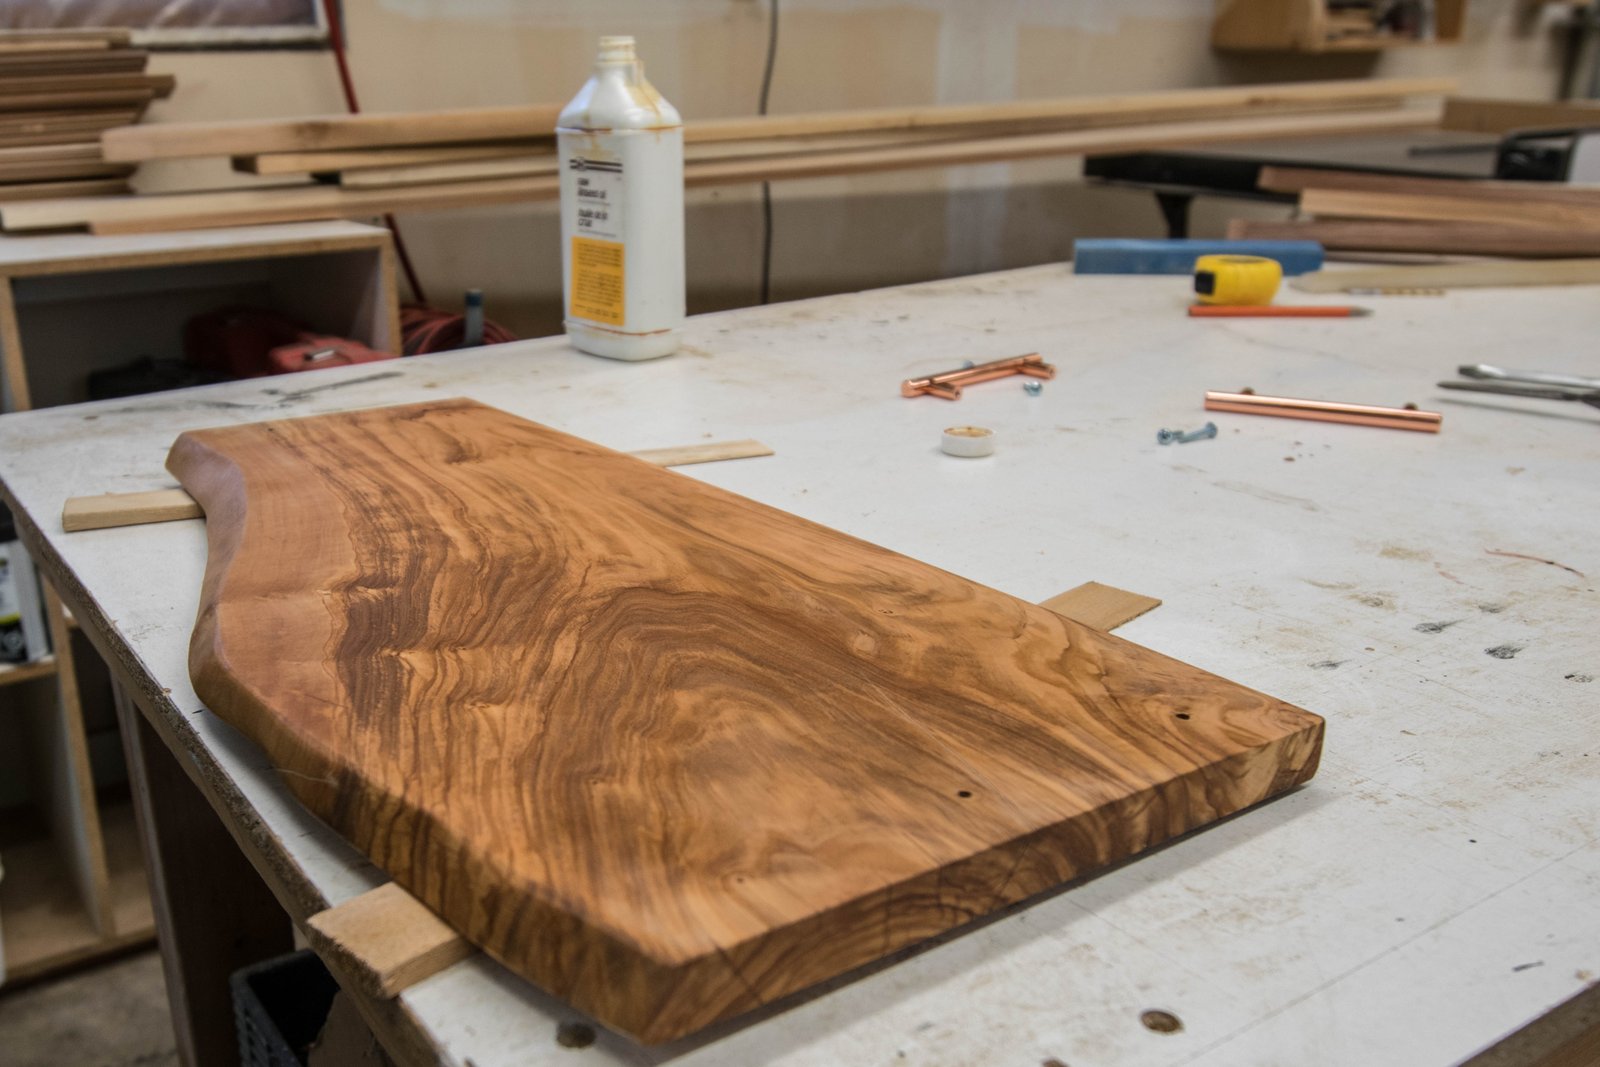
This was actually a really cheap project for us. I got the wood, live edge olive wood, from a local mill for 20 bucks. The “stain” was a left over bottle of red wine we had kicking around. I grabbed 2 drawer handles from Lowes for 5 dollars. Everything else I already had in the shop. So our total investment was probably a little under 25 dollars Canadian. Here’s our “haul” all layed out before we got started.

The first thing I did was cut 3 sides of the cutting board on a table saw. I wanted to make the board as square as possible so used a large framing square to make sure my corner were perfect. This also ensure that the 3 sides that aren’t live edge are nice and smooth.
Because my board had a few small cracks in it I took a second to apply some wood filler. I used a 2 inch putty knife to smear wood filler into the cracks. Don’t worry if your application isn’t pretty. Once the wood filler dries, use a random orbital sander to sand off any excess.
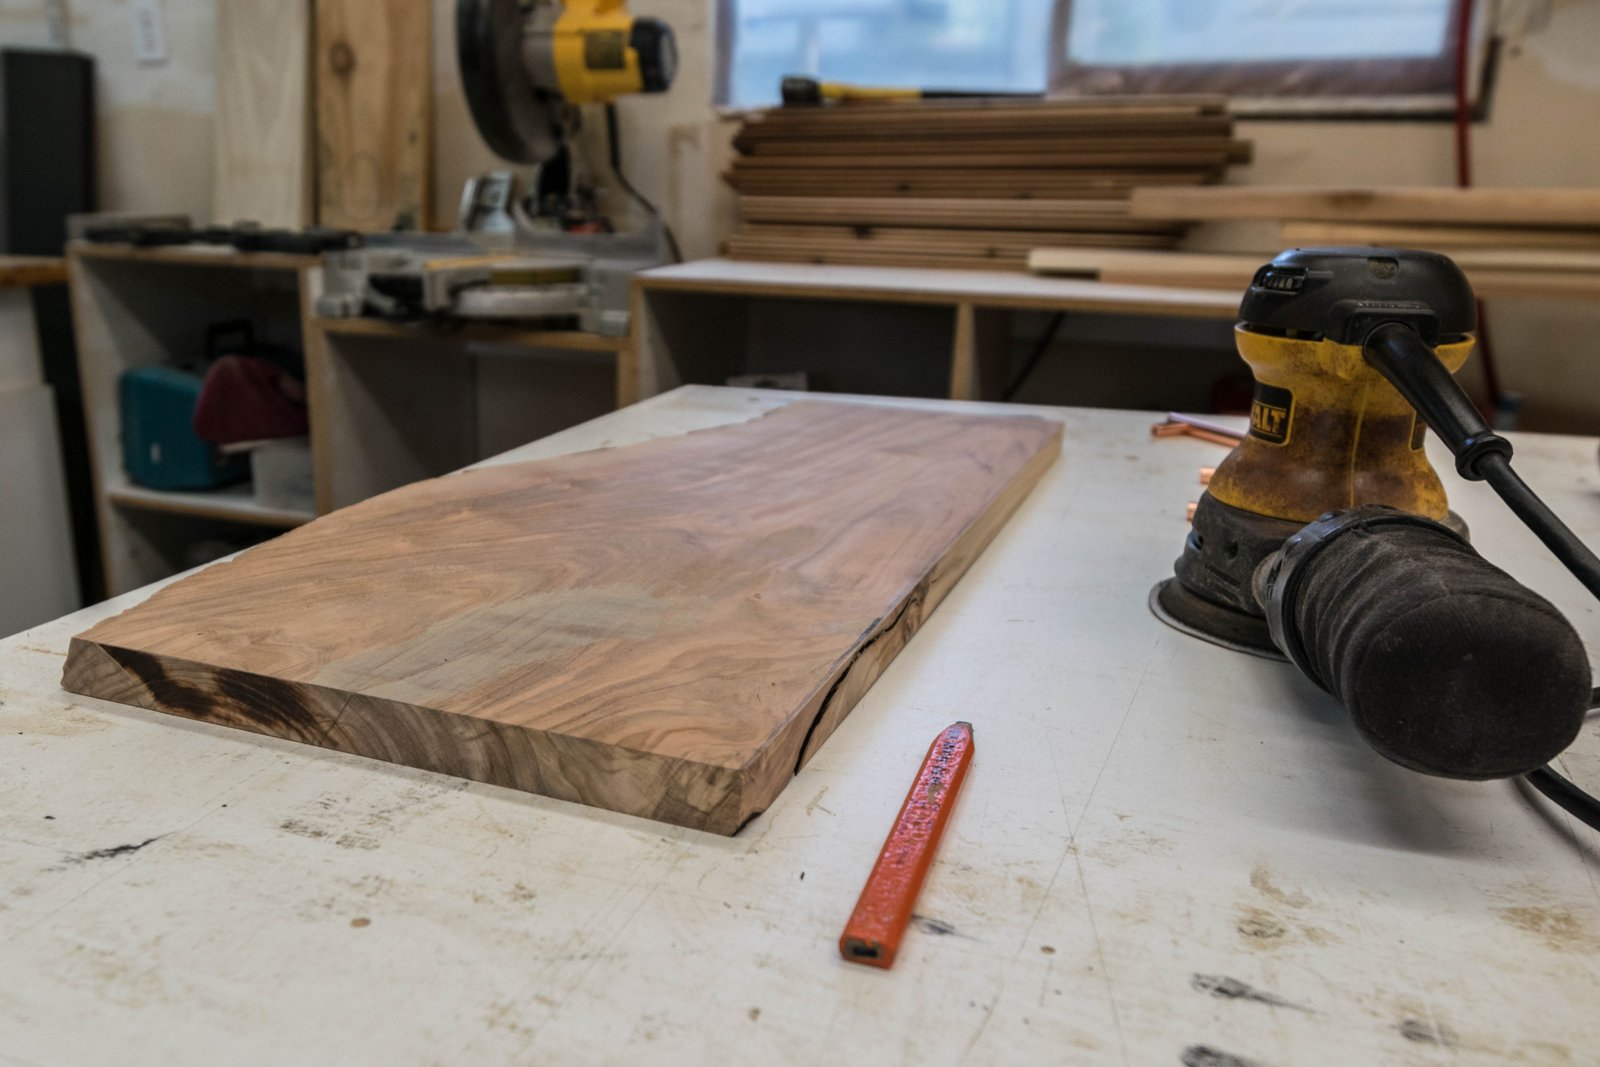
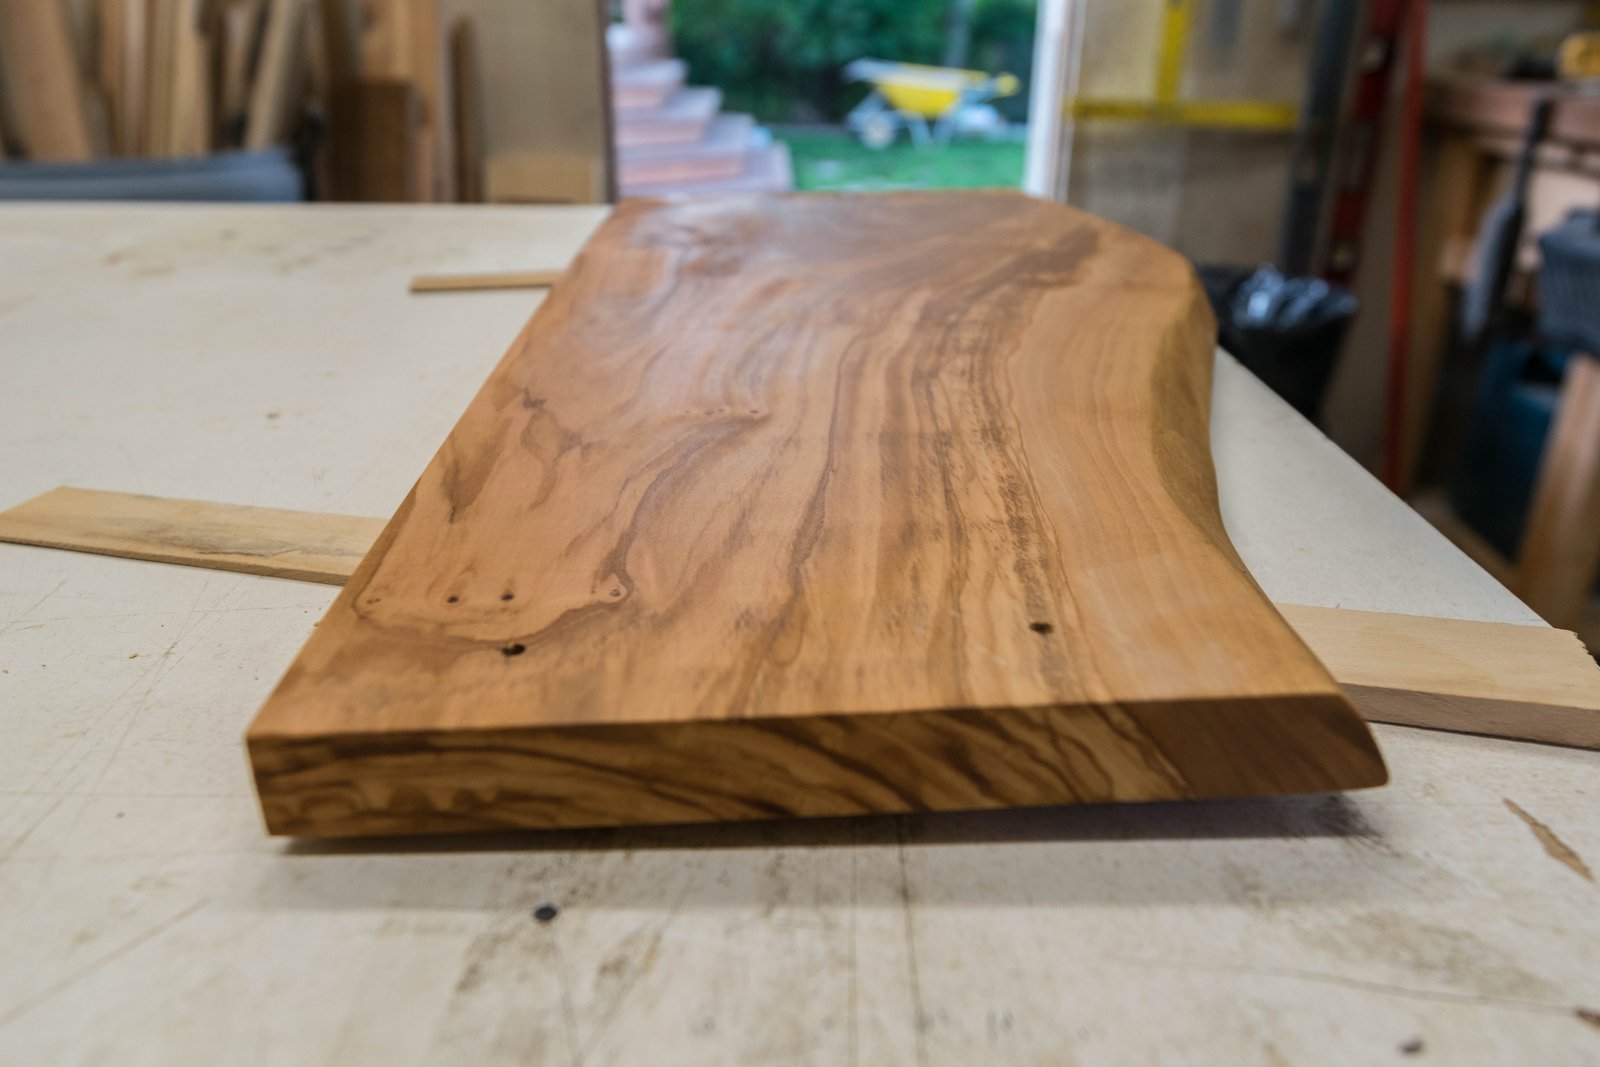
Now it’s time to rub in some red wine! I generously applied the red wine to a rag and wiped it down onto the board. I repeated this step about 3 times. Each time I let the slab of wood dry fully before reapplying.
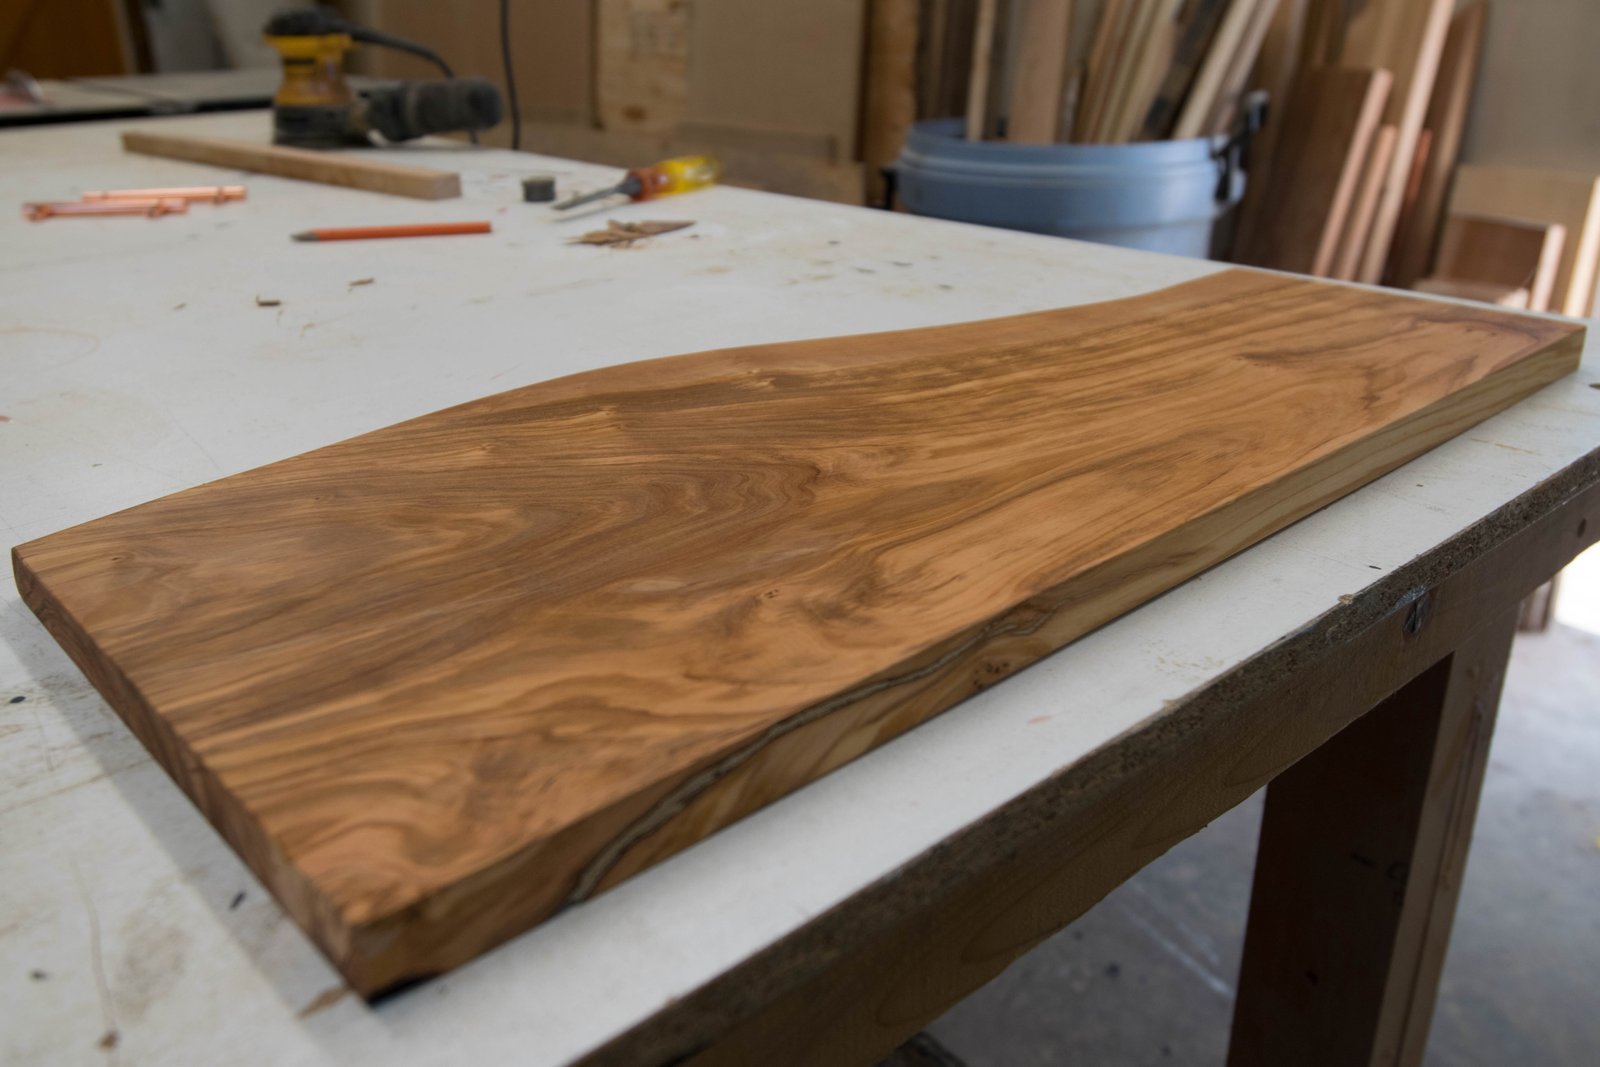
If I’m completely honest, I was expecting a deeper red stain, but all in all I really like how it turned out. There’s a light pink hue to what is already a very deep and interesting grain pattern. Here’s what the slab looked like right after I applied the 3rd coat of wine.
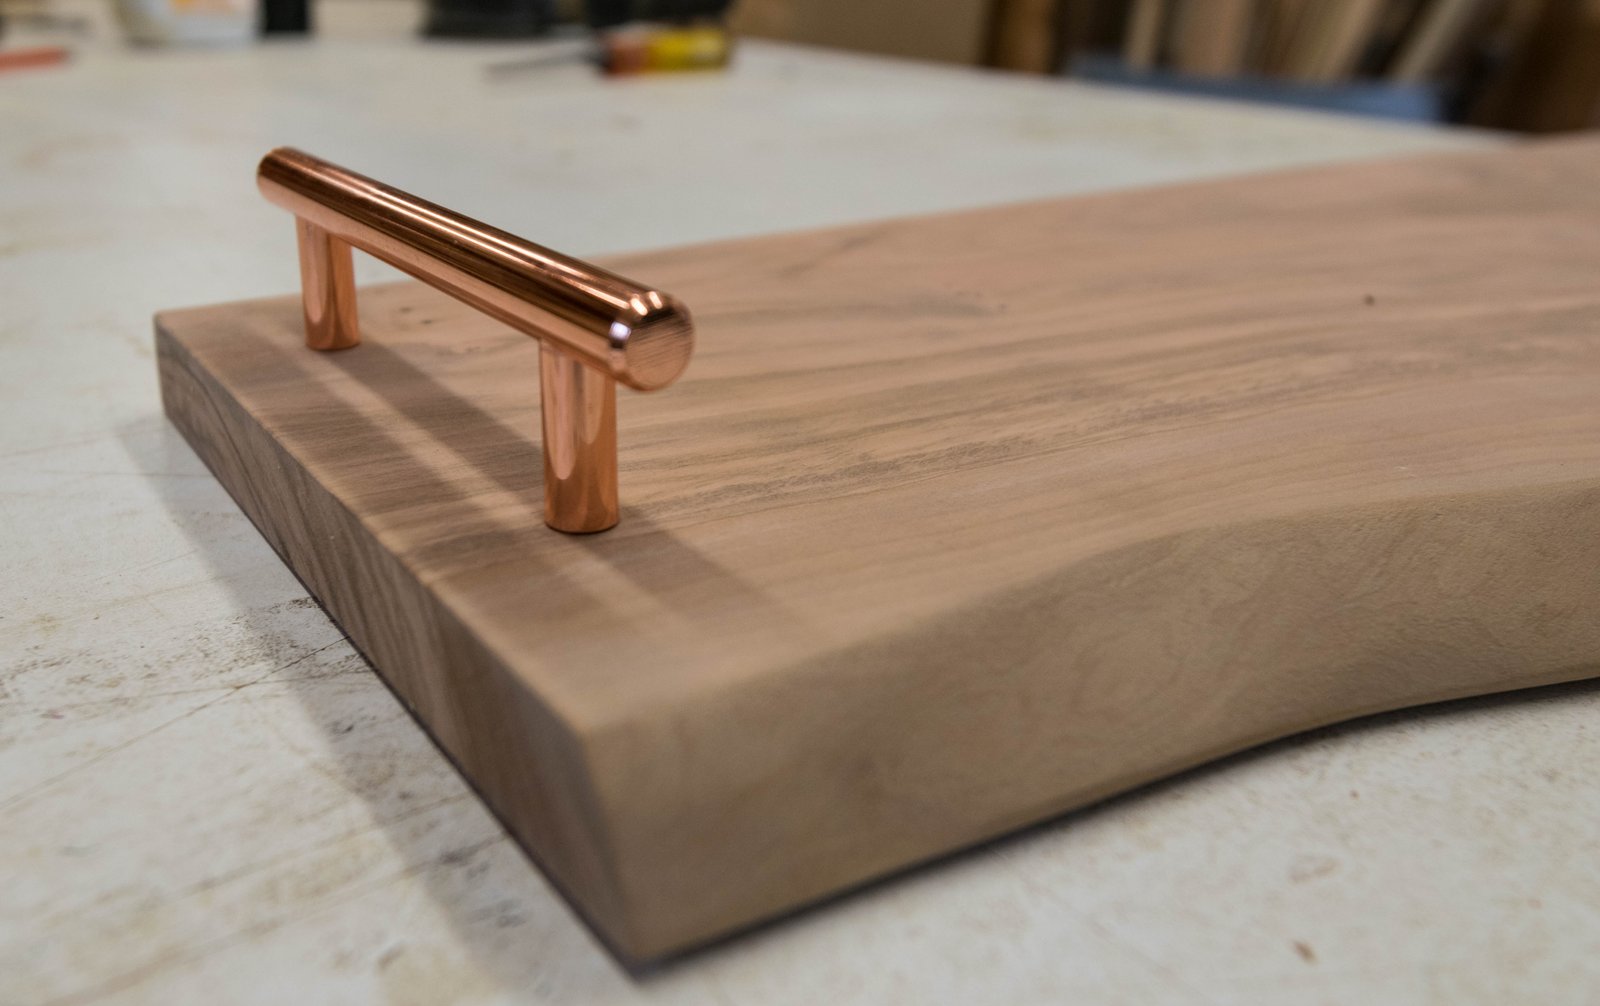
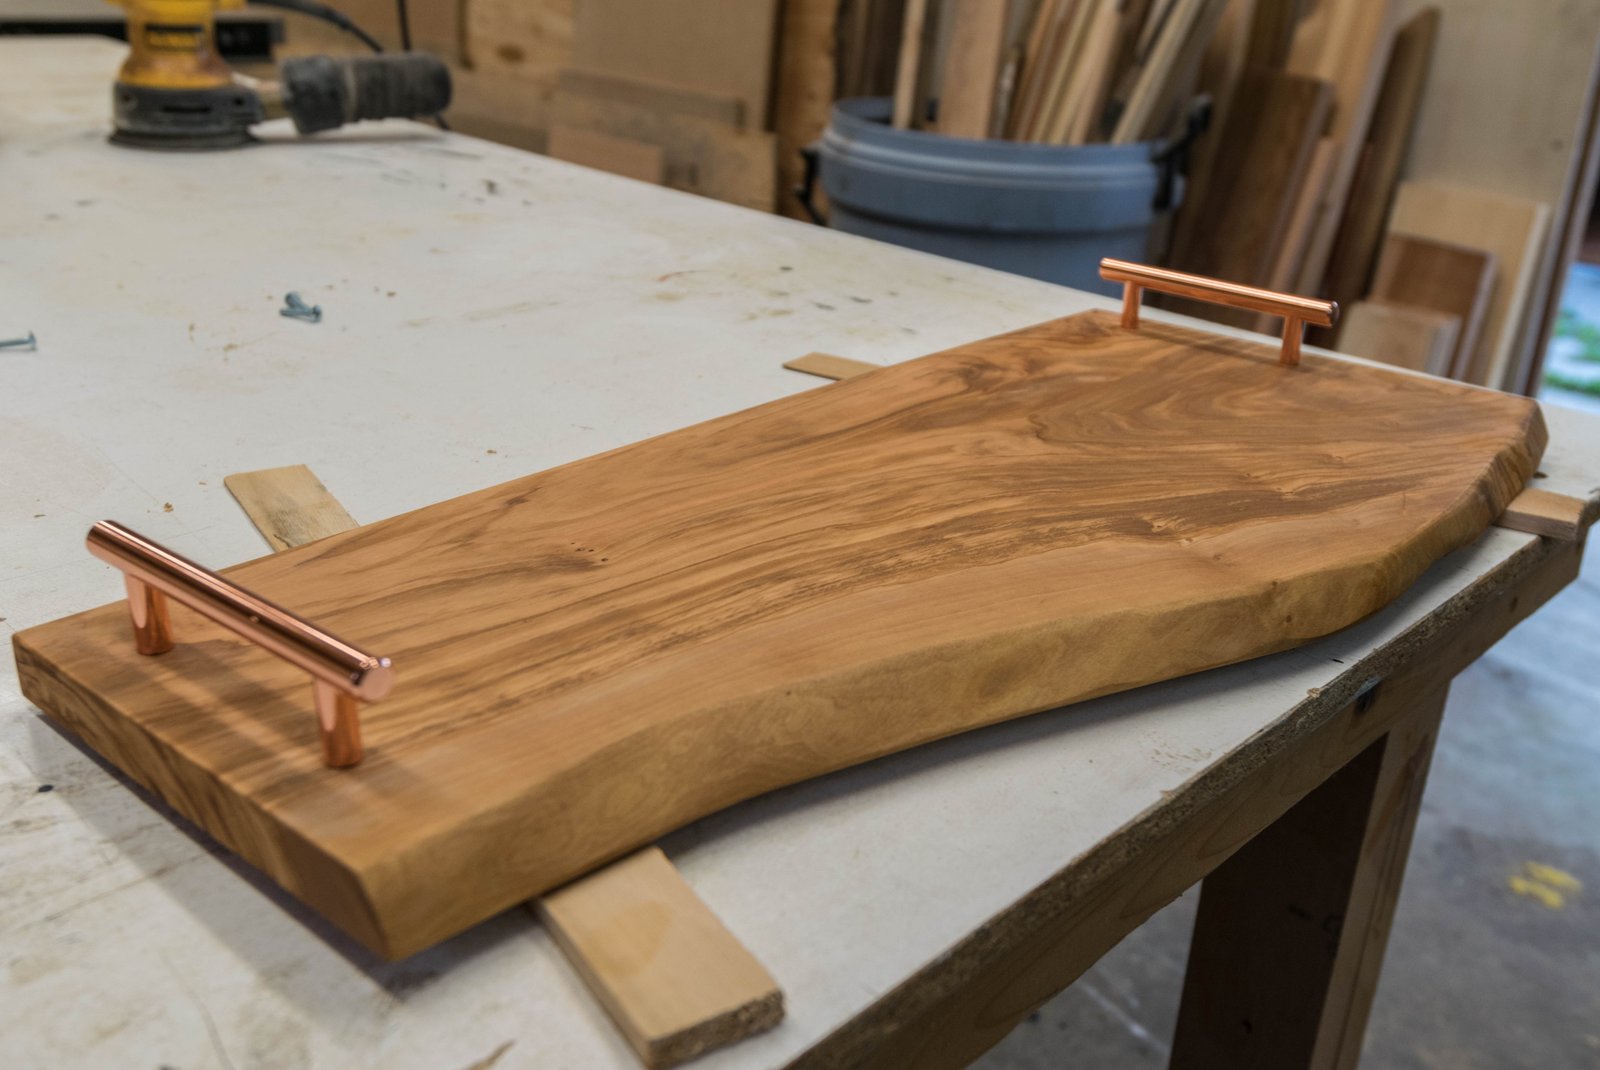
Next it was time to layout the handles. I played around with the positioning of the handles for a bit and ended up settling on this arrangement.
My girlfriend picked out these rose gold handles and given the overall pink hue of the serving board I think they fit it perfectly. Best of all they were only 5 dollars including the hardware. Not bad at all.
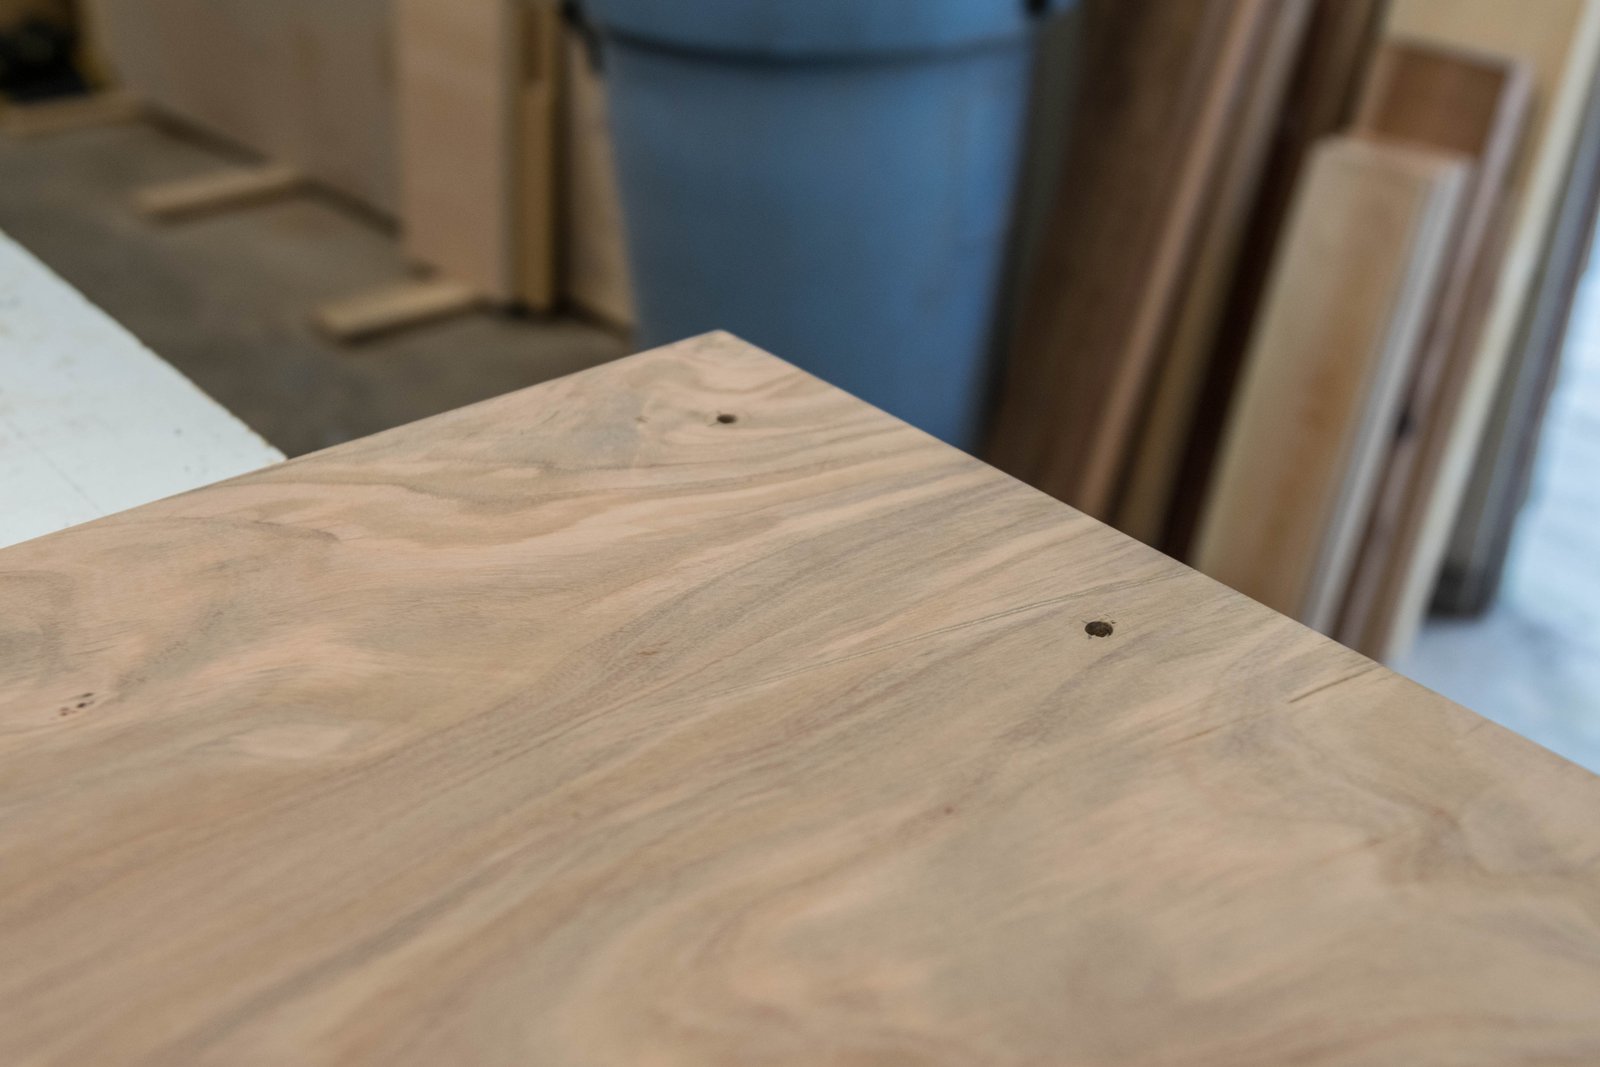
With the handles positioned on the slab I marked the center line of each handles arms. I then drilled a small hole the same diameter as the machine screw supplied with handle into the wood. I was careful to make sure I drilled the holes straight down. If you drill your holes at an angle the screws may not thread properly into the drawer handles.
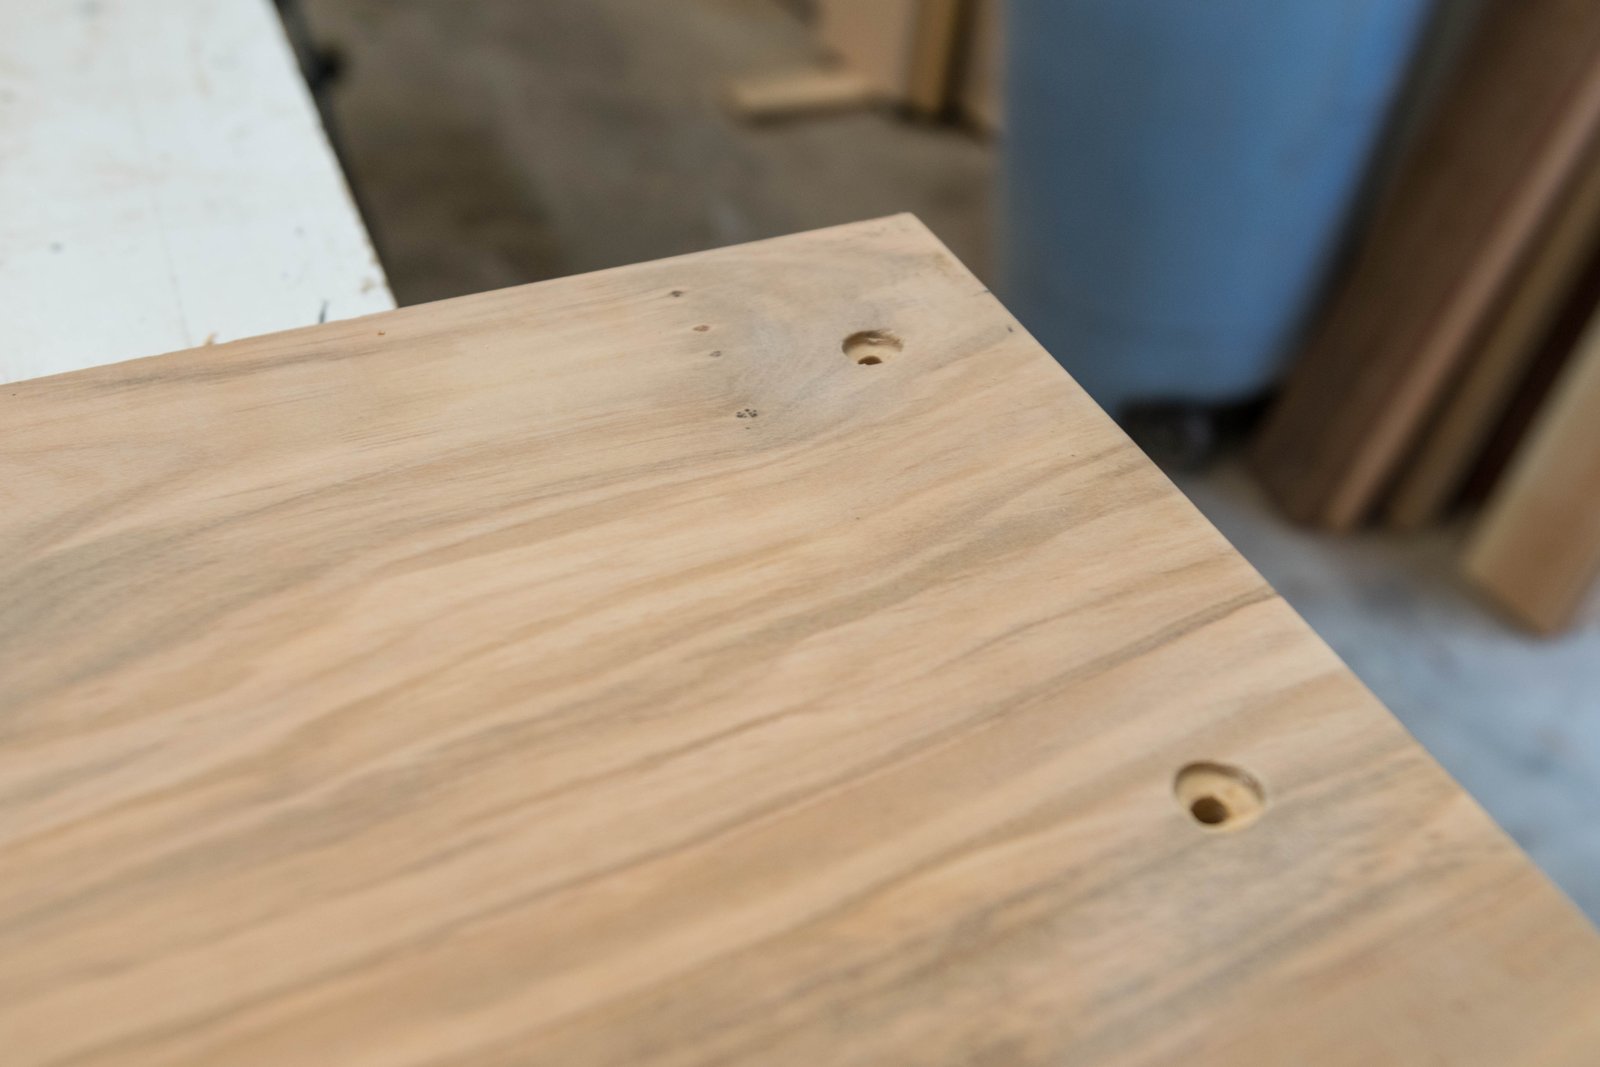
After drilling the holes its important to flip the board over and counter sink the holes on the other side. This allows the head of the screws to sit below the surface of the board. If I skipped this step the screw heads would protrude past the surface of the board and be the first thing that makes contact with any surface the board is resting on and potentially lead to scratches or dents.
After the holes were drilled I gave the whole board one final sand and then rubbed it down with raw linseed oil. Raw linseed oil is natural sealant that will protect the wood and help seal it against moisture in the future. If you’re following along at home make sure you use RAW linseed oil. Raw linseed oil is perfectly safe if ingested, however, boiled linseed oil can be quite toxic to humans. Make sure you know which you have before using it to seal a surface that you’re going to use to serve food!
Linseed oil takes a while to dry, up to a few days. My first coat dried after a few hours, but the second coat took 48 hours. Take your time and don’t rush things. If you do you’ll end up with a blotchy finish.
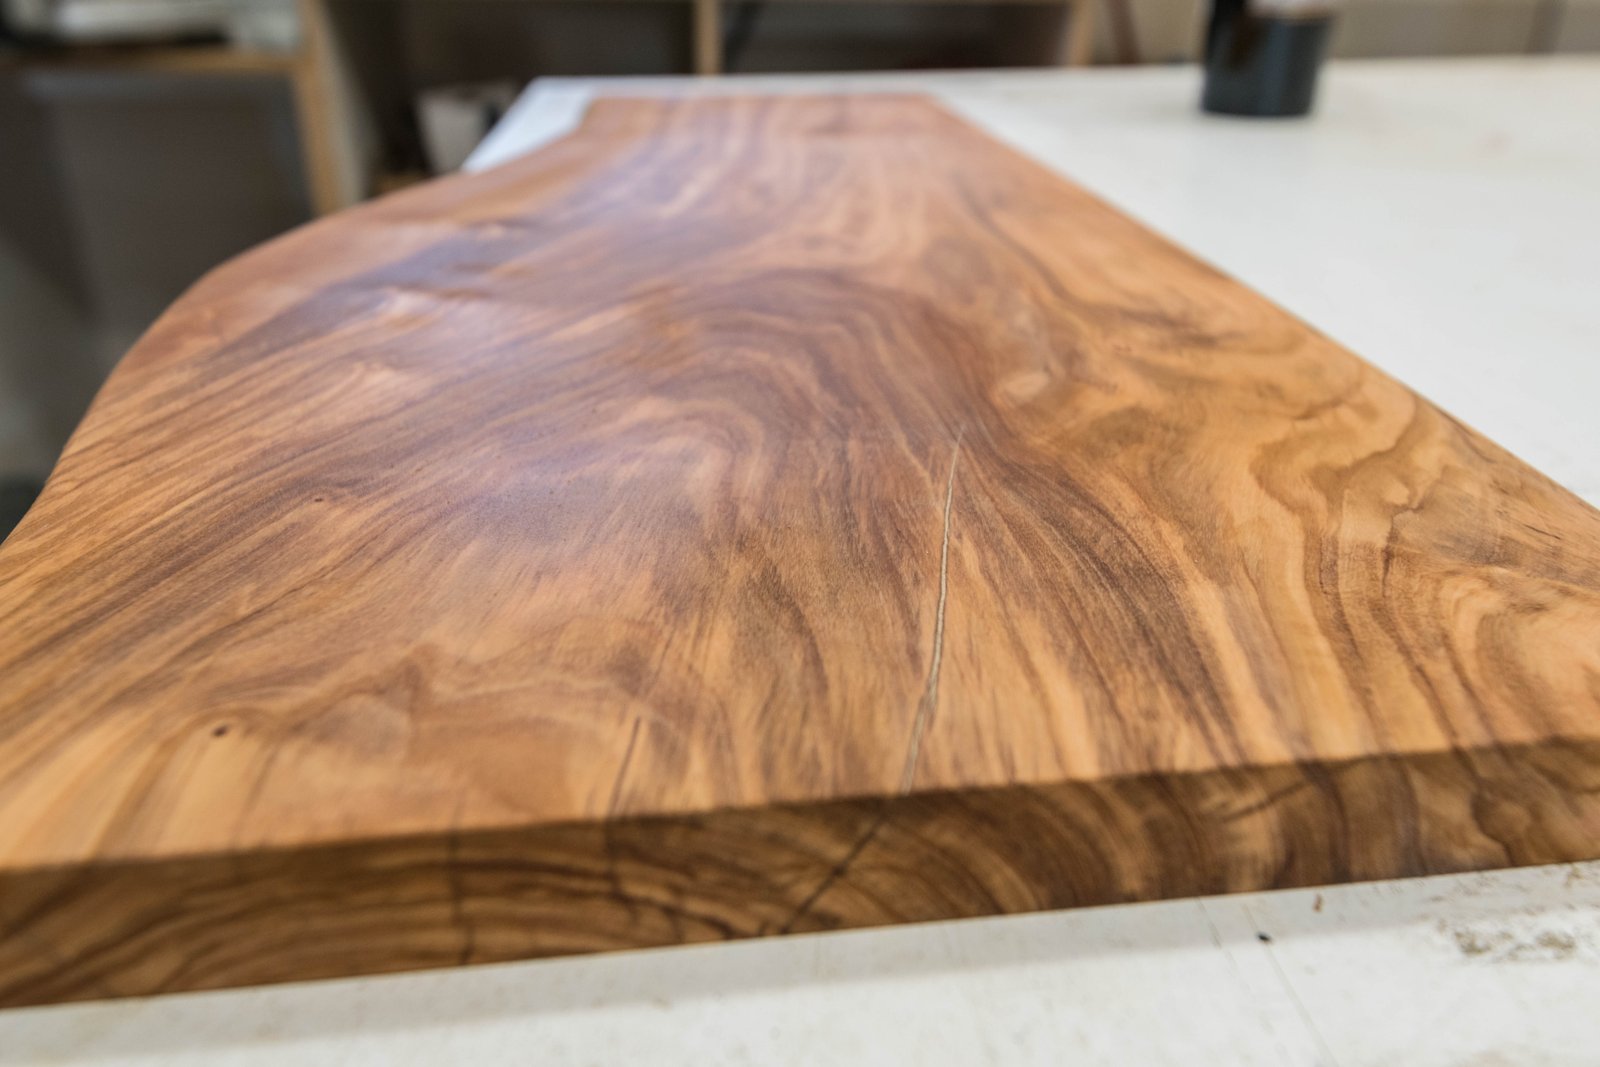
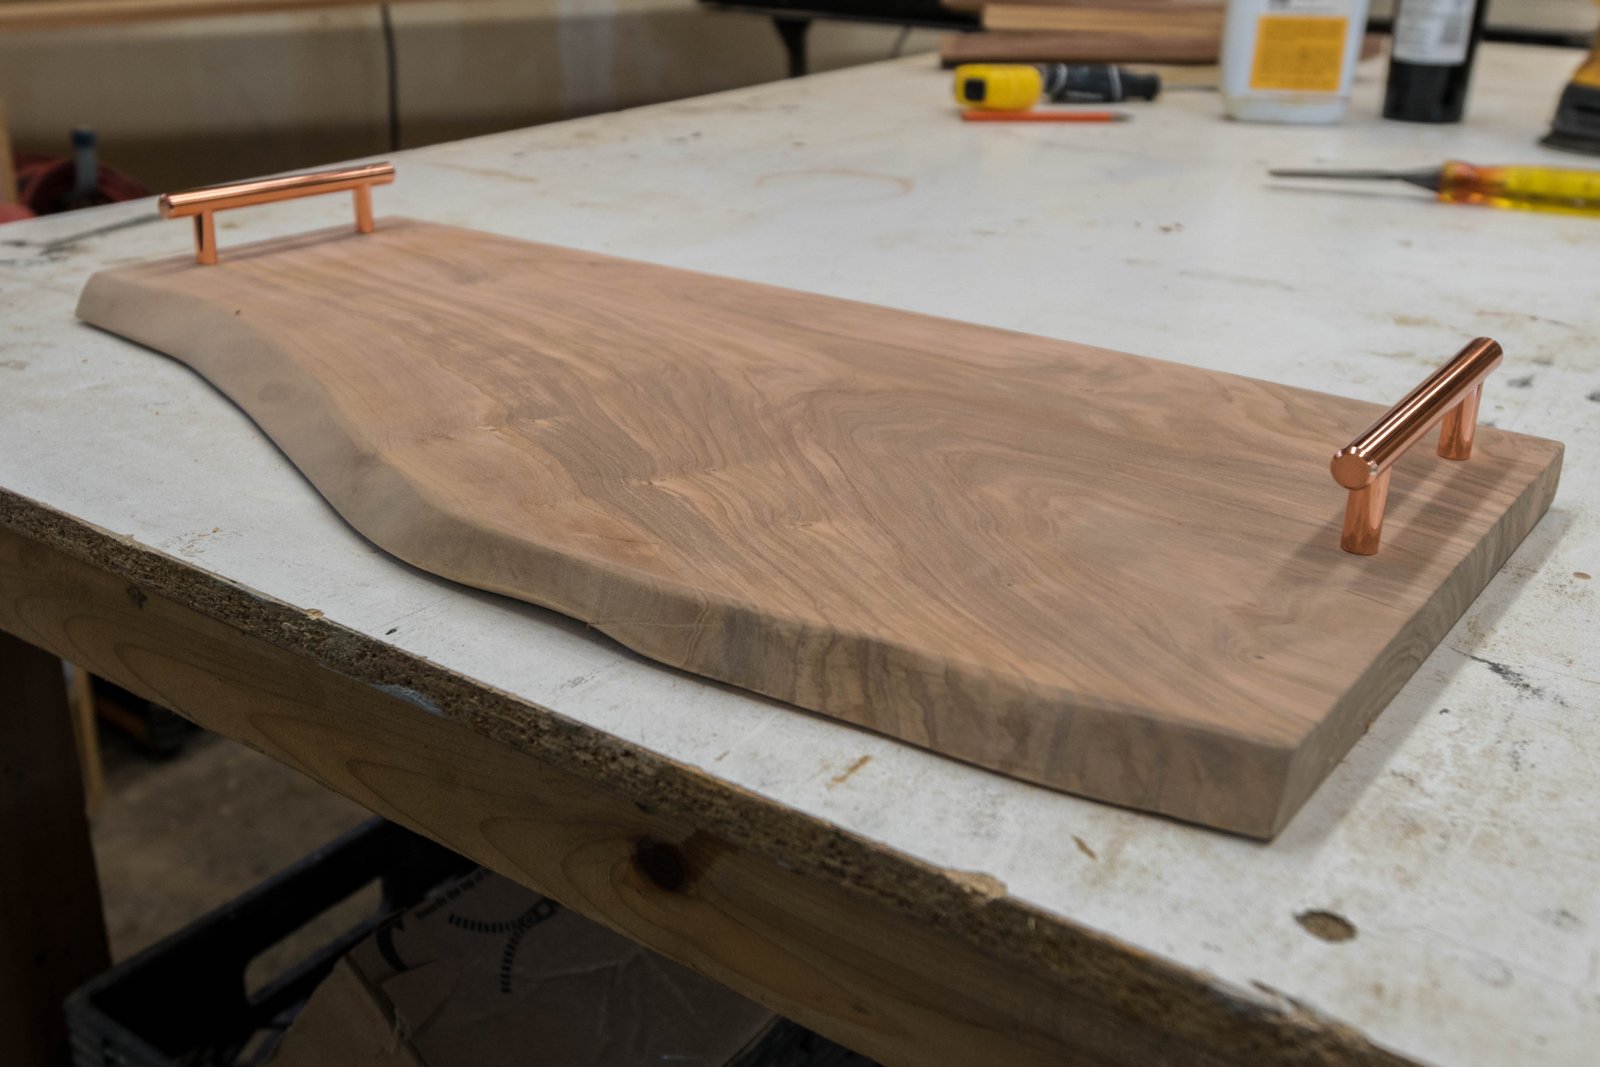
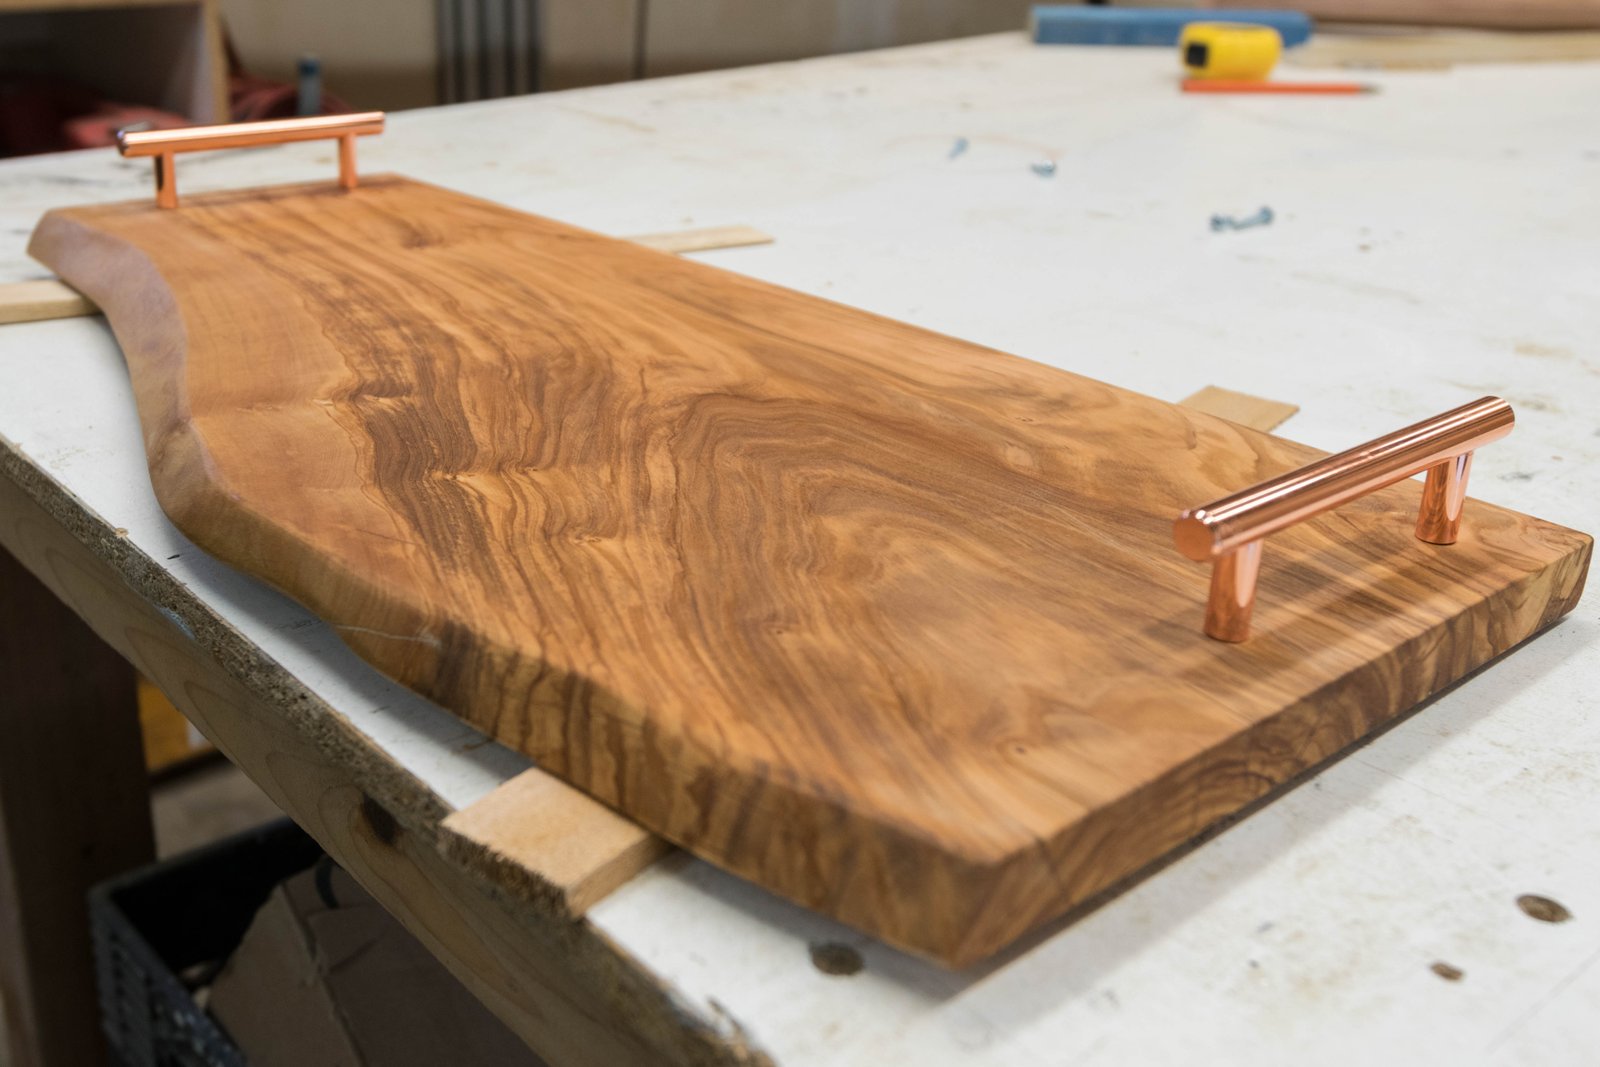
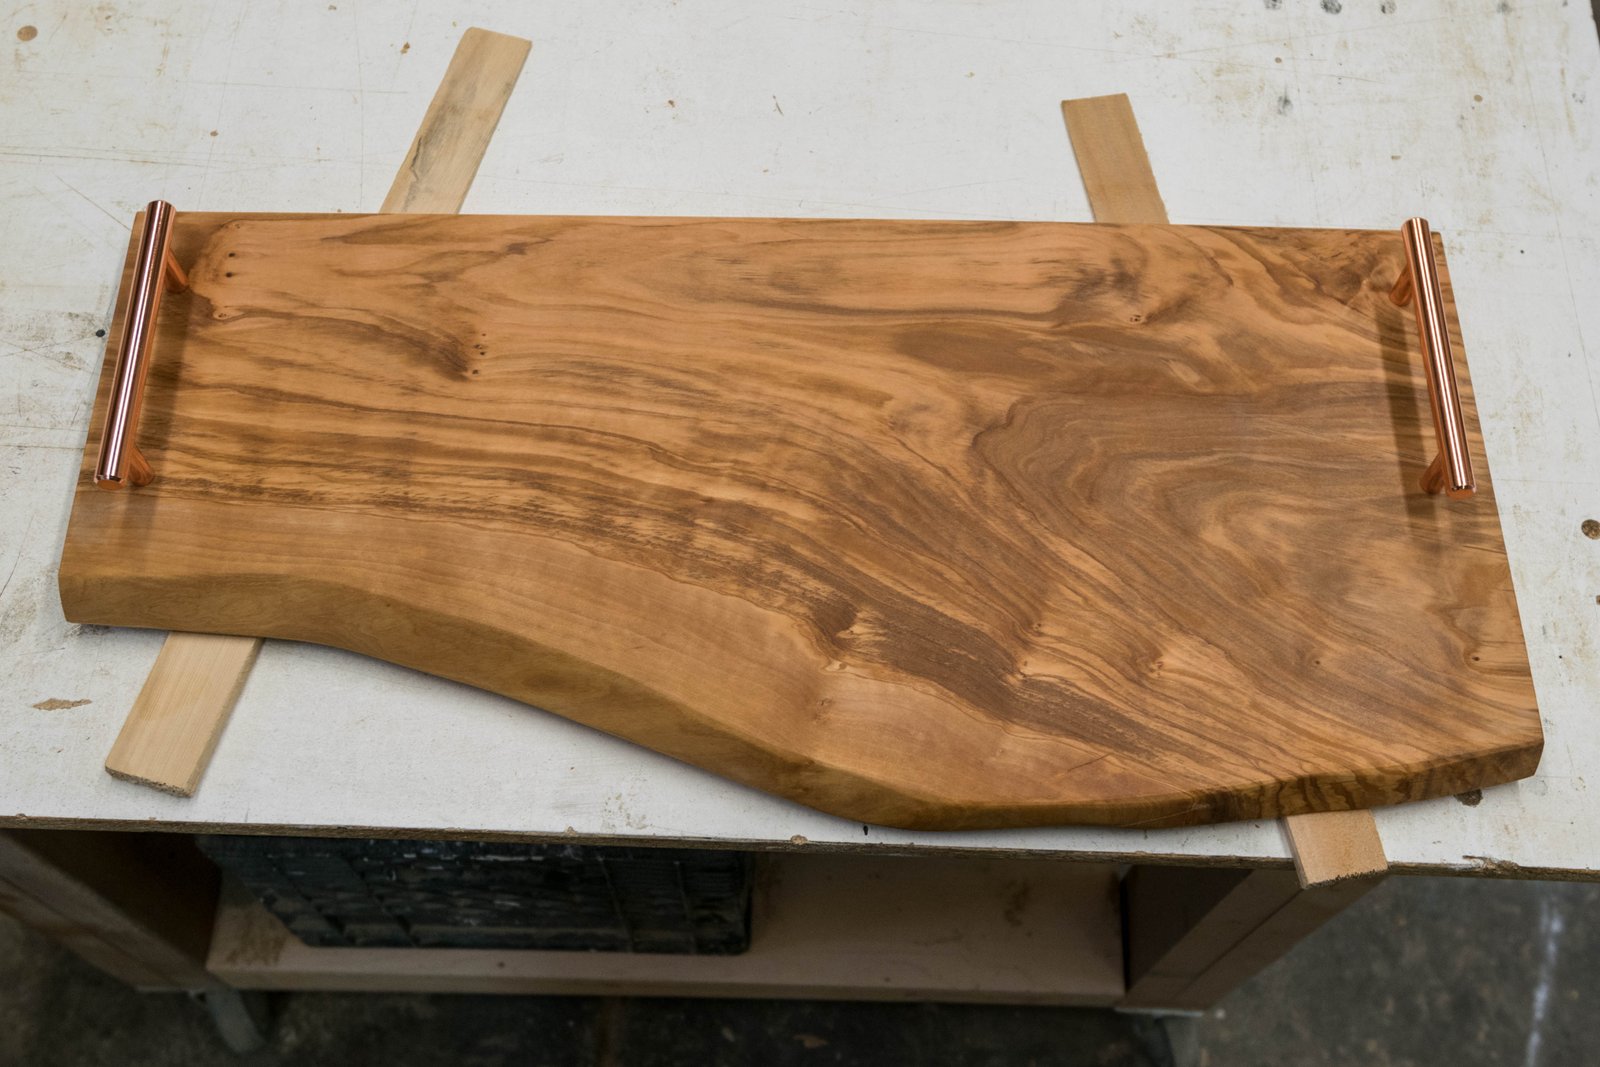
After the linseed oil finally dried, it was time to re-attach the handles. Here’s the final product in all of its glory. I’m so happy with how this project turned out and I know we’re going to get a lot of use out of it.
The grain on this piece of olive wood look great. The linseed oil really makes the grain pop and look even better than it already did.
Just use your imagination here and imagine a full platter of crackers, cheeses and meats 🙂
Hope you enjoyed the project and are able to follow along at home. Feel free to leave any feedback or ask any questions!