Reclaimed Wood Picture Frame
Today, I’m going to be making a picture frame out of everyone’s favorite type of wood, reclaimed wood.
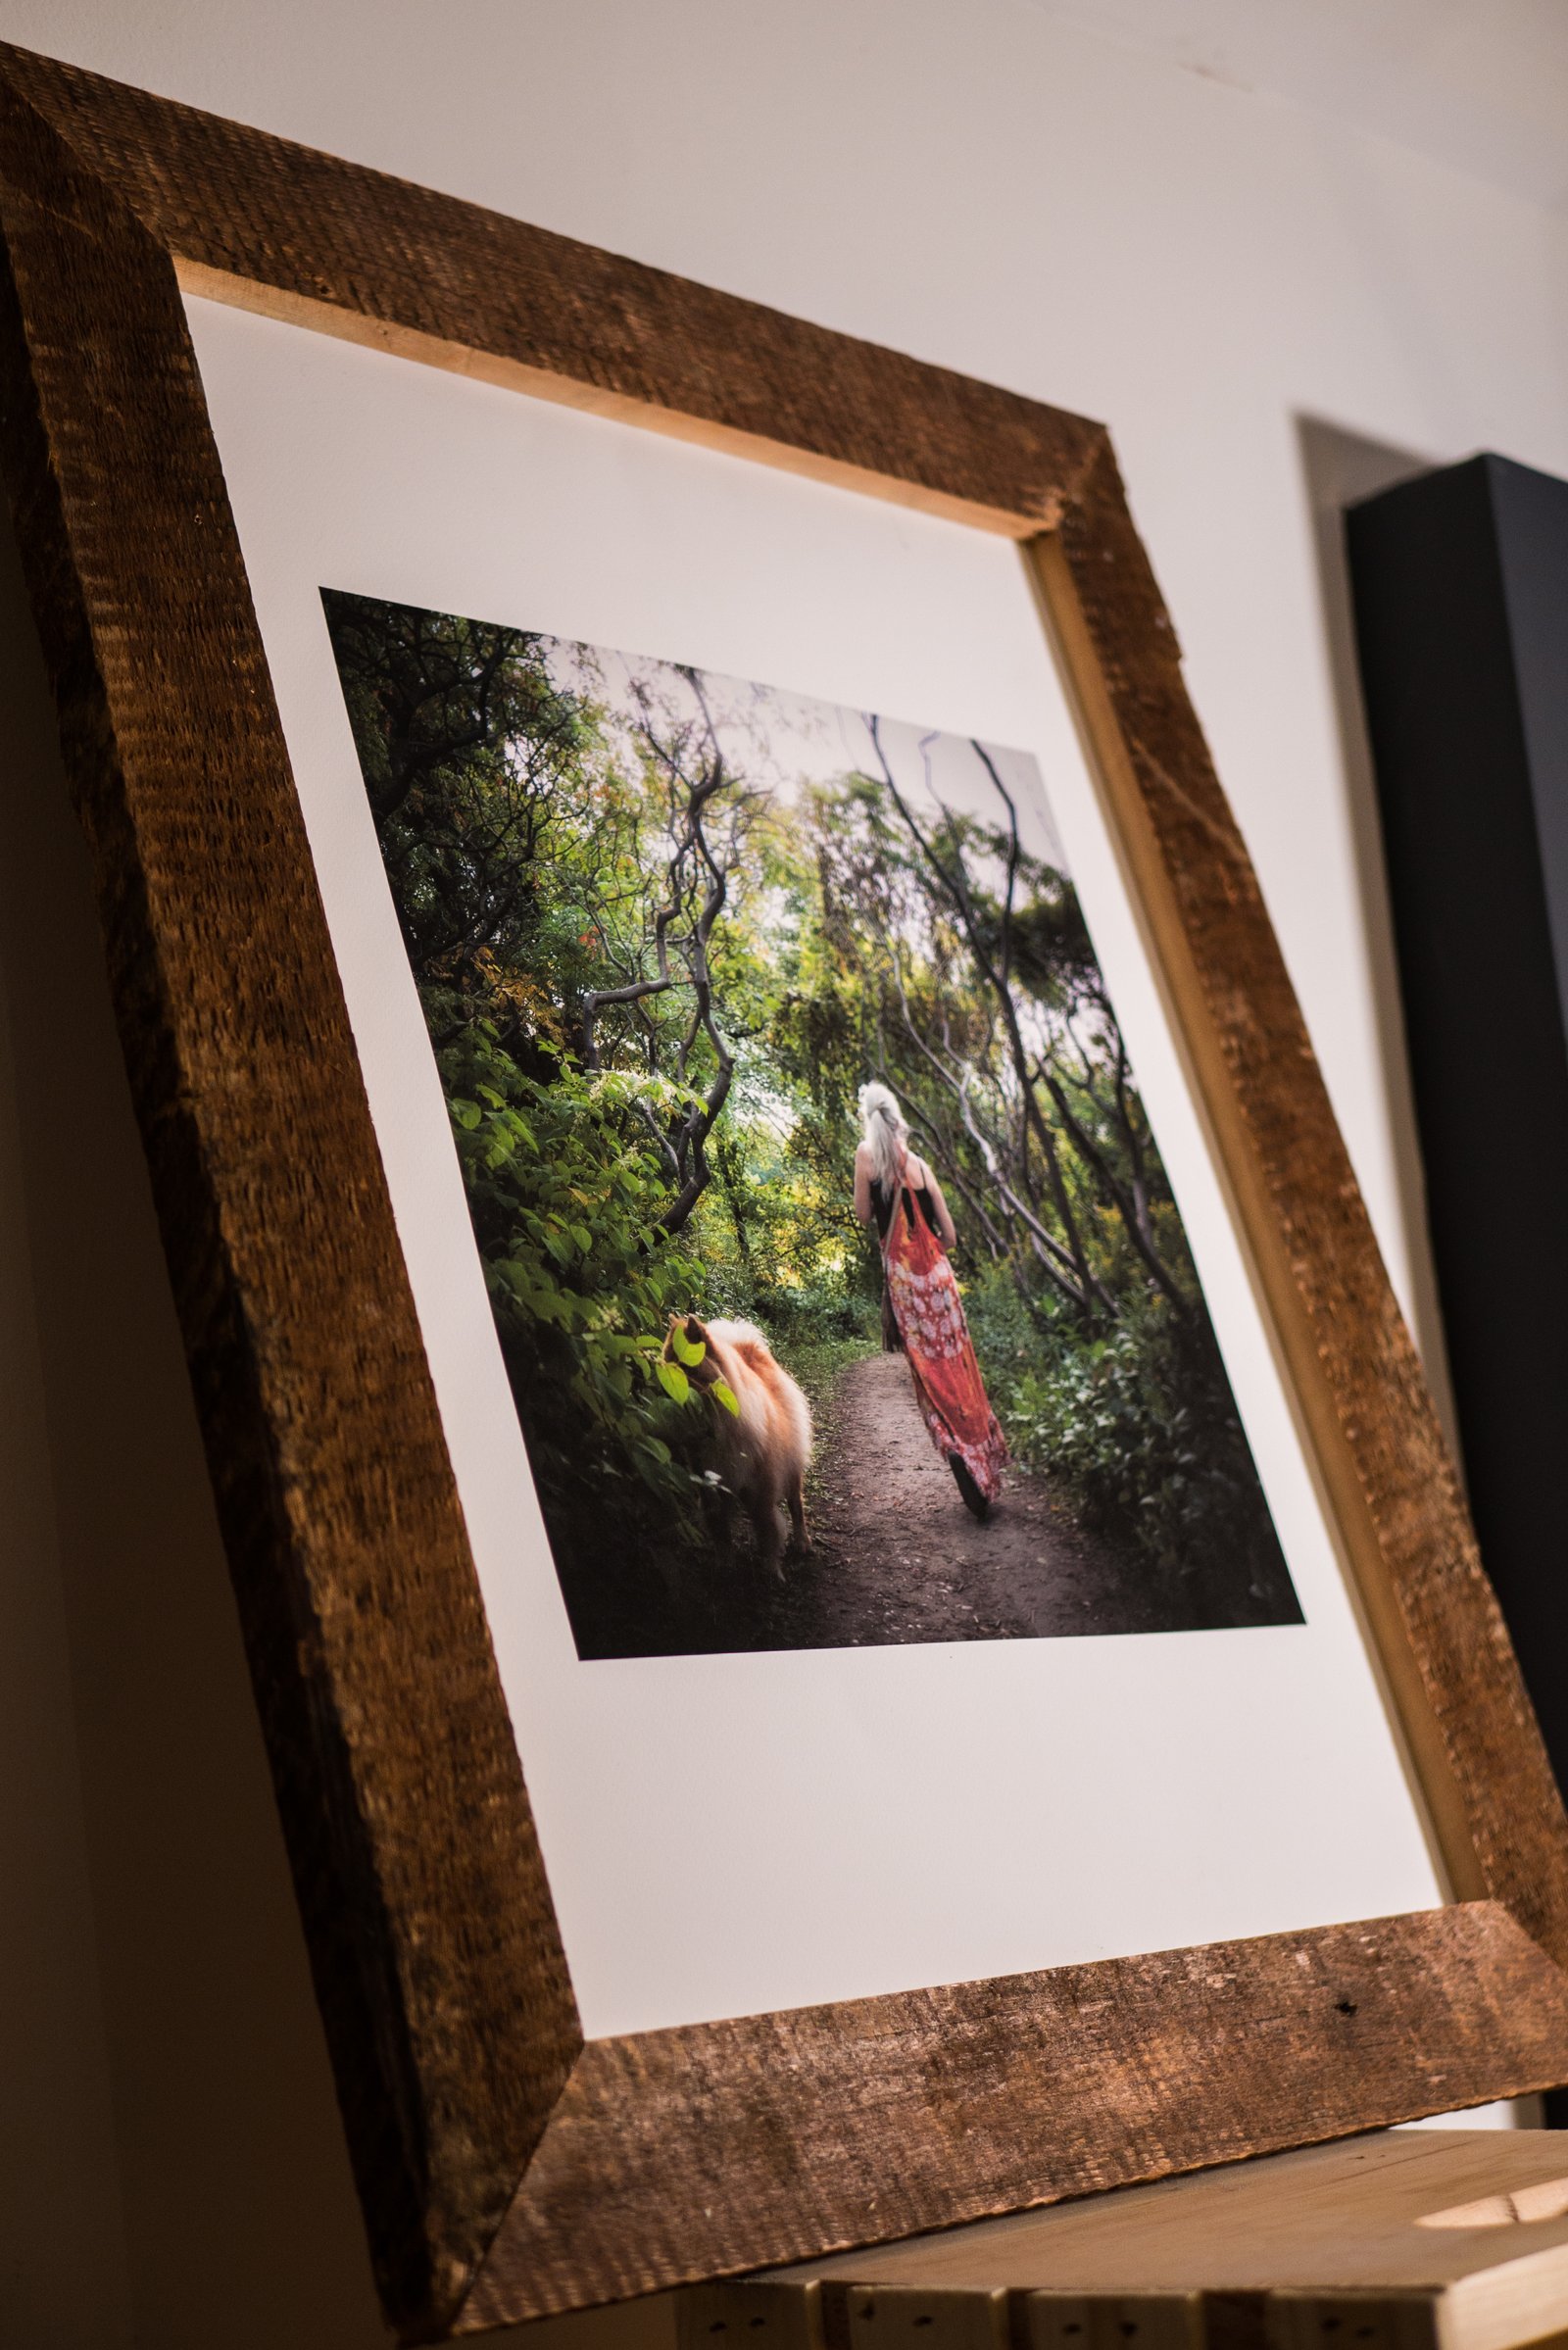
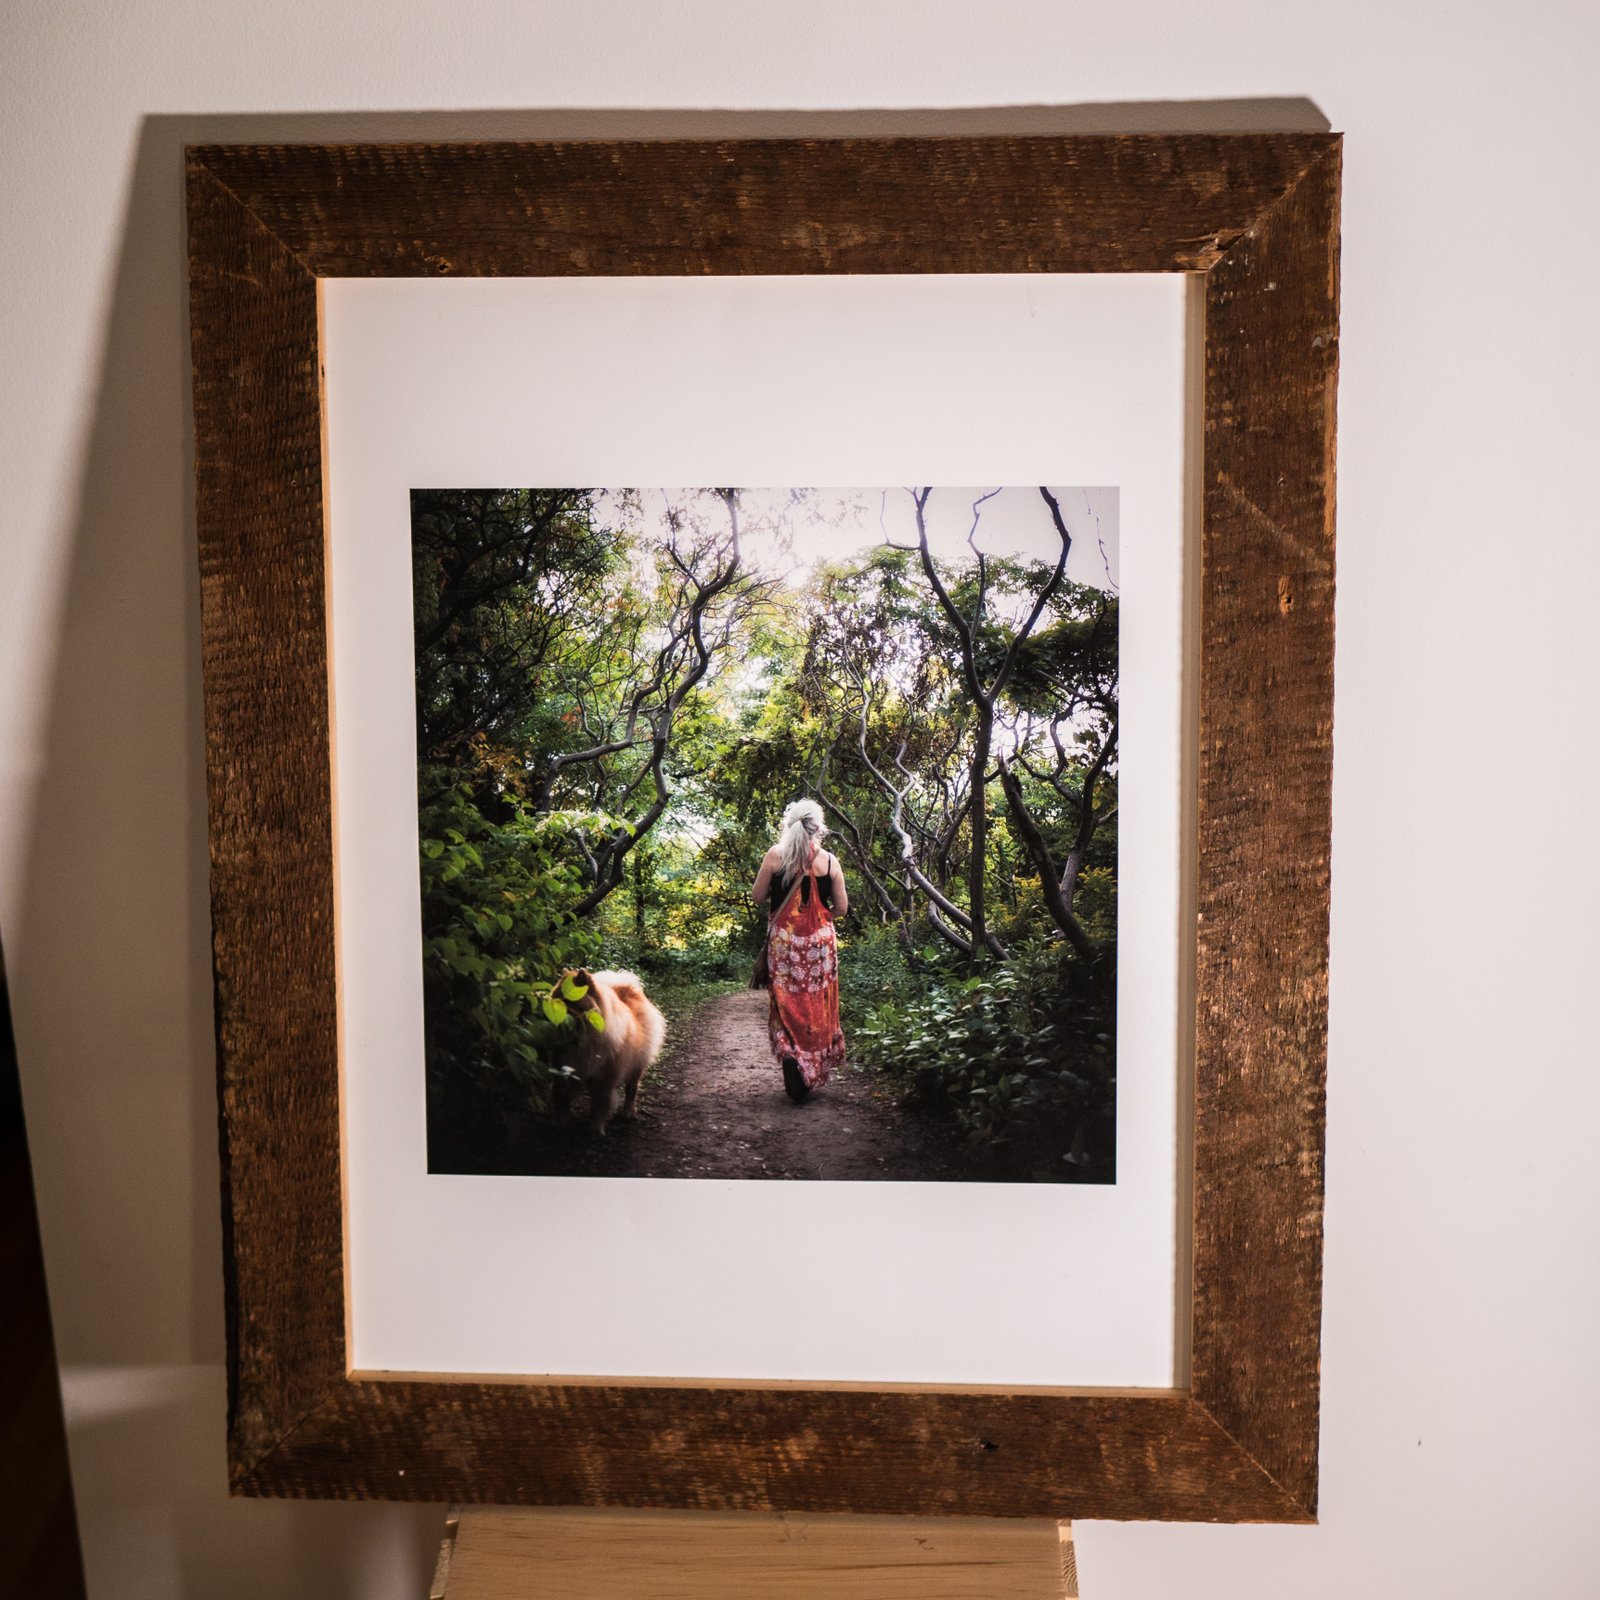
A few months ago my dad gave me this print of a photo he took. It’s a photo of my mom, who passed away in 2015. It didn’t feel right to put a photo like this in a generic store bought frame. Instead, I decided to build my own frame as a tribute to my mom.
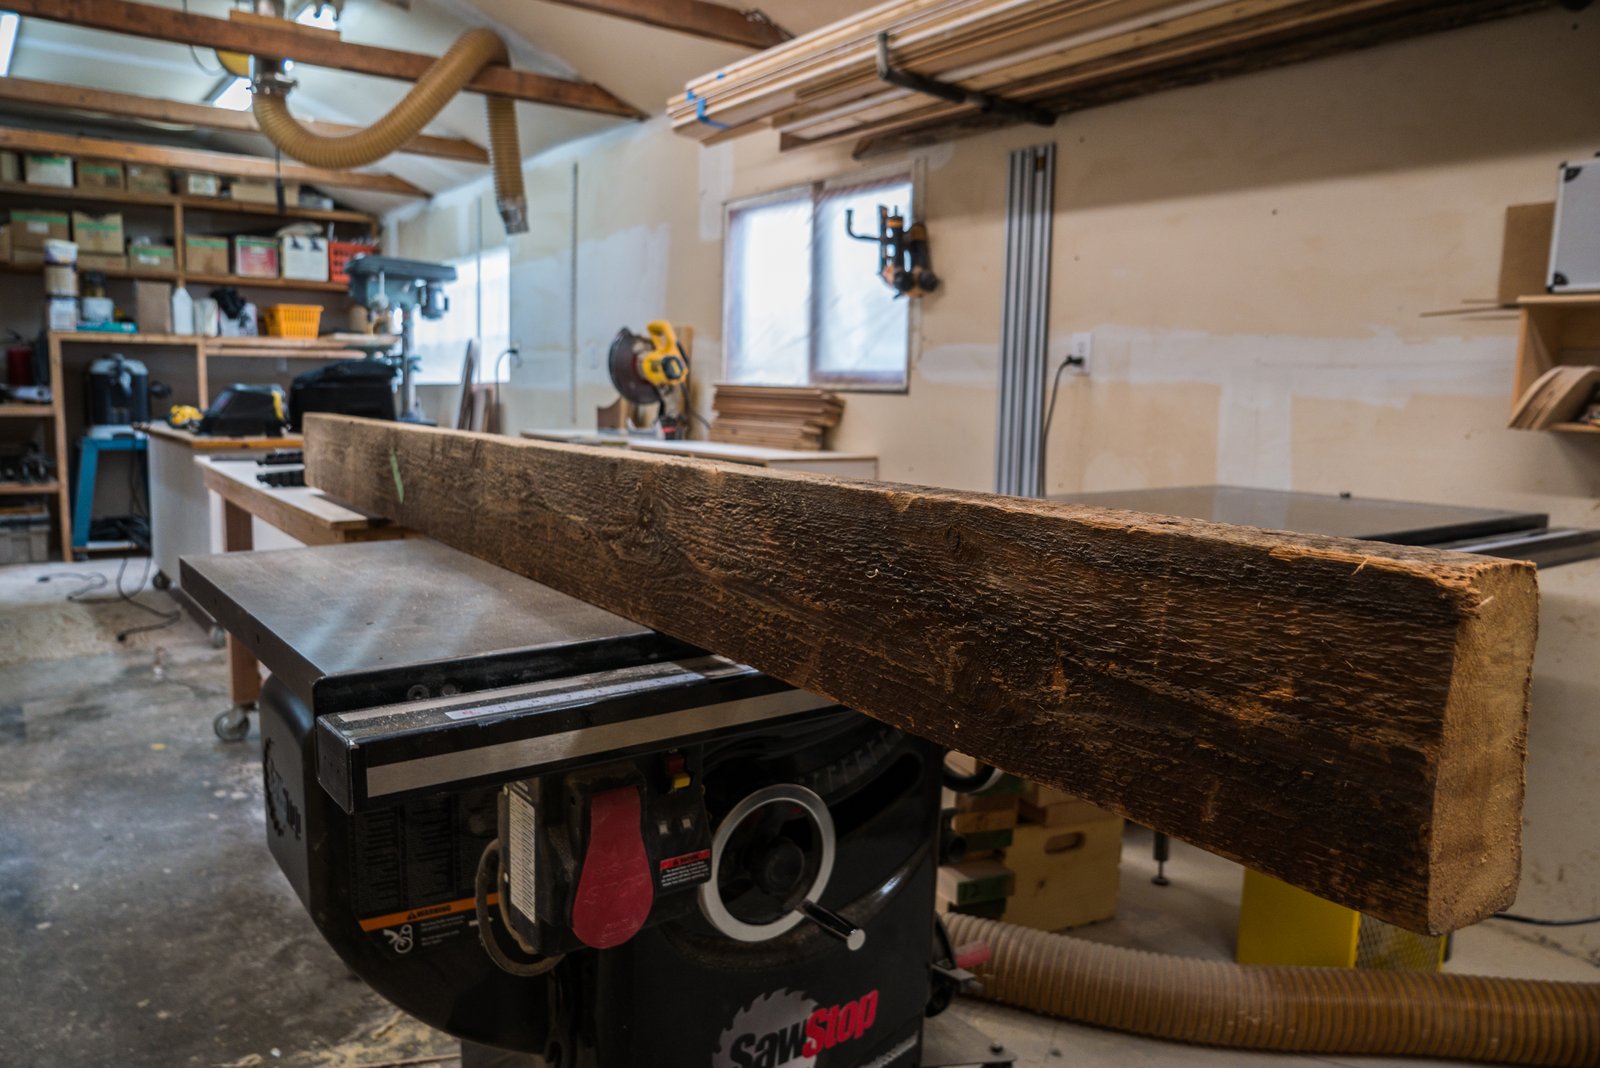
During the time she was sick in the hospital I was working on building a house. While we were doing the demolition of the old house I saved a bunch of the structural wood for future use. It seemed fitting to use some of that same wood for this project. The wood is probably close to 100 years old at this point
I usually like to include a cost break down of my project but this one didn’t really cost me anything. Everything I used I already had in my shop. So unfortunately I’m going to have to skip that this time. Sorry guys. Go and bug someone knocking down a house and ask if you can have some of their wood 🙂
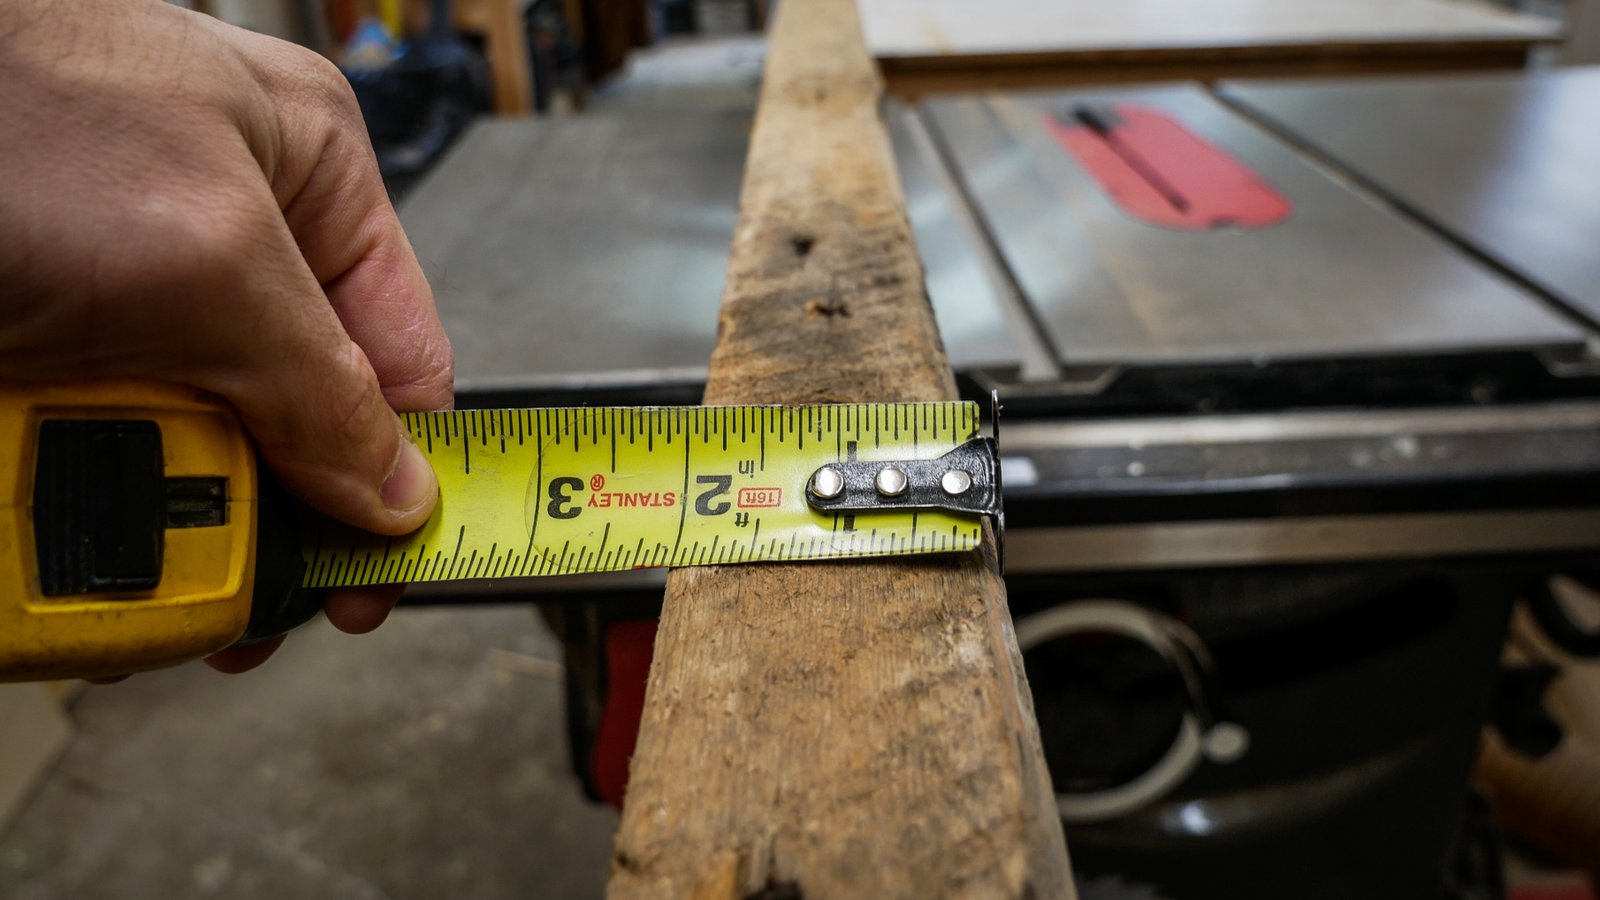
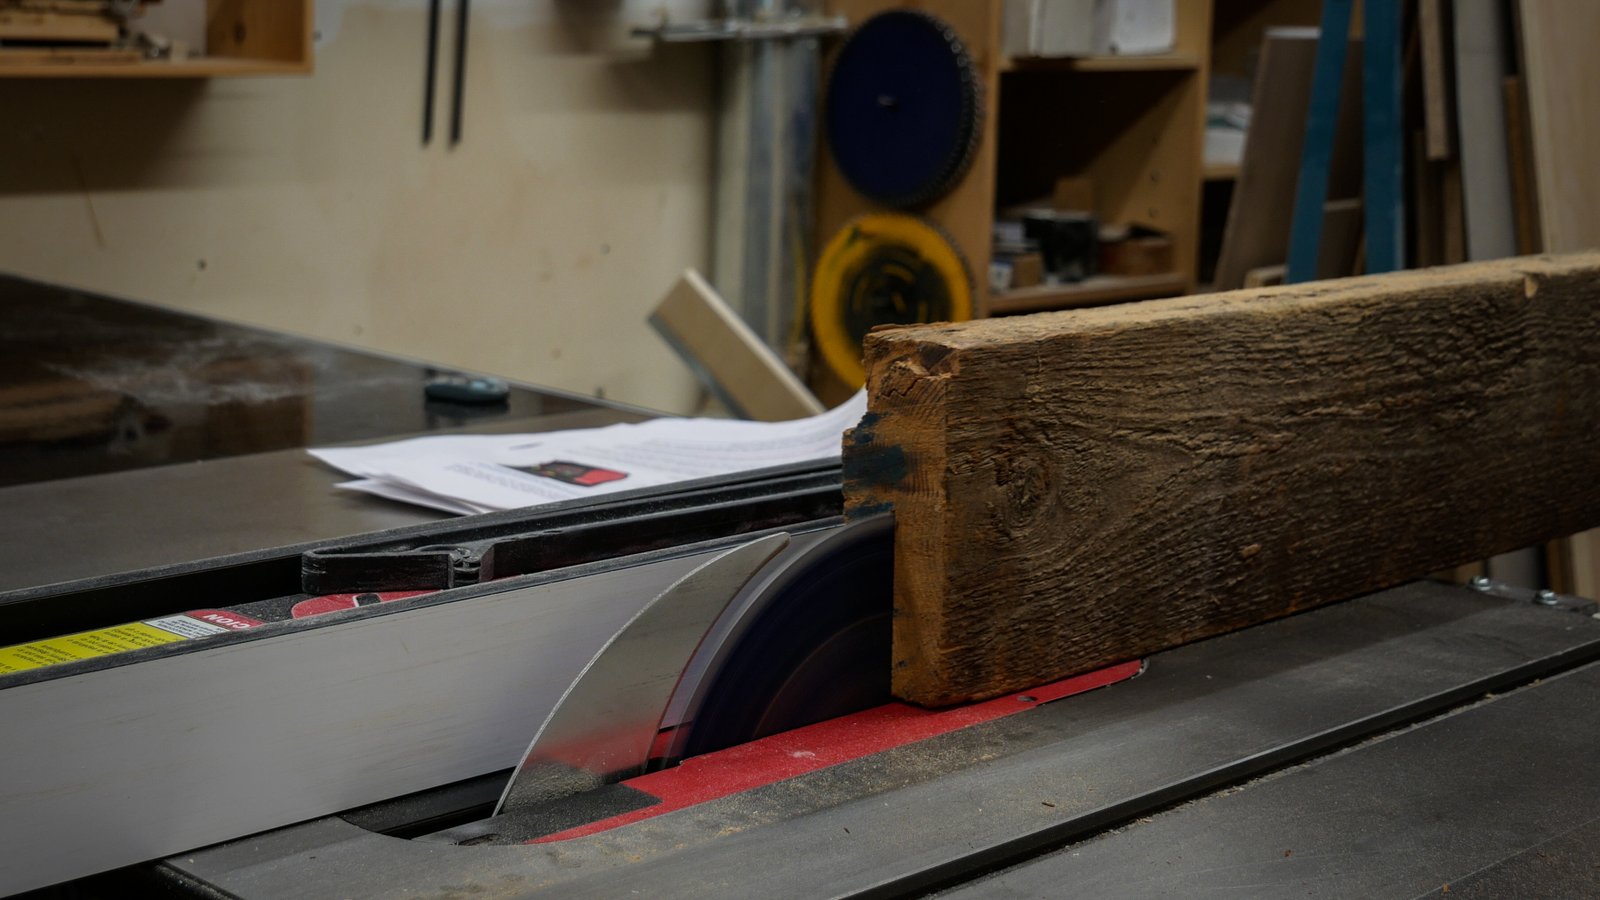
This is the piece of wood I’m using. It’s a true dimensional 2×6 so it actually measures 2″ x 6″. It’s a little under 8 feet long. 2″ by 6″ is a little too much for a picture frame in my opinion so I’m going to mill it down into something a bit more usable.
Like I said, actually 2″ thick. 1″ seems like a more appropriate thickness for a picture frame to me.
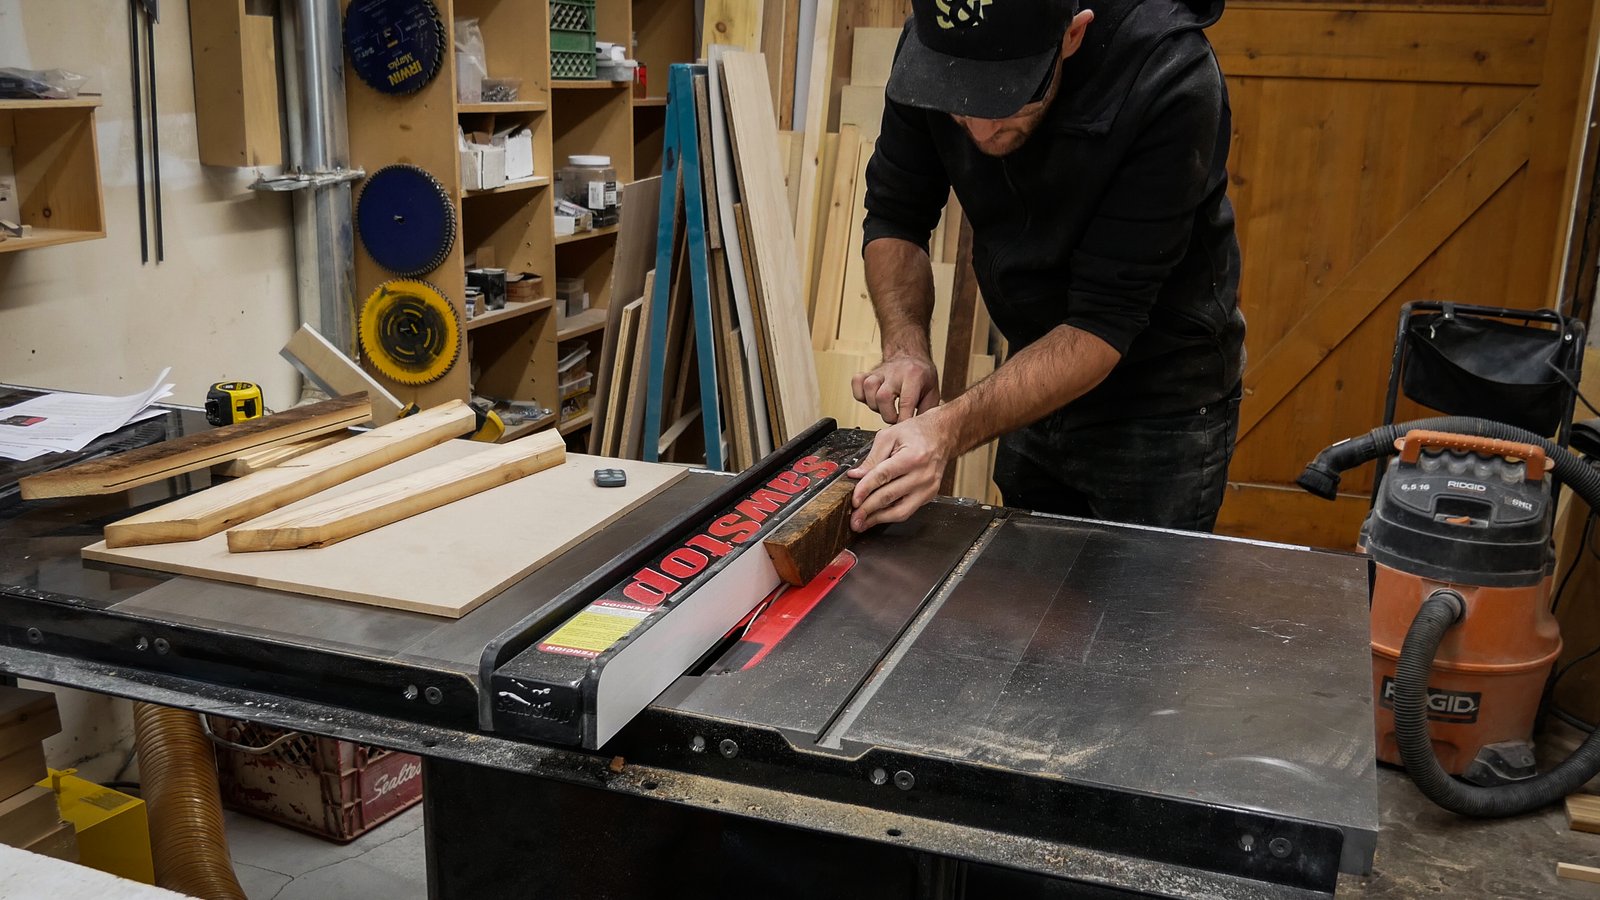
Time to rip the wood down on the table saw. First cut will be cutting it into two 1″ thick pieces. Because it’s 6″ wide I can’t cut it all in one pass. Instead I have to cut half way through it and then flip it over.
The second pass is a little trickier. You have to be careful not to tweak or pinch the wood. After this cut I was left with two 1″ x 6″ x 8′ pieces.
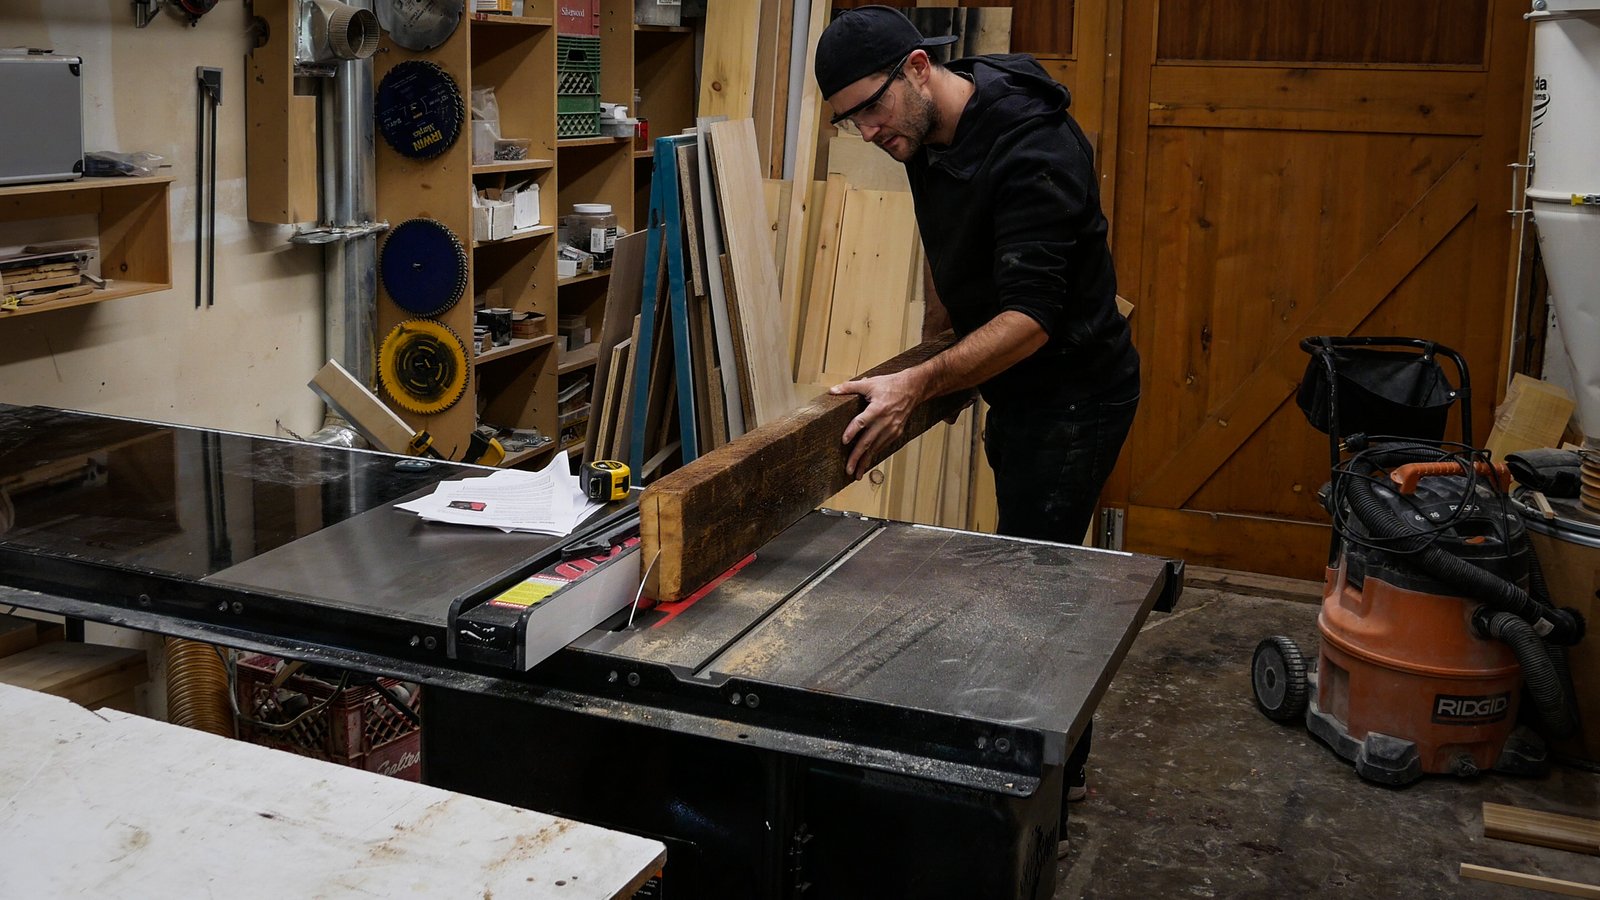
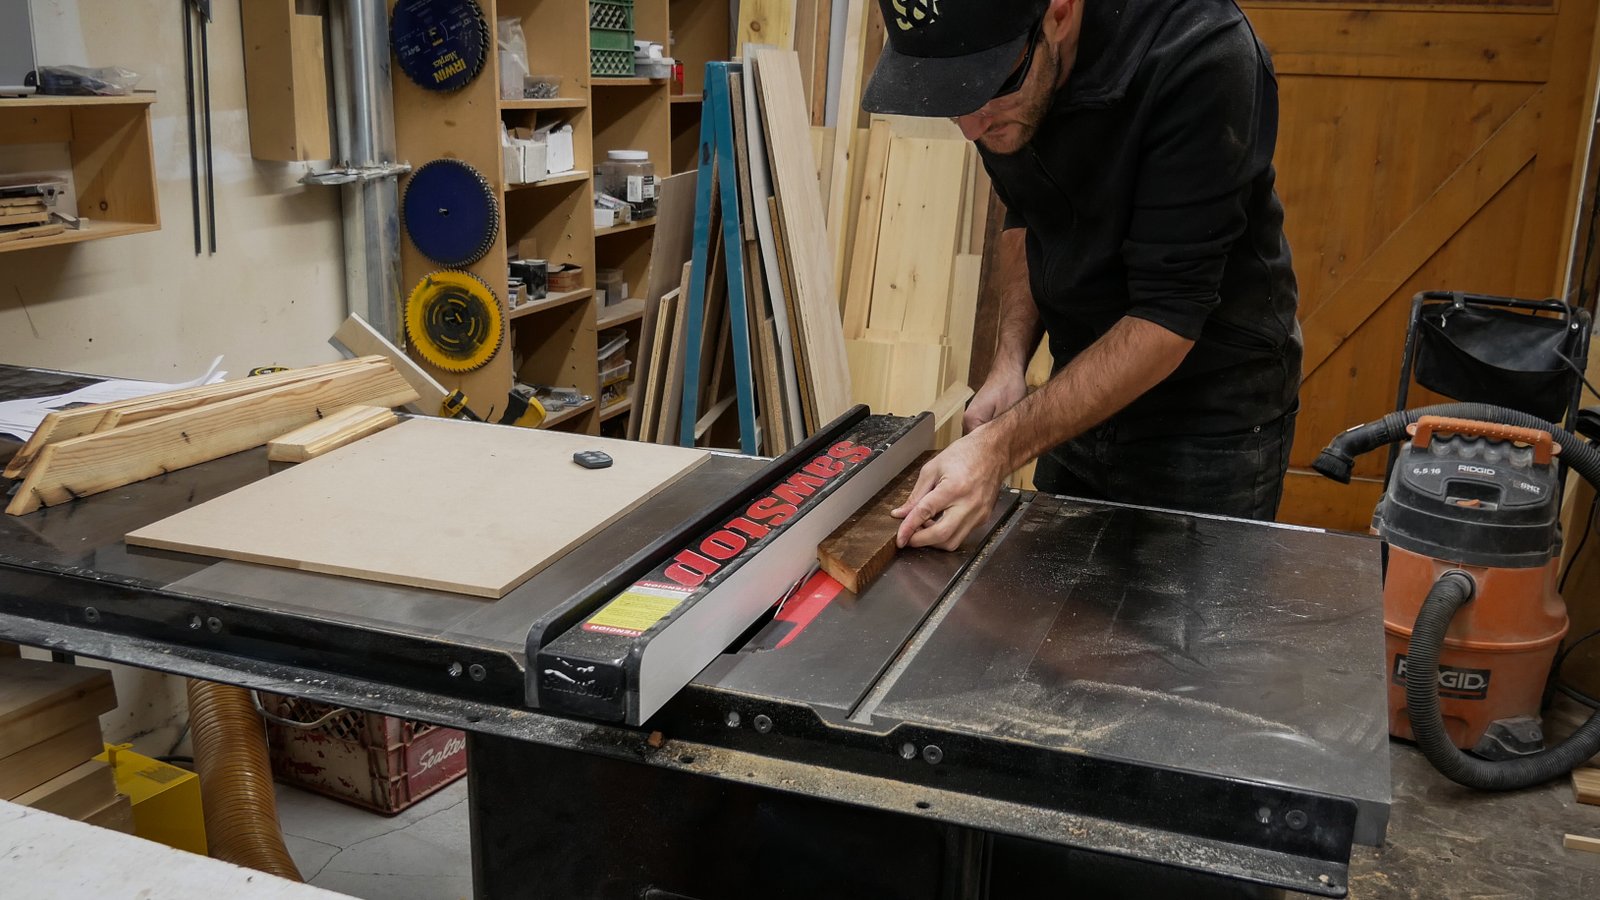
Again, I didn’t love the idea of a 6″ wide picture frame. So I fired up the table saw ripped the pieces down to 2.5″.
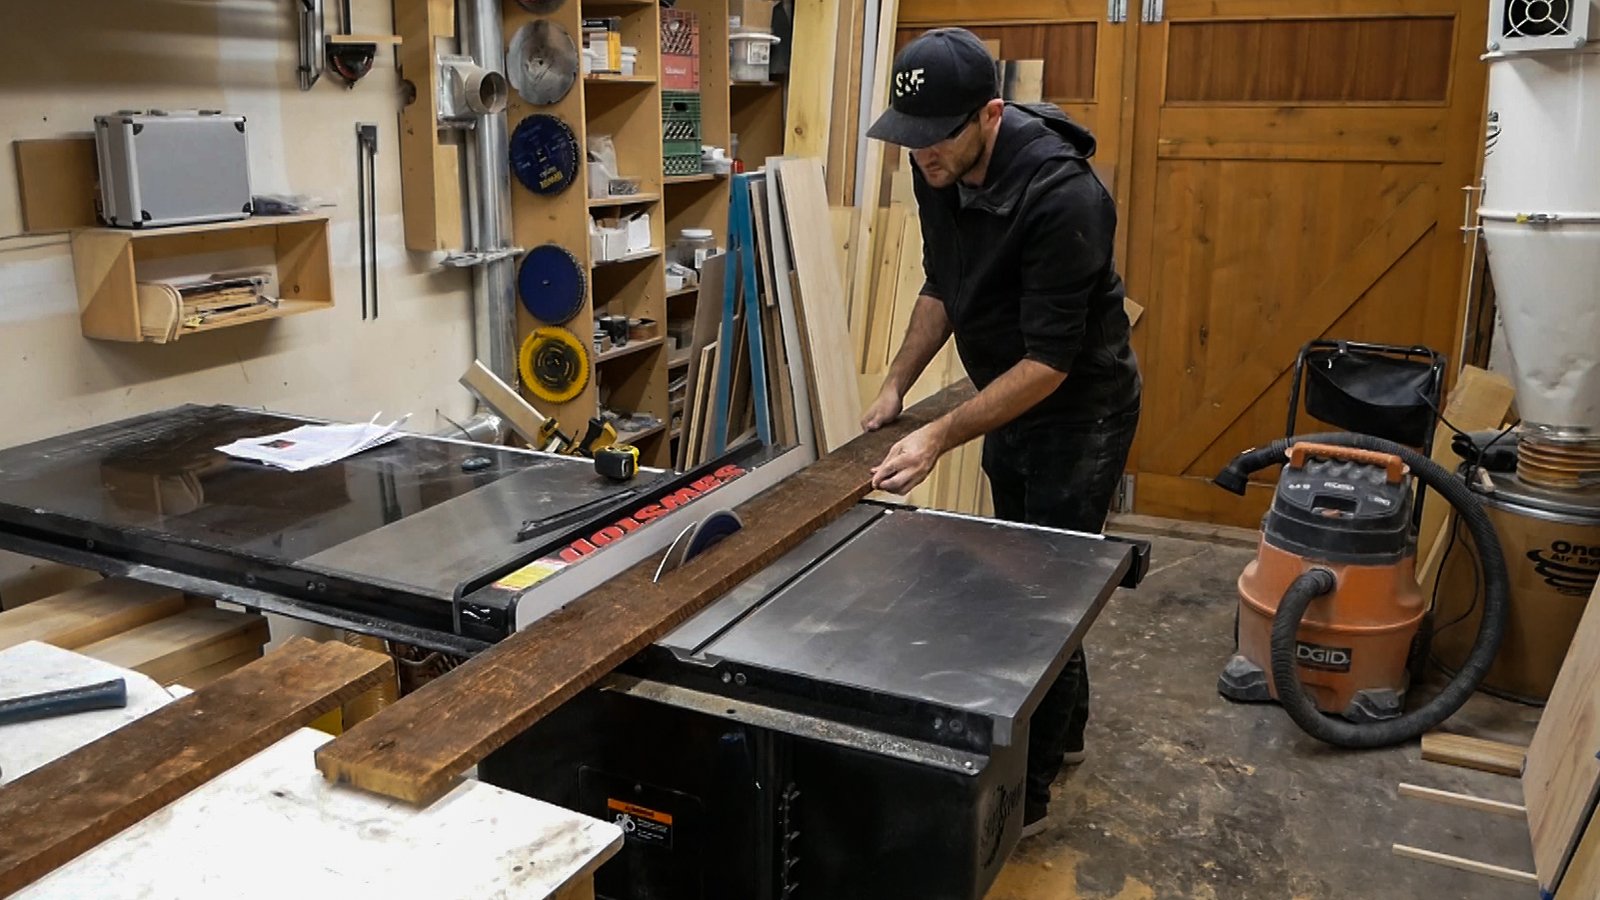
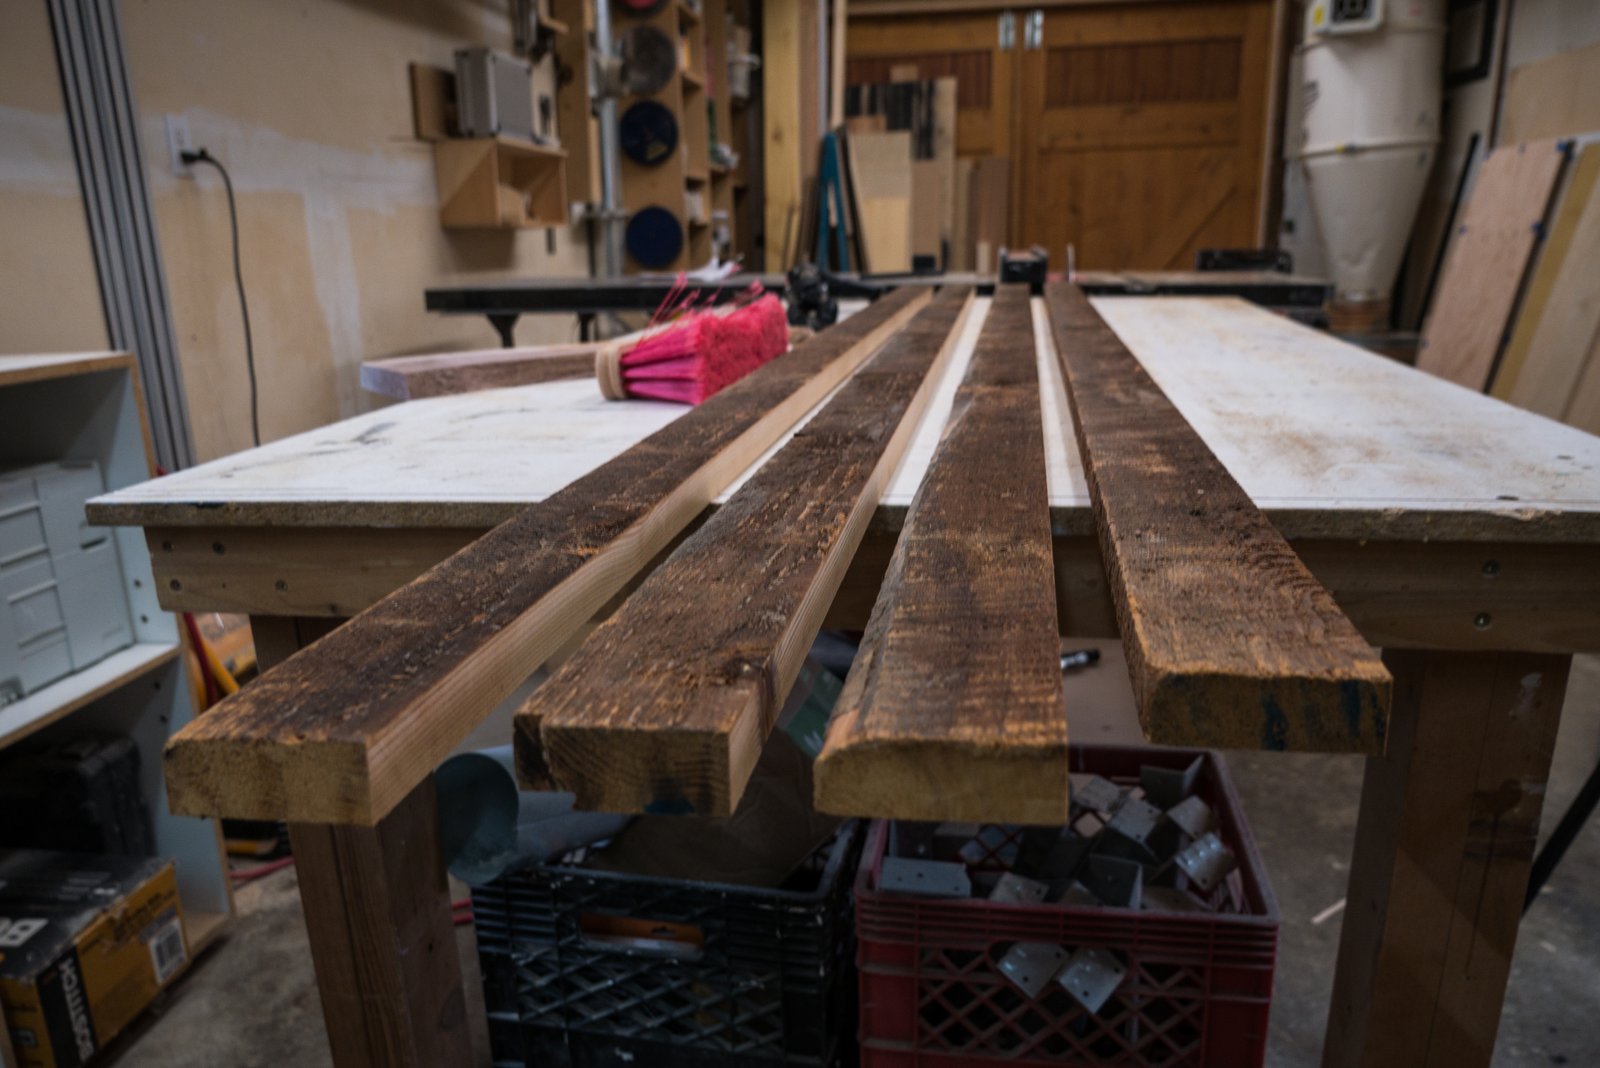
After everything was said and done on the table saw I was left with four 1″ x 2.5″ x 8′ pieces of wood. This was enough wood to make 2 or 3 pictures frames. A little over kill, but who knows when you might want more picture frames? Maybe I’ll give some away.
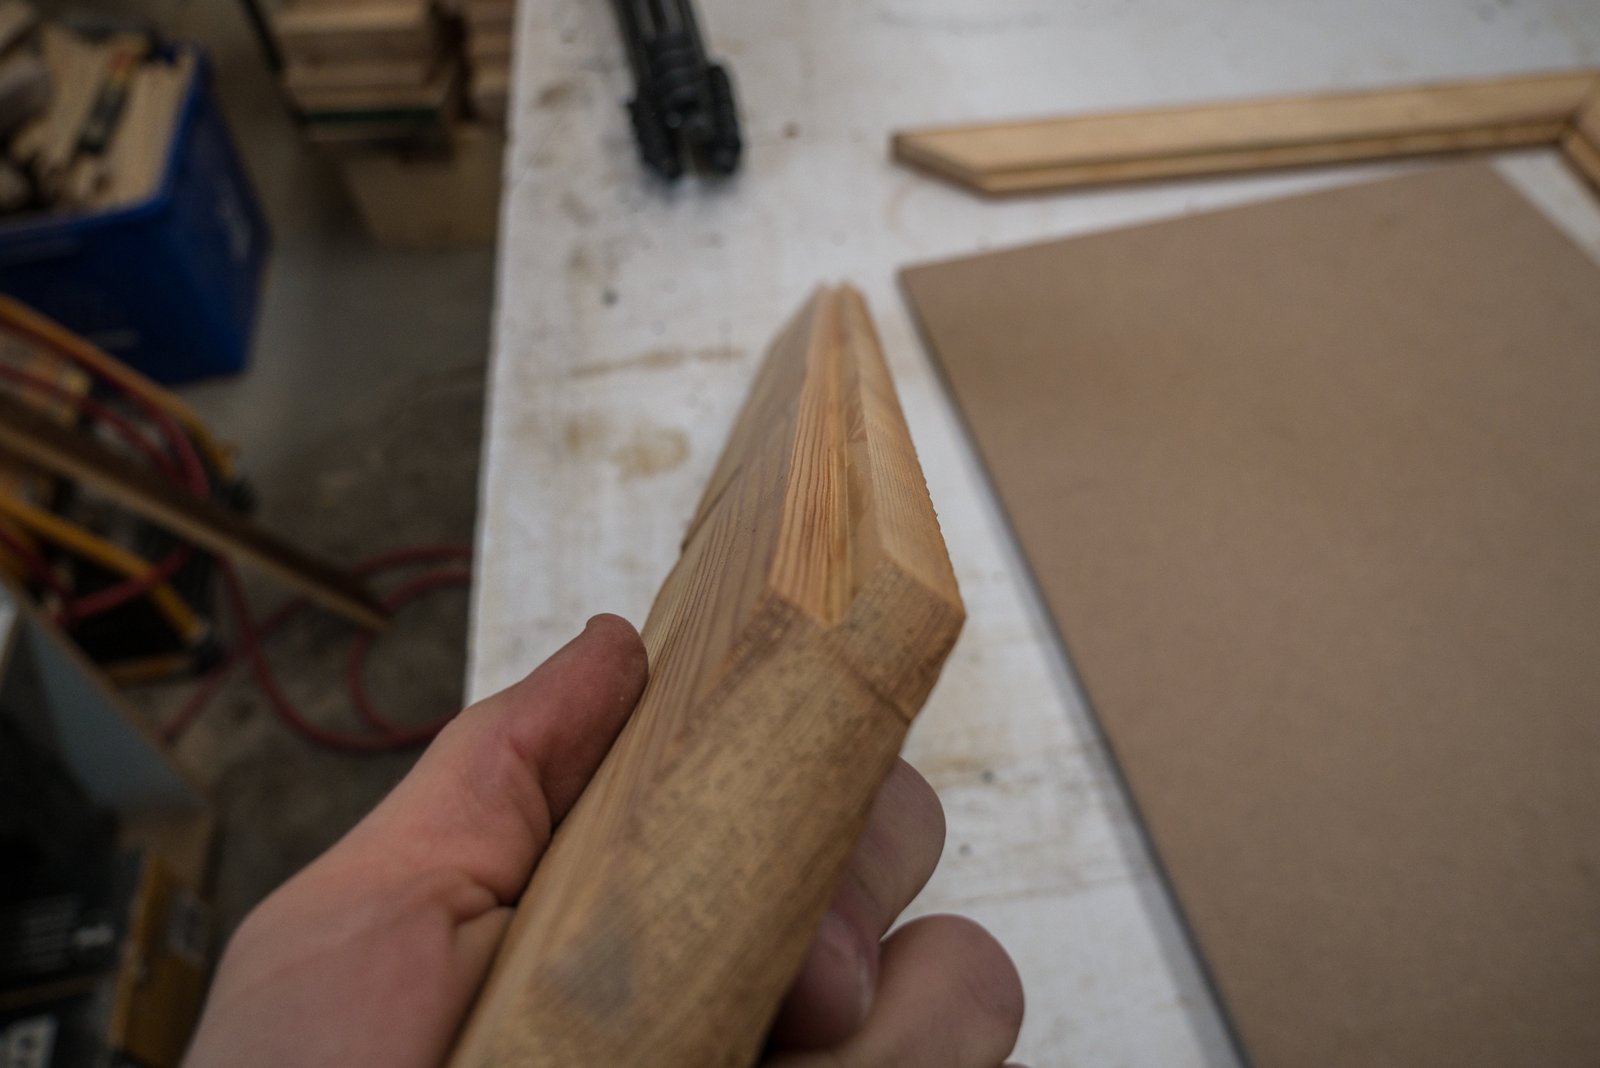
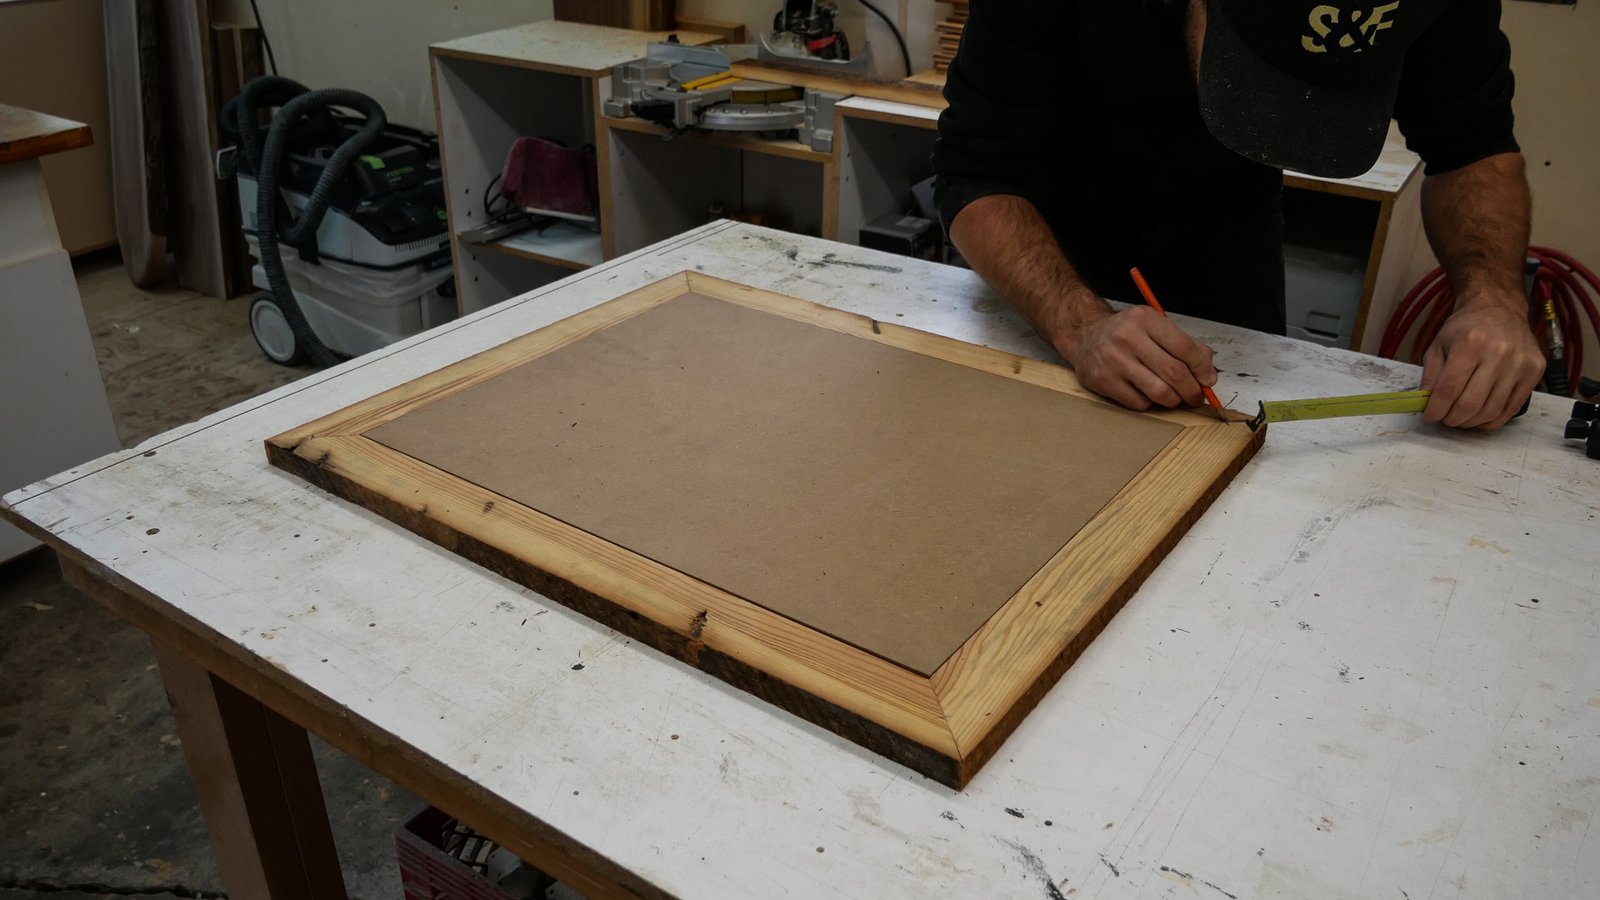
The print I’m making this frame for is 22″ x 27″, so I needed the inside measurements of my frame to be slightly smaller than that. I decided on 21.5″ x 26.5″. Once I figured out the measurements I cut the pieces I needed on the chop saw. Each corner was mitered to create a seamless look.
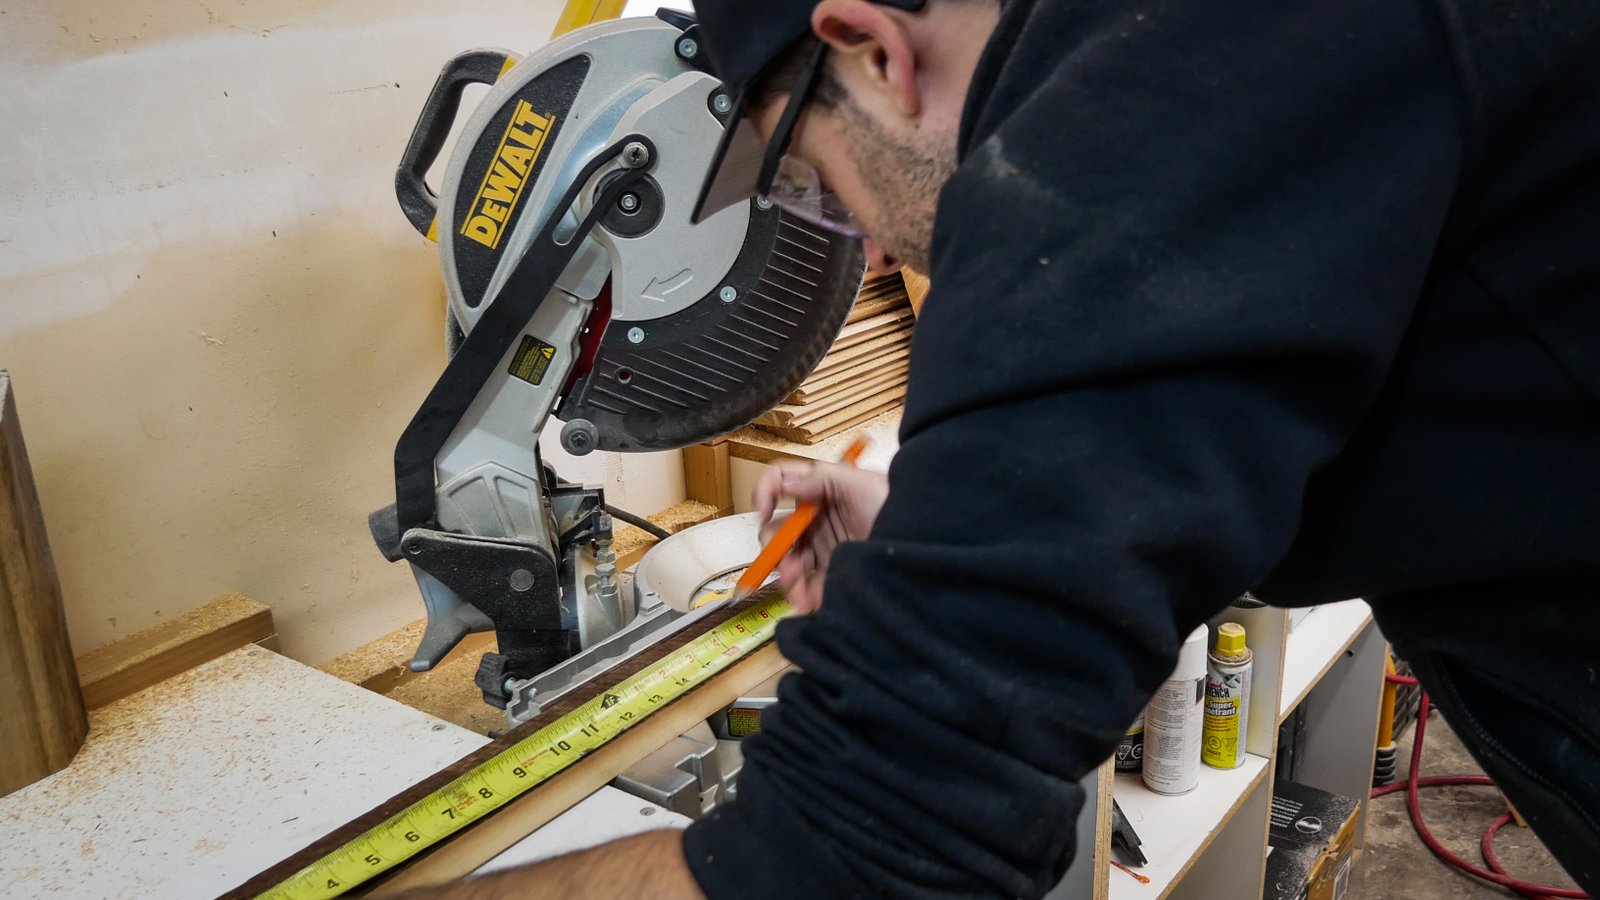
Each piece has a long side and a short side. The short side is what I was concerned with when I was cutting. Two of these pieces have a short side that is 21.5″ long and two of them have a short side that is 26.5″. This lengths define the inside measurement of the picture frame.
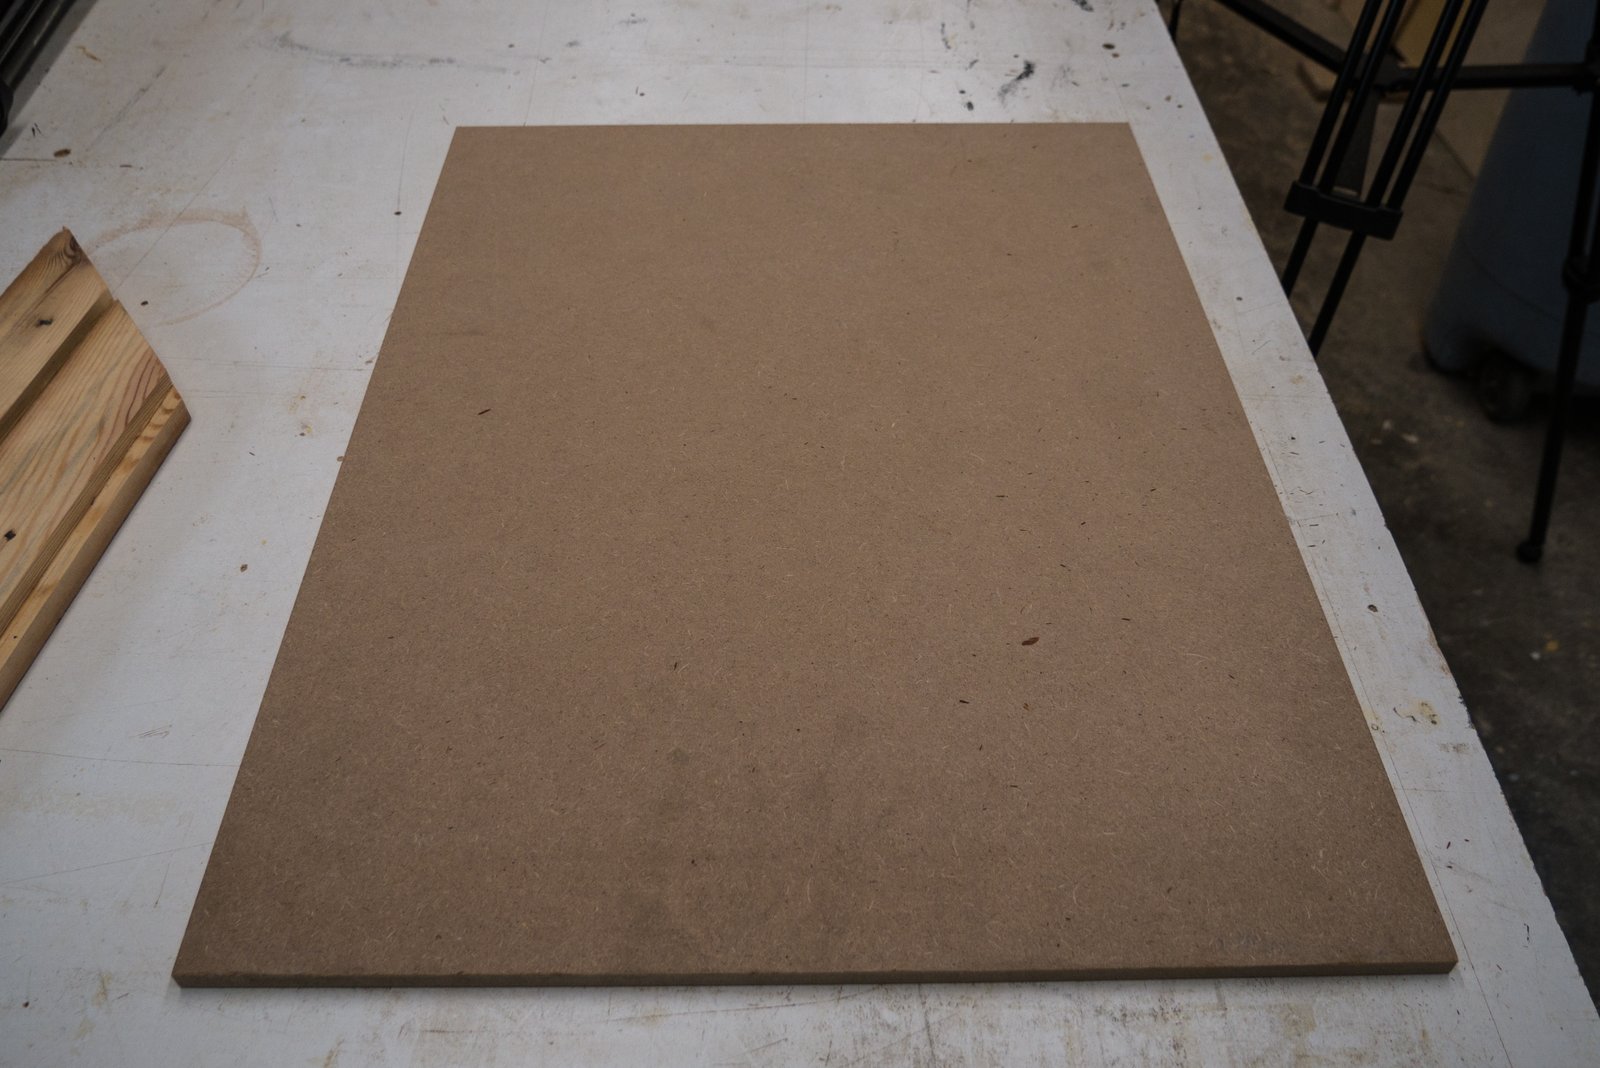
Next I needed a backing for my print. The backing keeps the print from warping, sliding around and keeps everything held in place. I had some scrap 3/8 MDF kicking around the shop so I decided to use that. A nice plywood would work here as well. Really anything that’s straight and flat will do the trick.
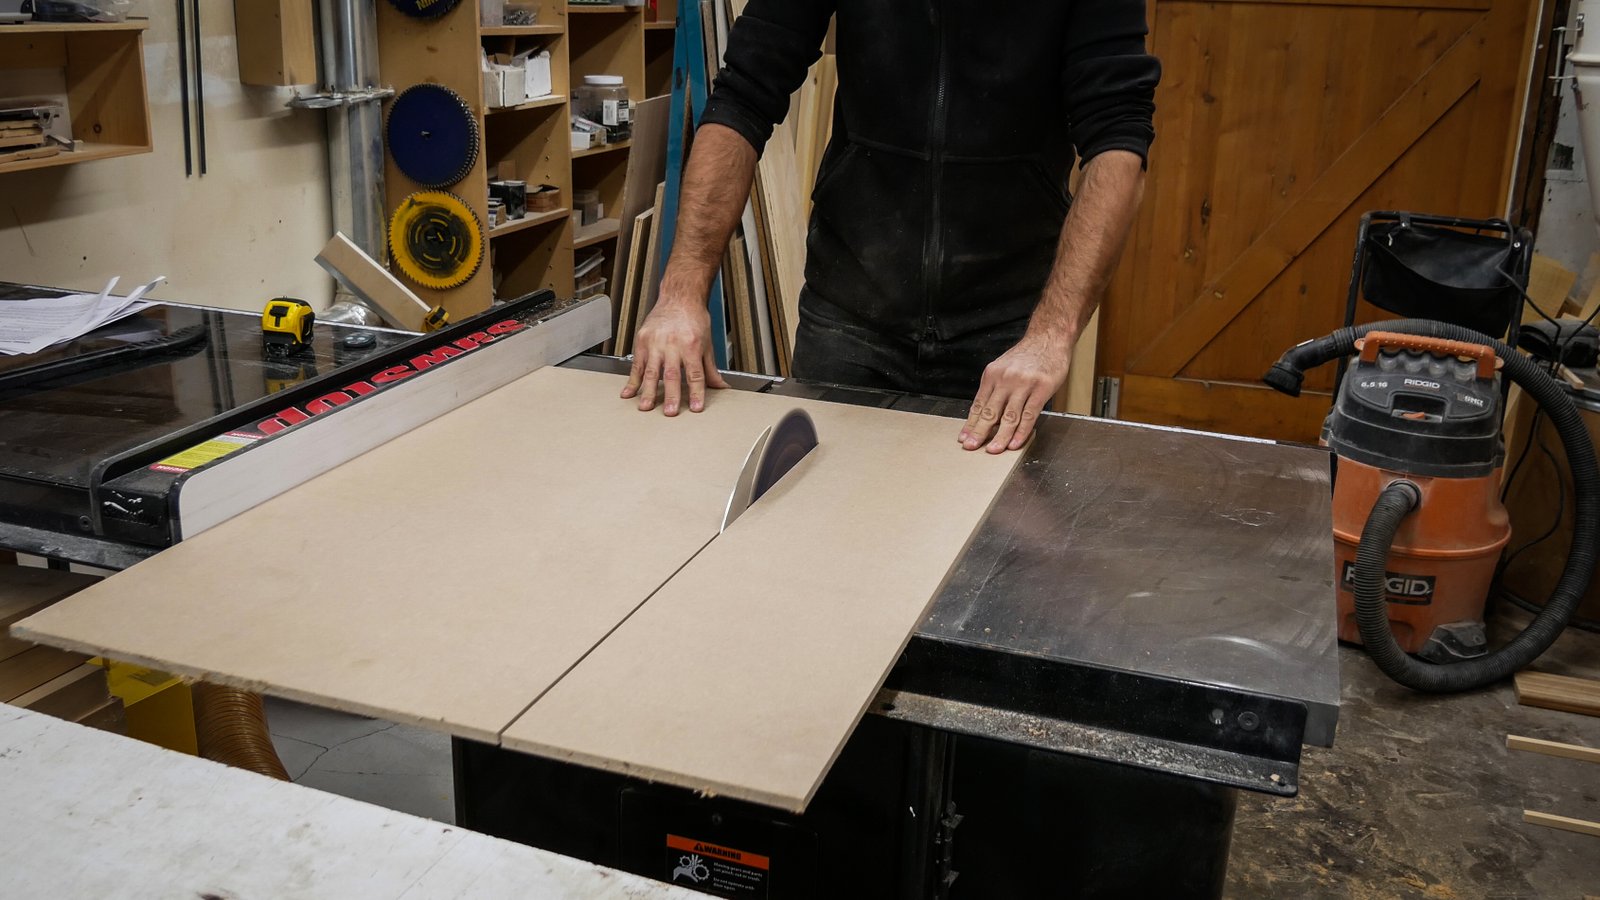
I cut the 3/8 MDF to be the same size as my print, 22″ x 27″.
Back to the table saw. I now had to cut a grove into the backside of my picture frame to accommodate the 3/8 MDF. I cut a 3/8 x 3/8 grove into the frame. This will allow the MDF to sit flush into backside of the picture frame.
This was a bit of a trial and error process. I had to repeatedly adjust the height and width of the table saw to get everything perfect.
This is what it looked like in the end. Make sure you make you cuts along the inside edge, otherwise they wont work 🙂
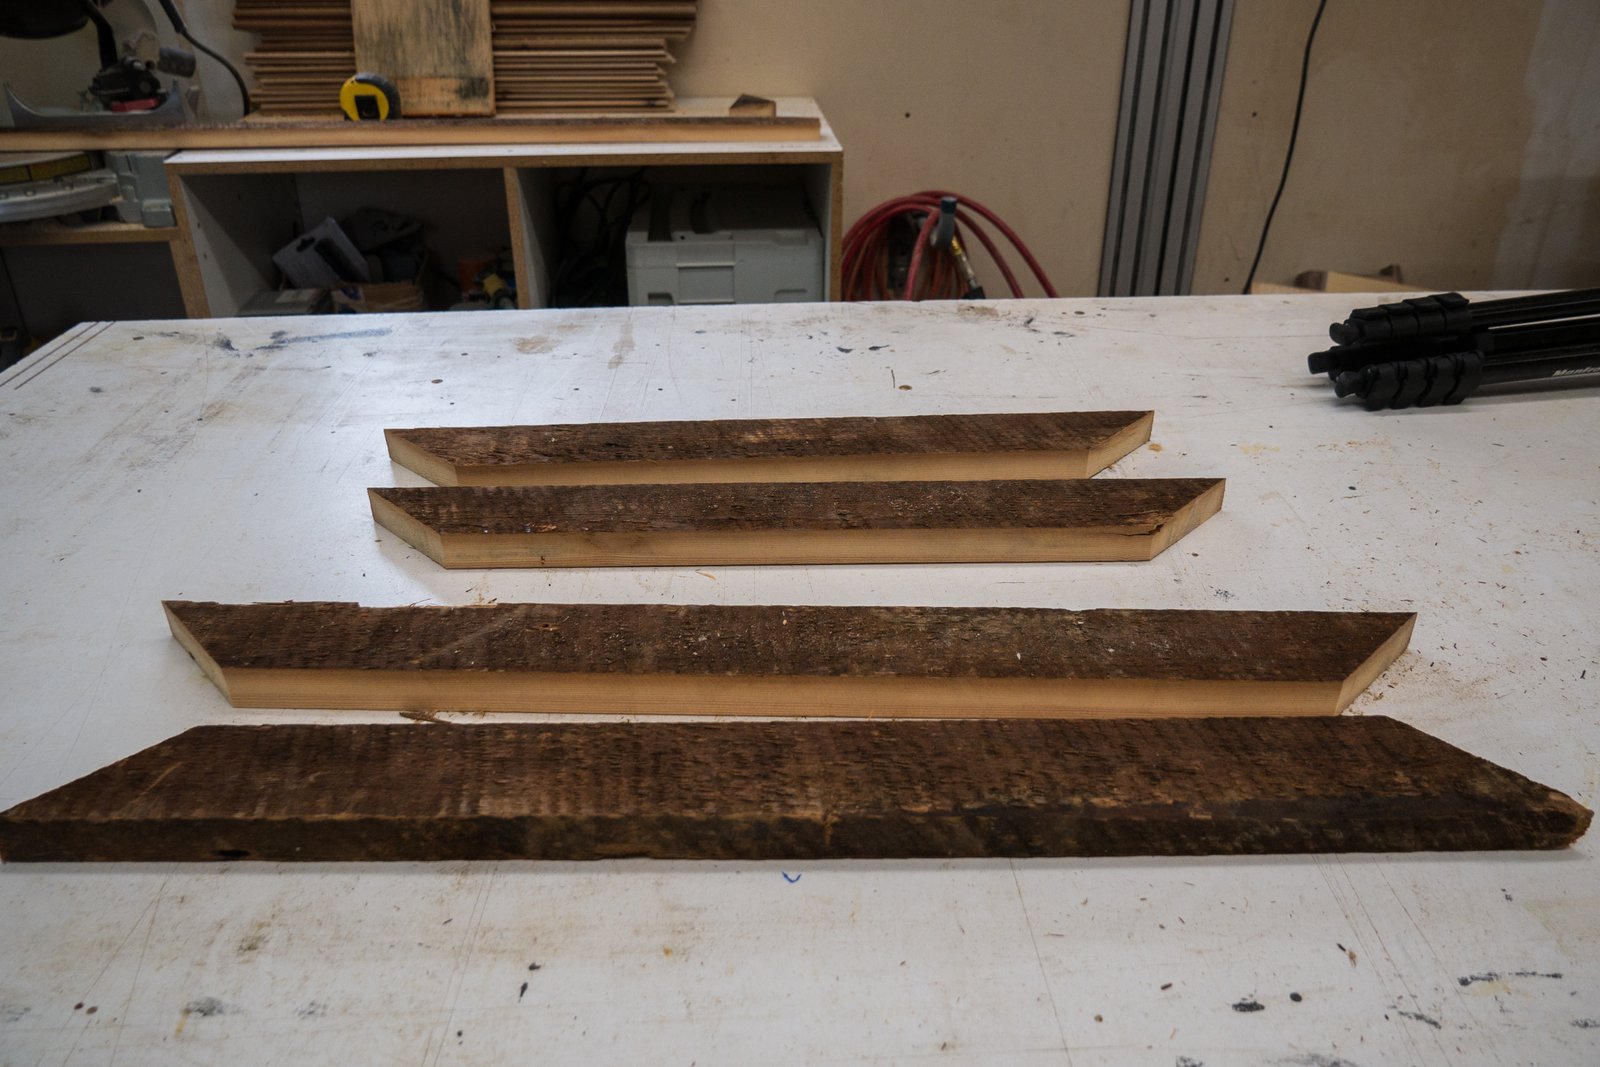
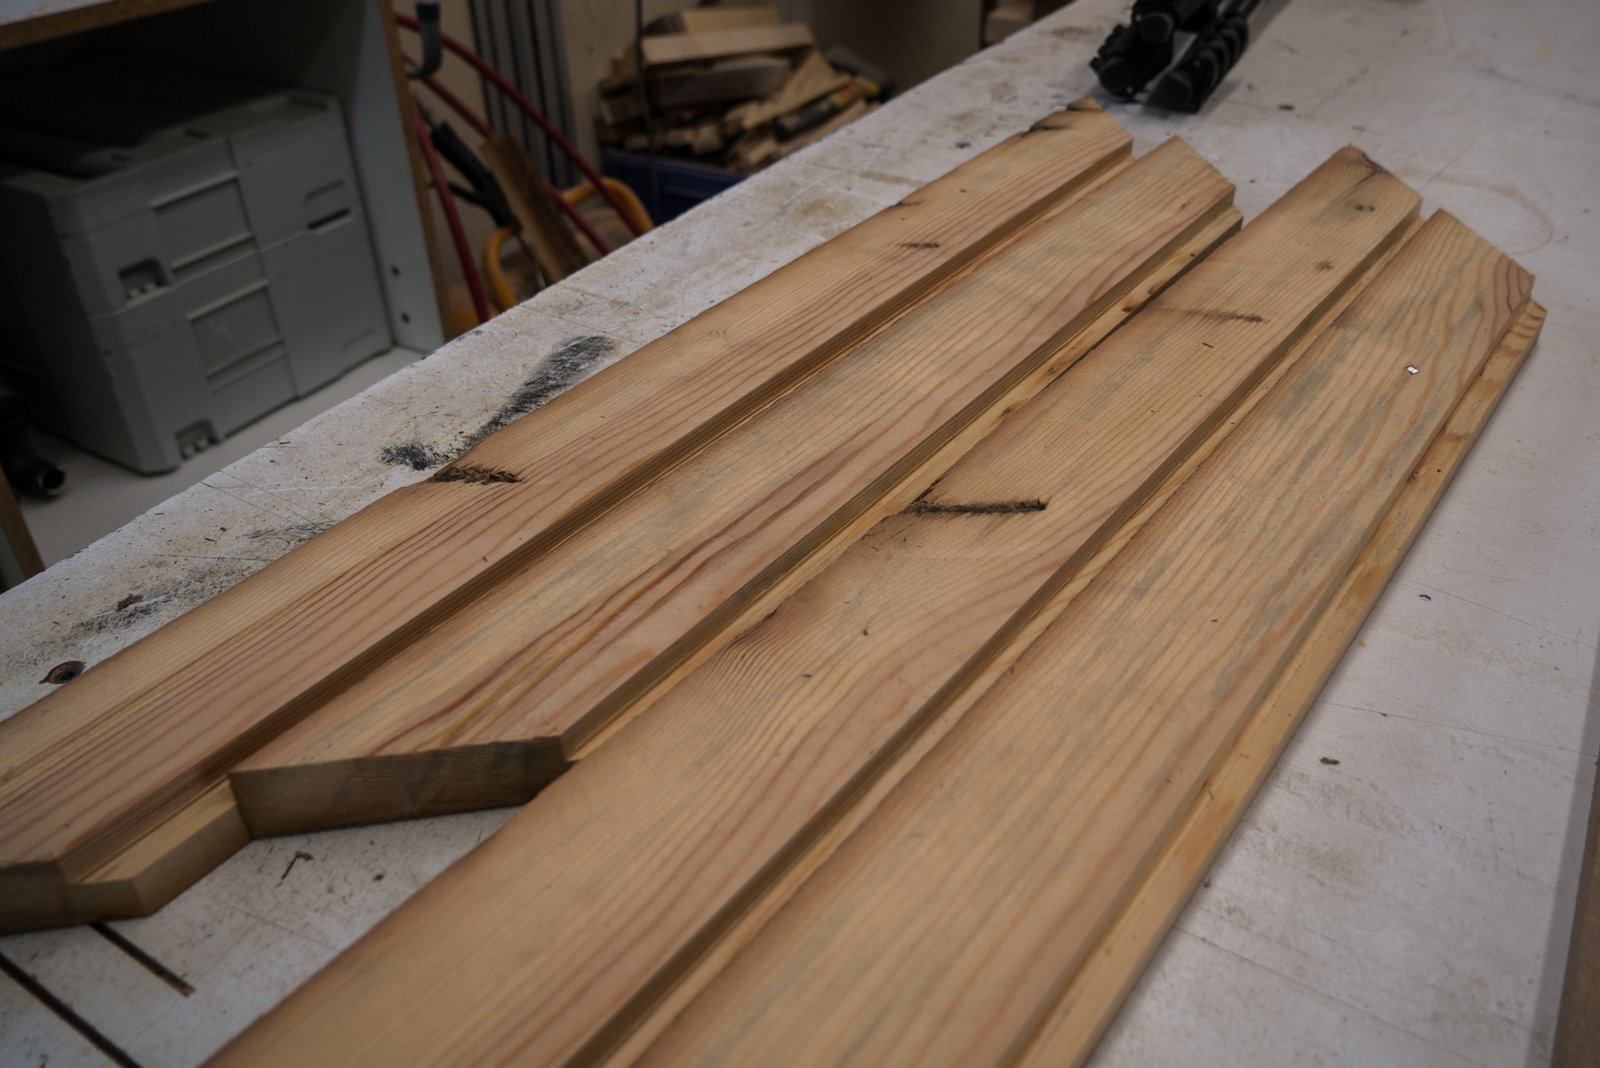
Ok, that’s it for the table saw I promise! Here’s all four pieces of the frame ready to go. Look closely and you can see cross sections of where the old nails used to be in the wood.
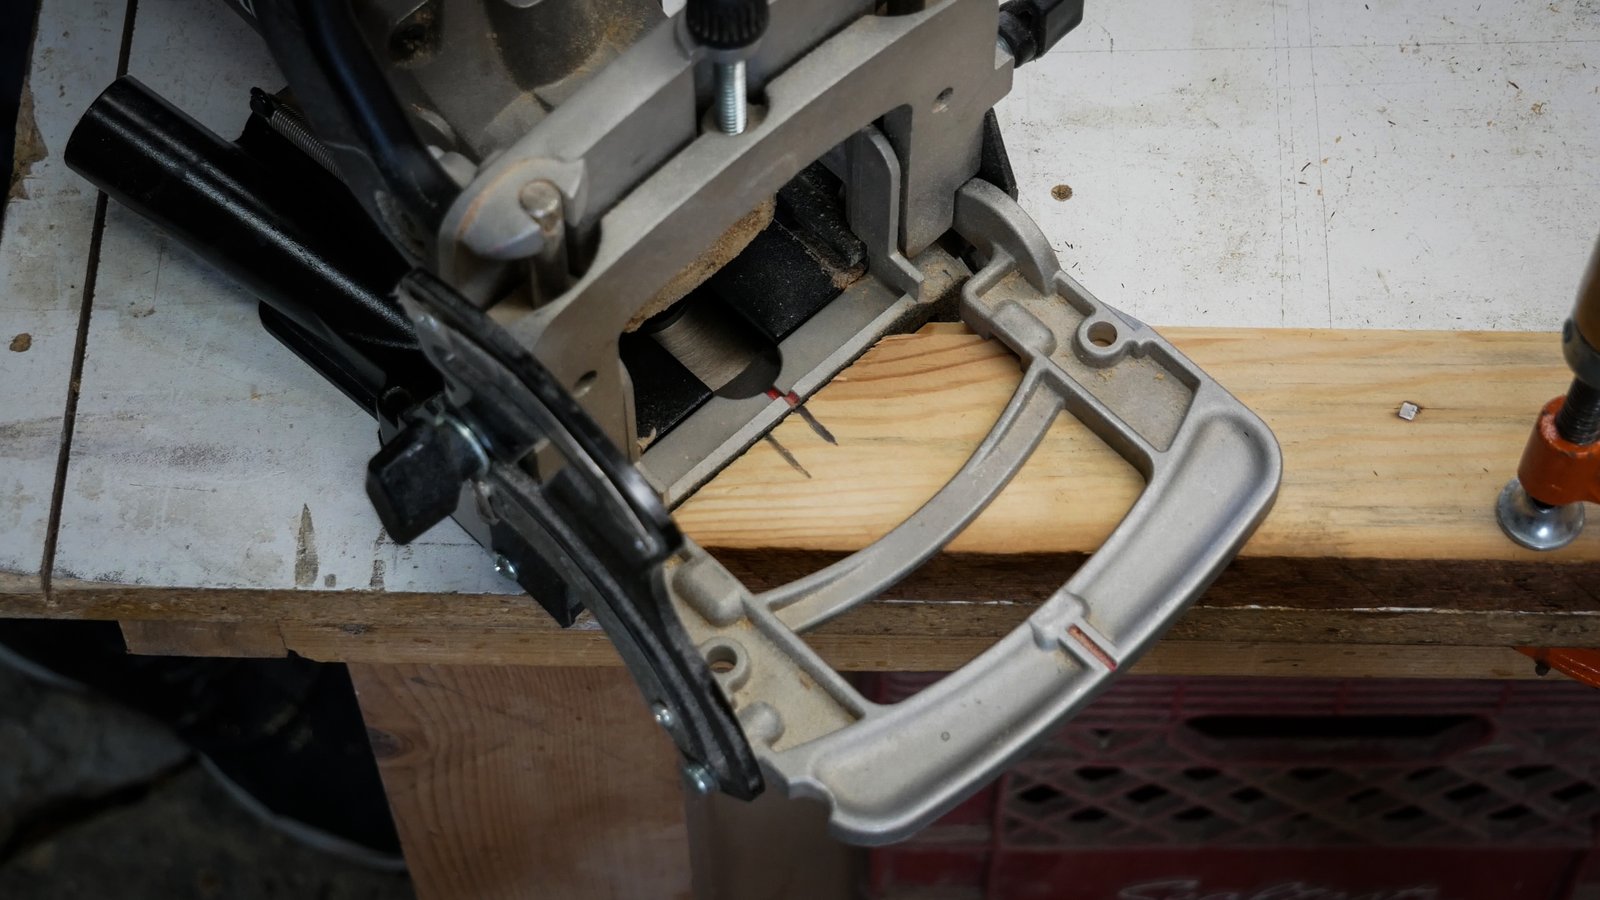
Next, I laid everything out on the table. Nothing is holding it together at this point so I had to be careful not to bump anything. In each of the 4 corners where 2 pieces of the frame meet I put a pencil mark right in the middle. Why would I do that?
Well, because I’m going to biscuit join all of the corners together. The pencil line serves as an alignment mark for the biscuit jointer.
Don’t pay any mind to the second line. Pretend it isn’t there. I never make mistakes, and that’s definitely not one of them.
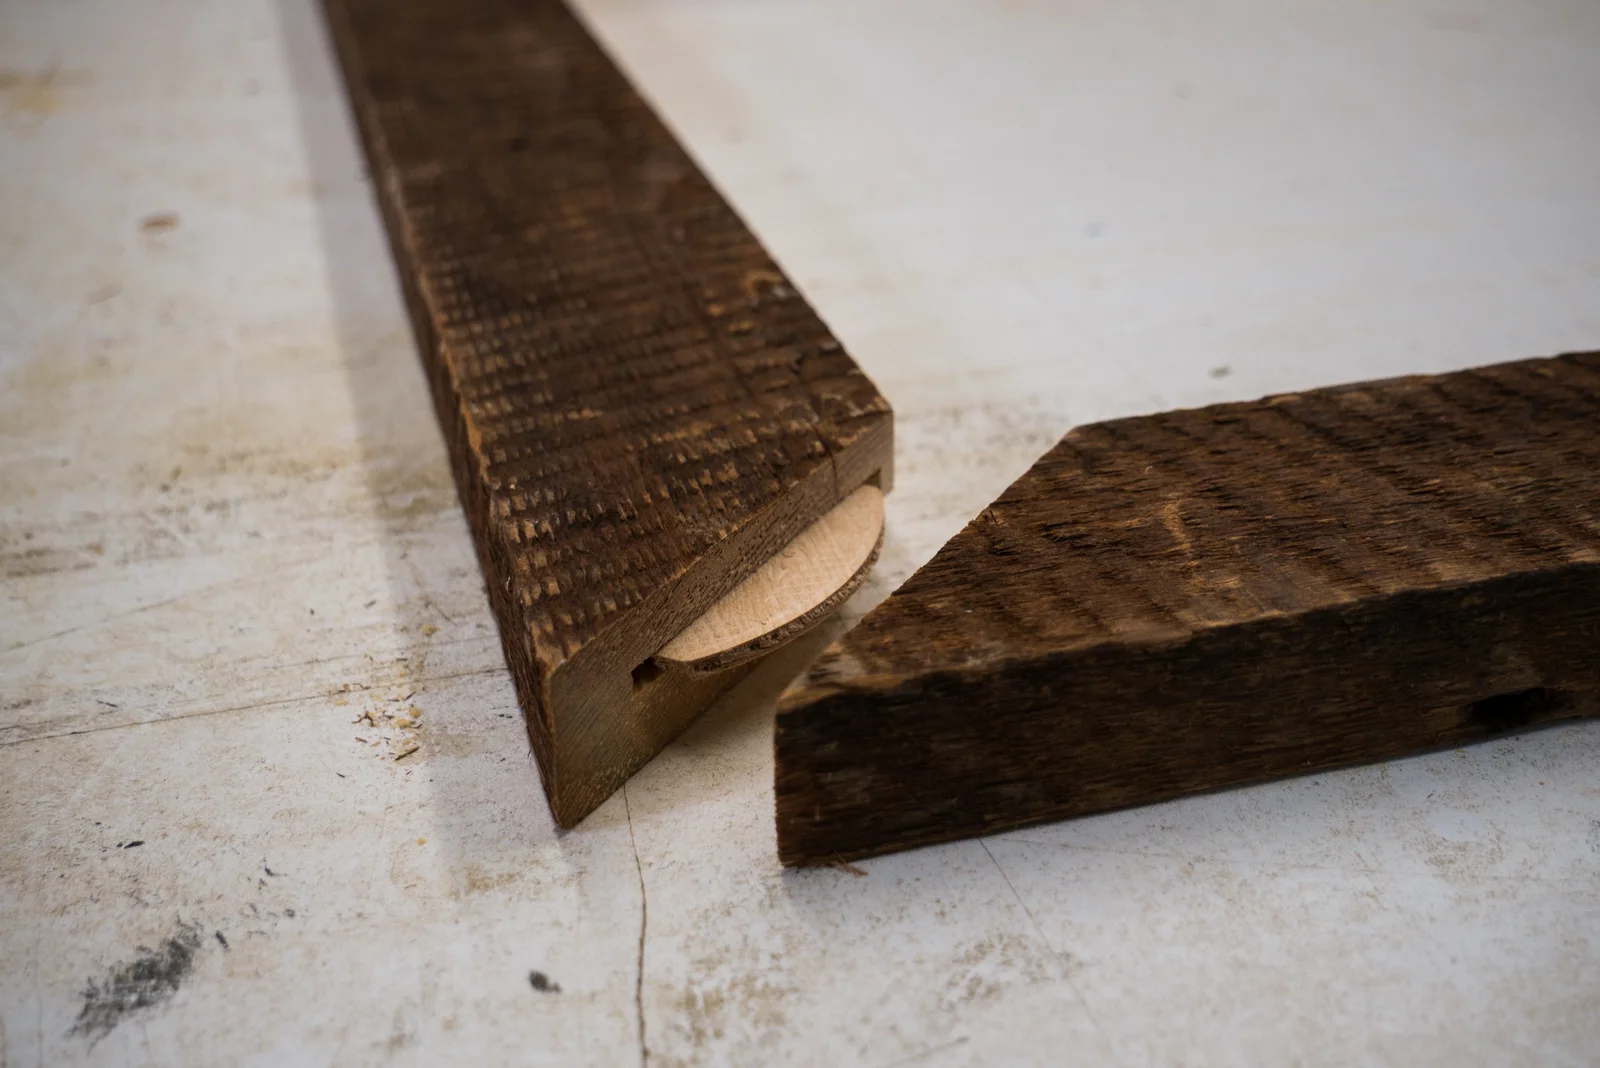
After the biscuit jointer has done it’s thing you’re left with these little pockets.
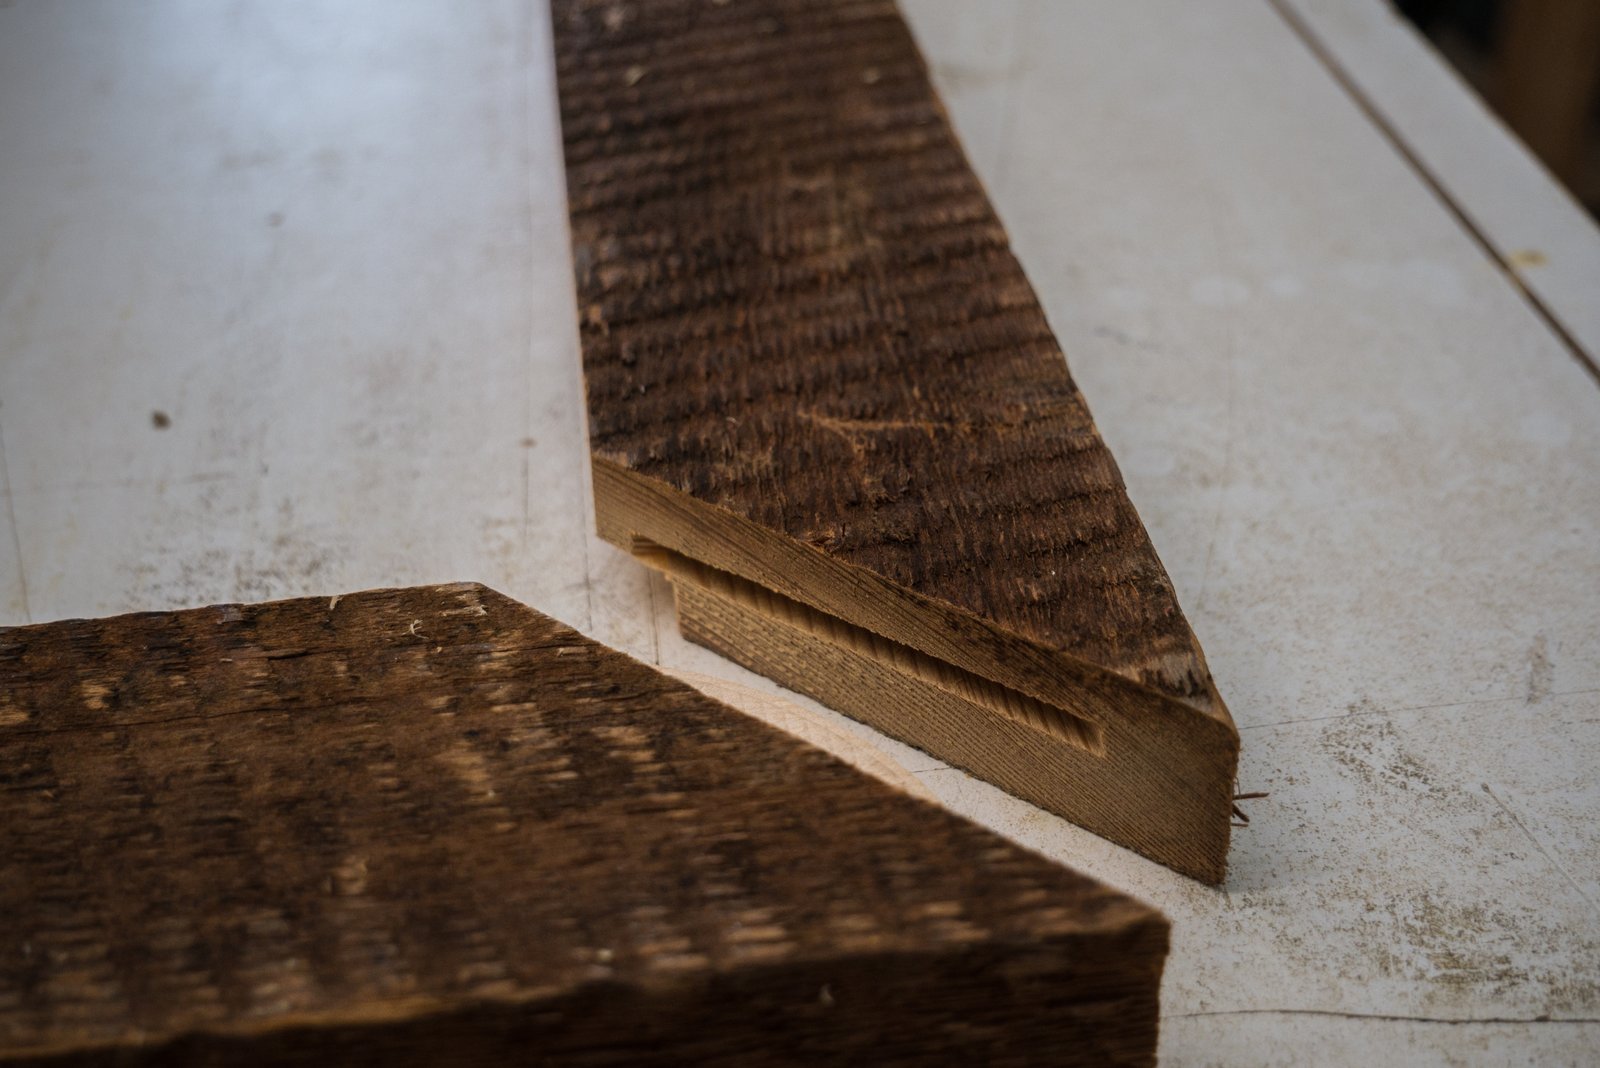
Pockets that you fill with biscuits and glue. Except these arent biscuits you can eat. These are crushed up pieces of wood and dust. When you combine the biscuits and little bit of glue they make a very secure connection though.
Be generous with the glue, if some squishes out, it’ll just make things stronger!
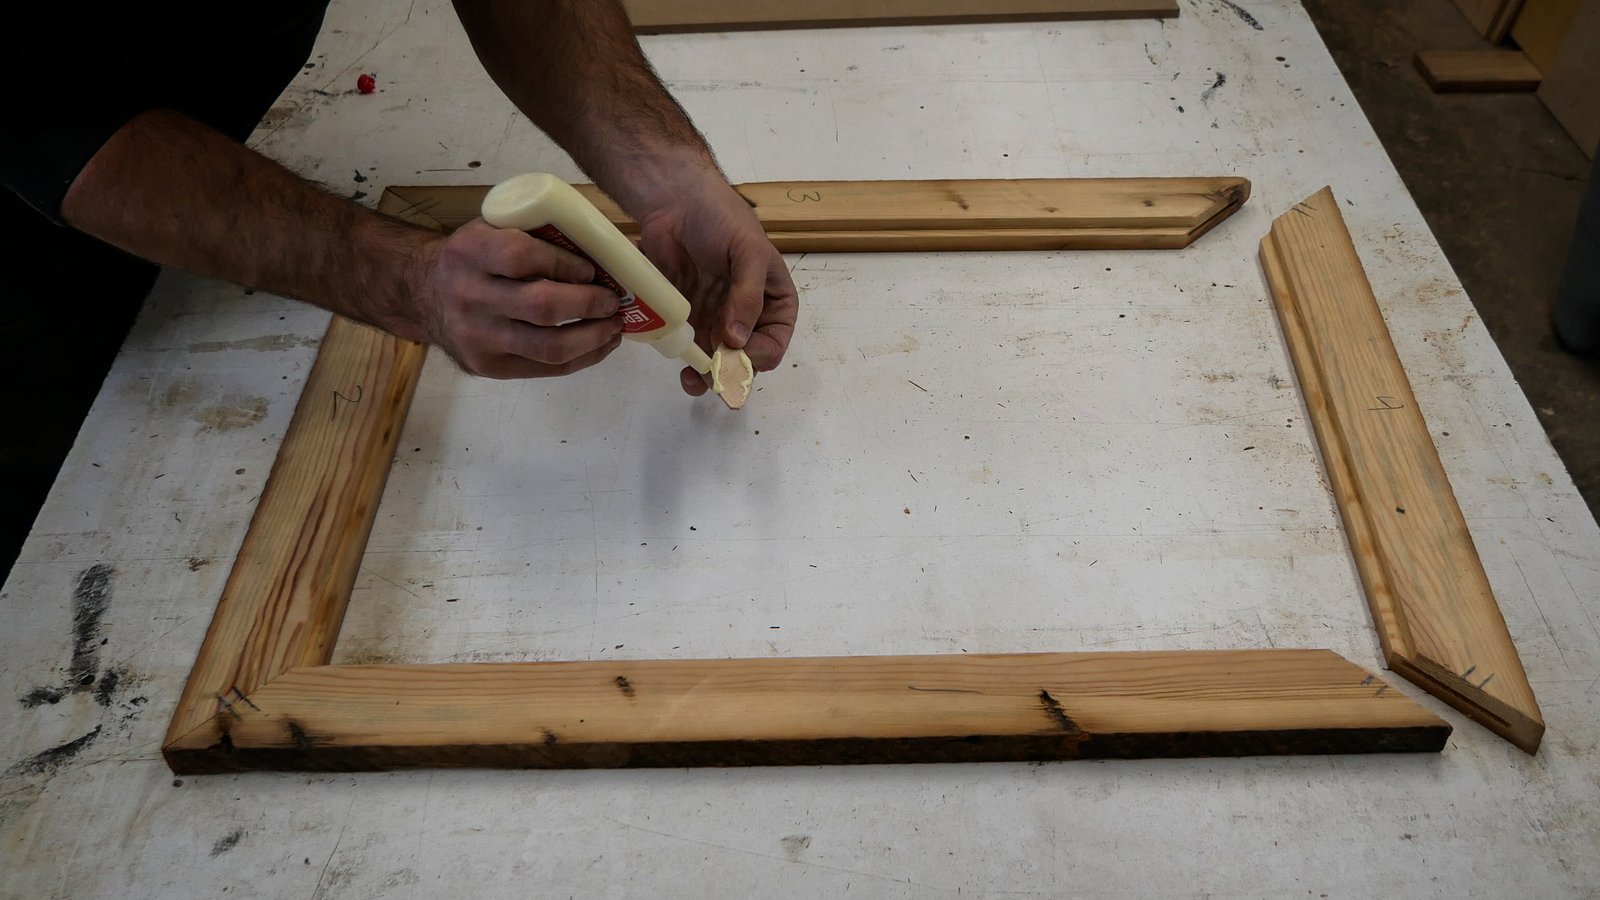
Here’s what it looks like when one of the pockets is filled with a biscuit. 1 biscuit per corner.
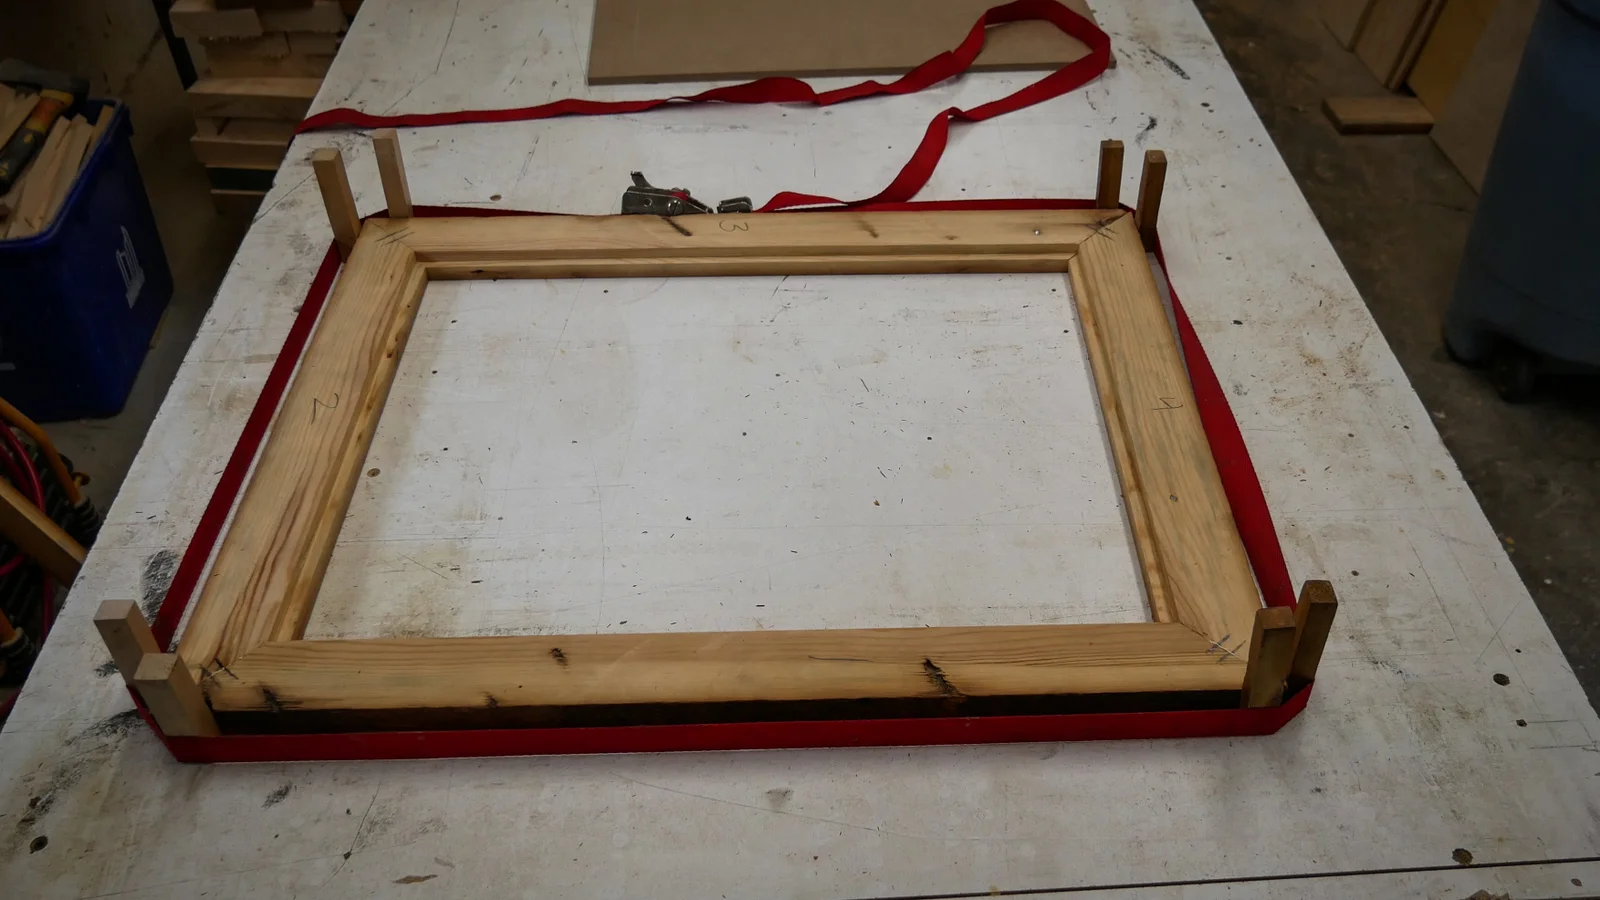
I’ve never used one of these band clamps before so it was a bit of a learning experience. Anyone familiar with a ratchet strap should have a basic idea of how these work. What you do is layout the band around the frame. Then you place 2 wooden blocks in a couple inches from every corner. You pull all of the slack out out of the band and then…
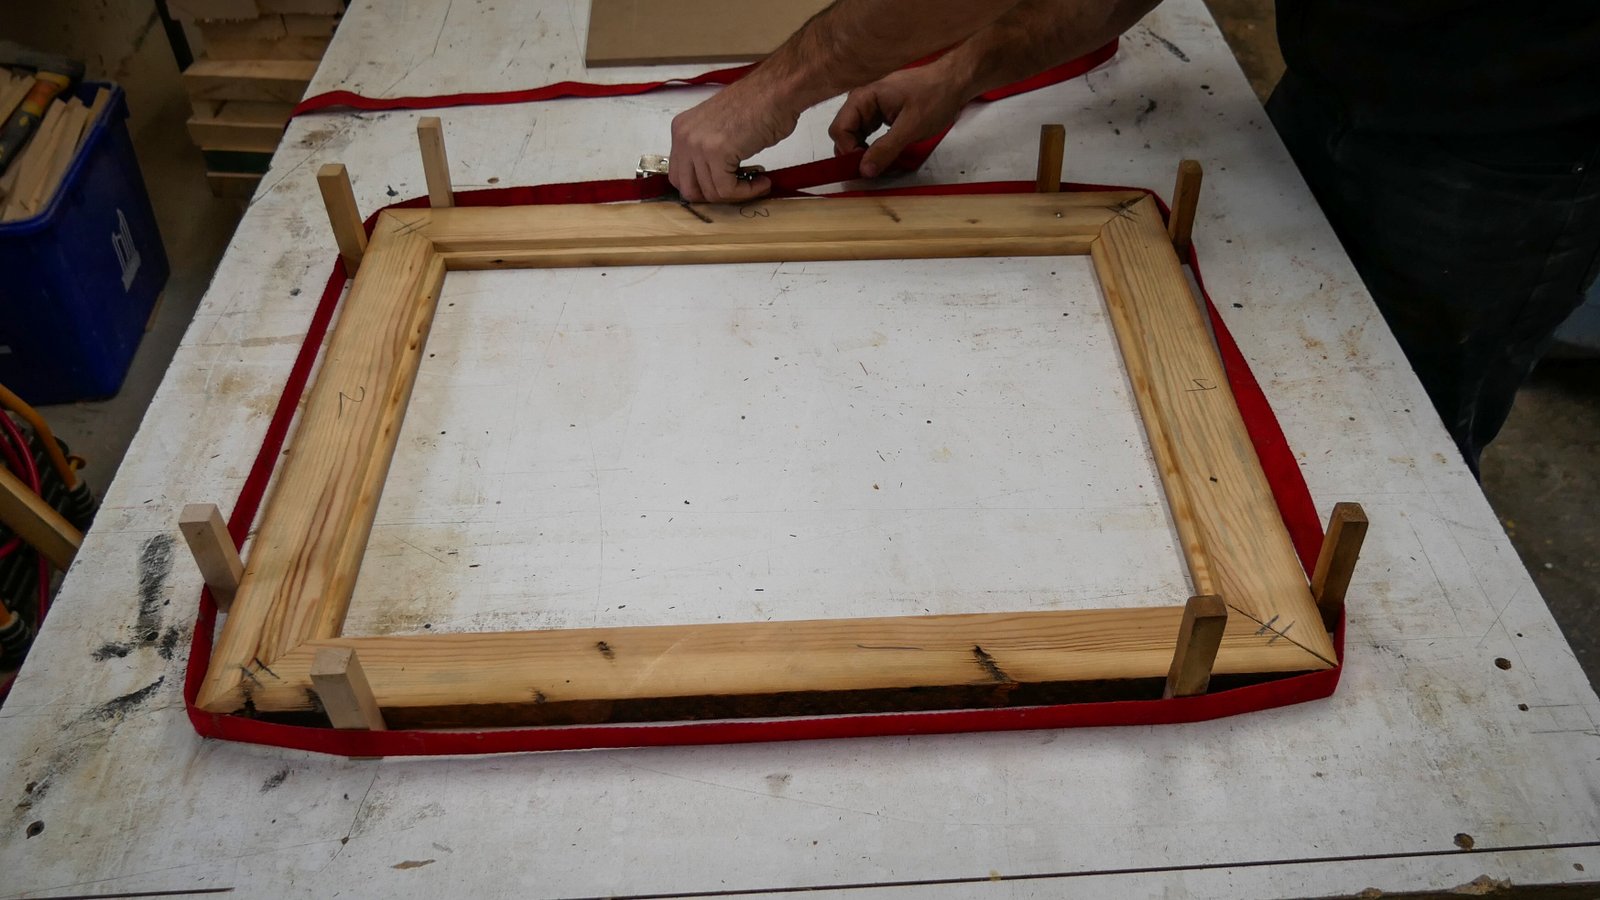
You push the wood blocks towards the corners. Pushing the wood blocks to the corners tightens the bands and holds everything in place. I’m still kind of amazed it actually worked.
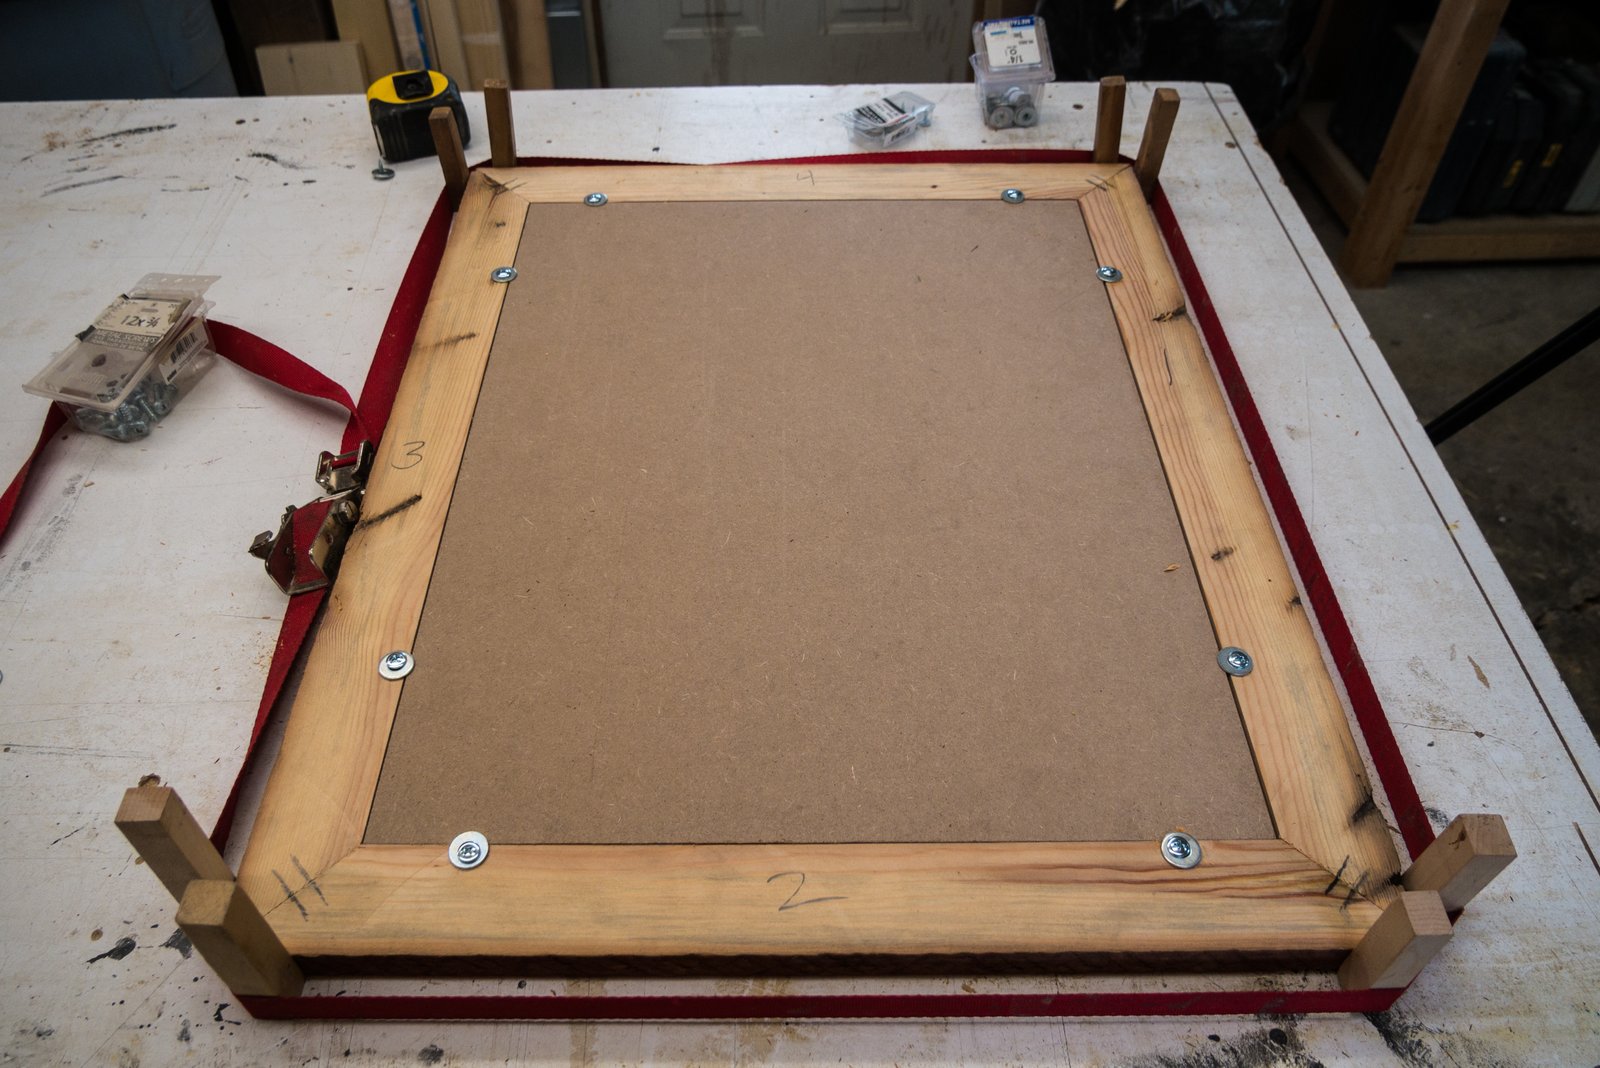
To hold the MDF backer into the frame I used a pretty crude solution, but it’s ok crude kind of fits with the overall design of this picture frame.
I used wafer head framing screws combined with washers. Because I was drilling them in so close to the edge of the picture frame I had to pre-drill every hole.
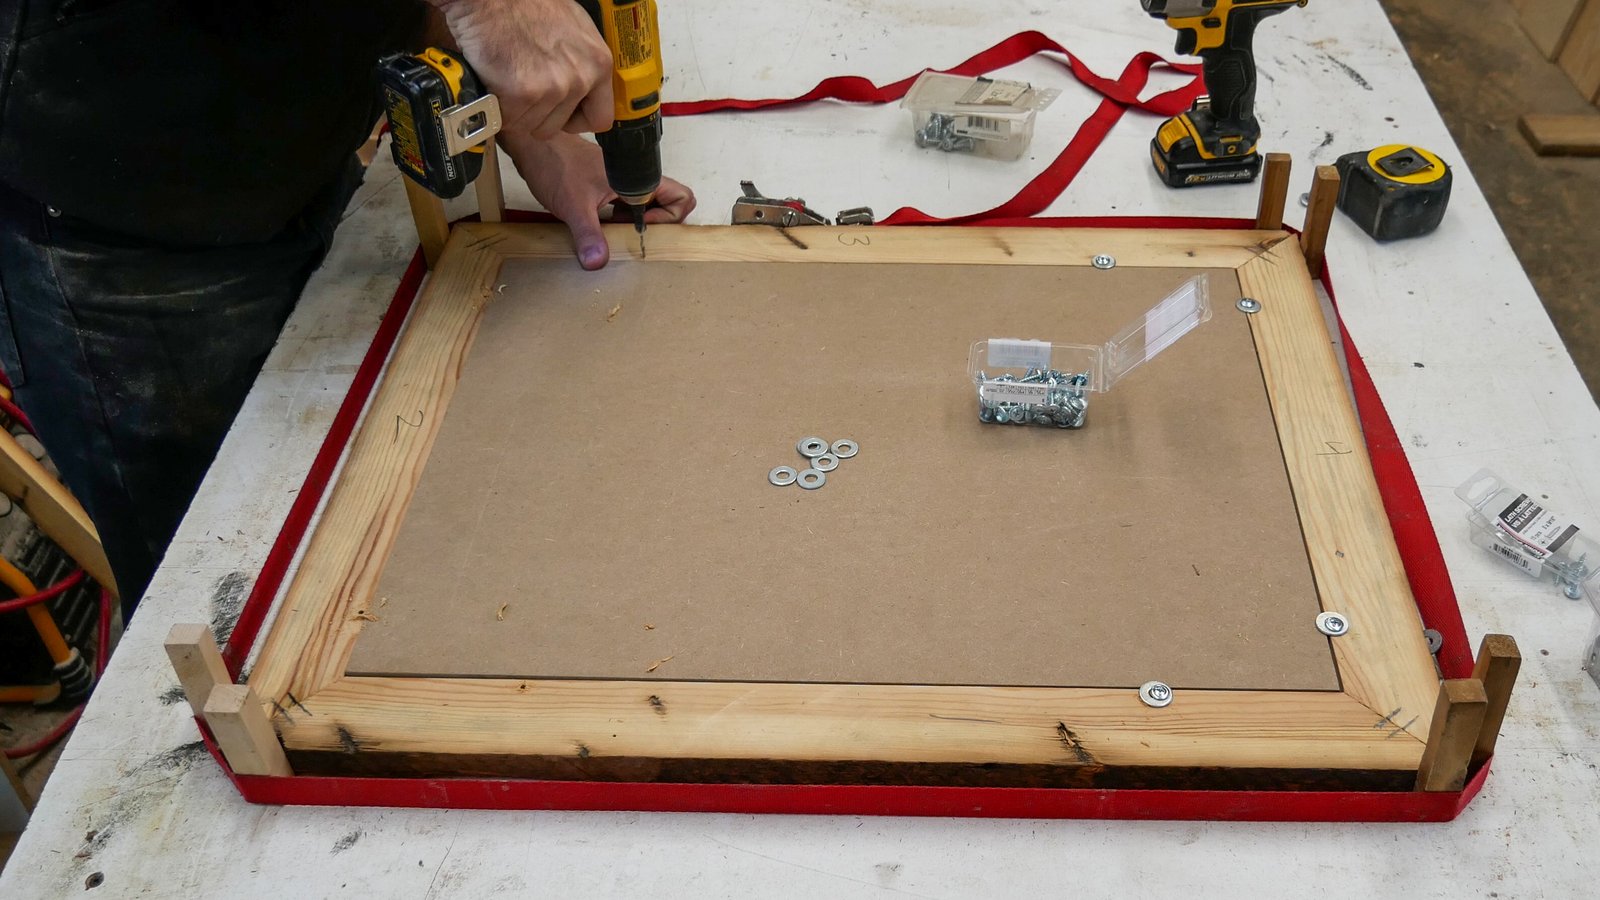
Wafer head framing screws are generally what you use to assemble steel studs. I used them because they have an unusually large head and a narrow shaft. Also I had them in the shop already. Perfect for this application. The washers helped to spread the load of the head even further.
You can see in this photo exactly how they worked to hold the MDF in place.
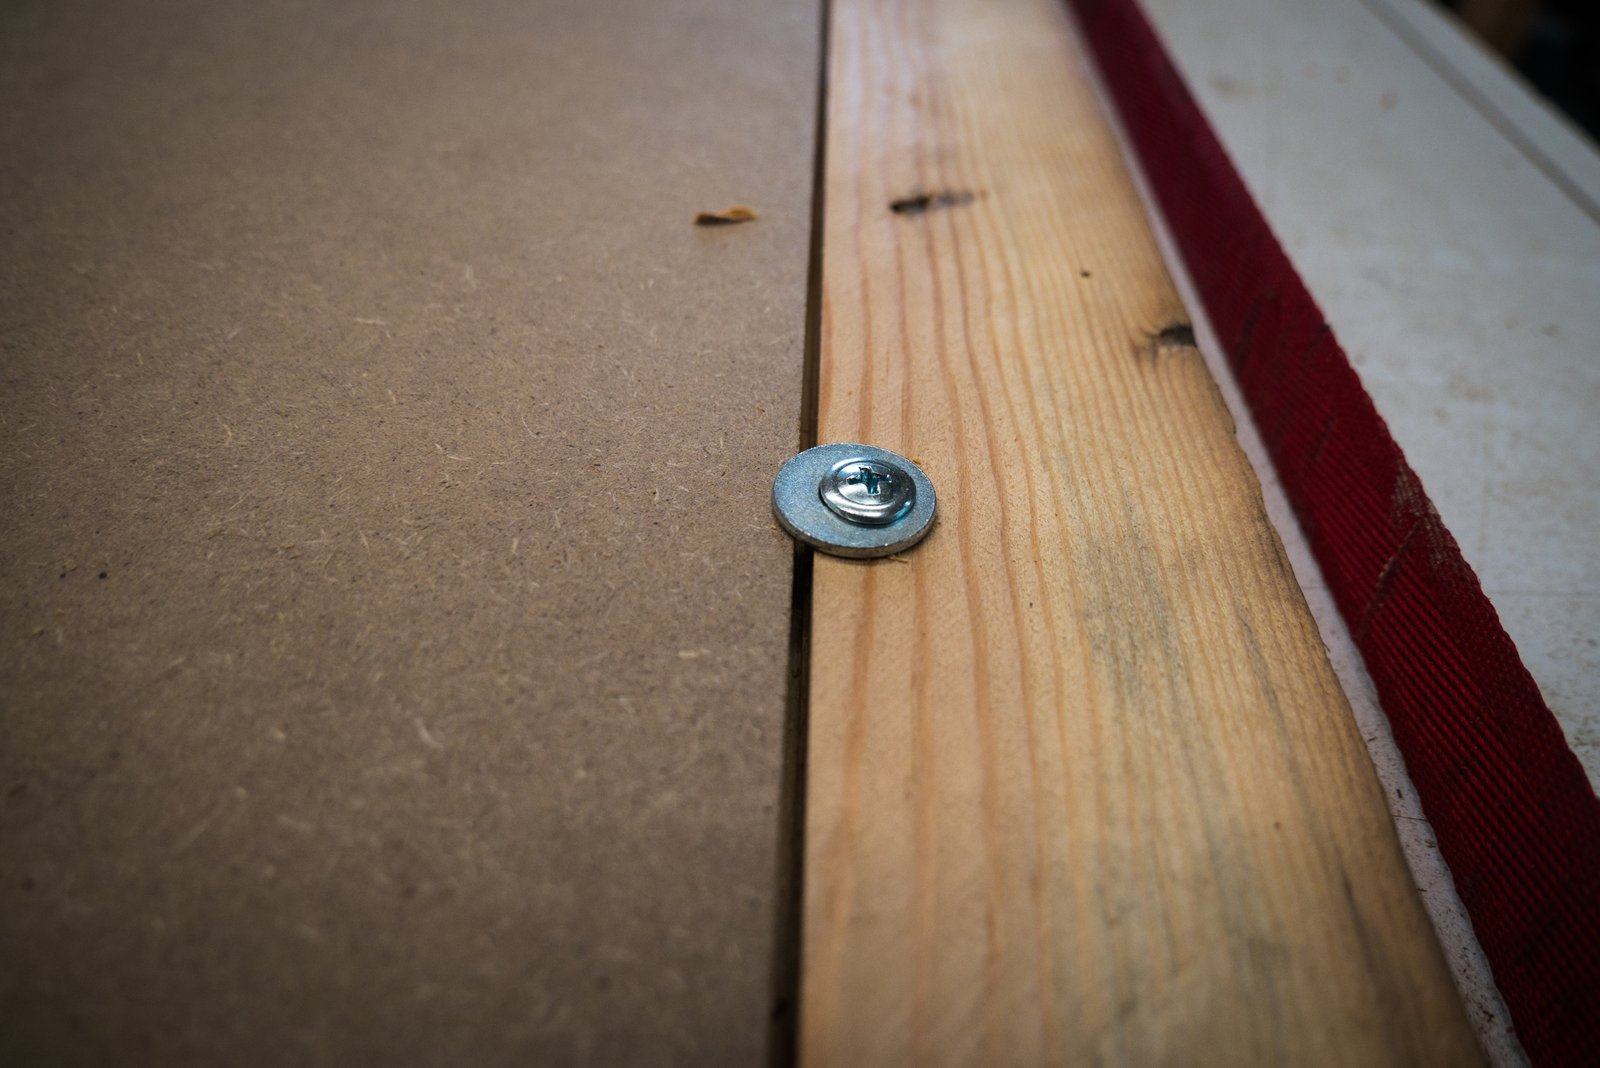
In total I used 8 screws and 8 washers. This felt very secure in the end. No movement at all.
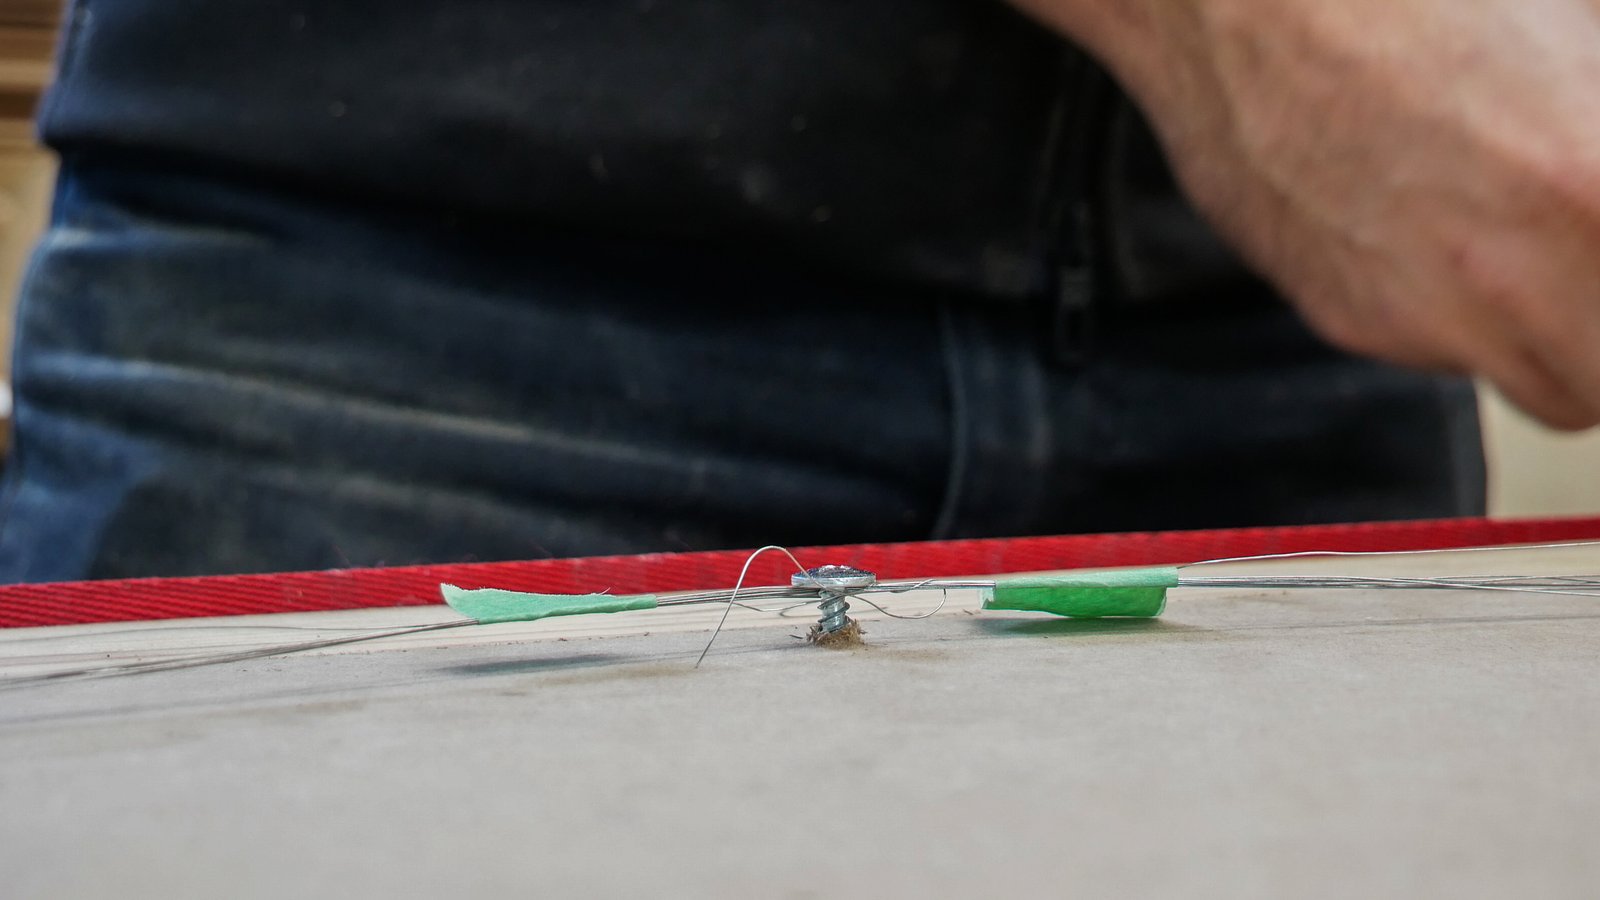
Now it’s time to add the classic picture frame wire. At least I think that’s what it is. I had some metal wire in the shop and it seemed really strong, so I used that. One screw on either side of the frame and a third temporary screw right in the middle of the MDF backer, but slightly above the other two. I then looped the wire between the three screws. Making sure I knotted it on either side when I was done.
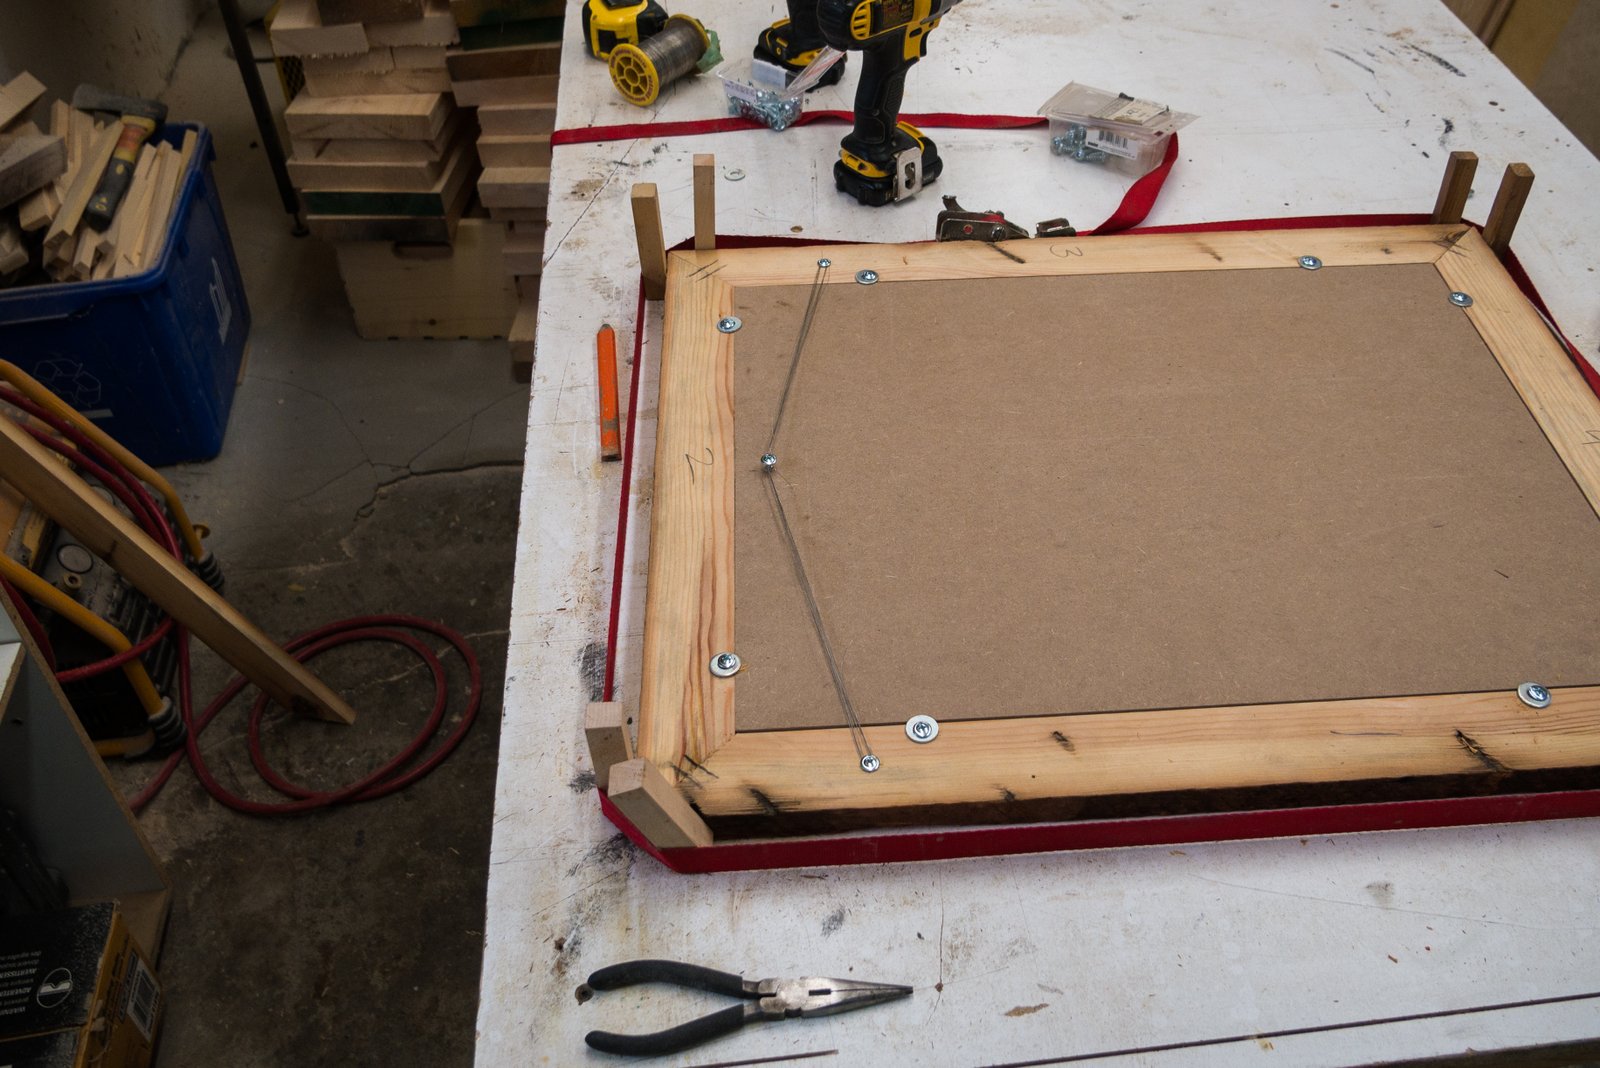
I then used a little bit of green painters tape to hold all of the wires together. Not the most elegant solution but it’s only temporary. After the tape was there holding everything in place I removed the third screw, and now I had a picture frame wire to hang the frame by.
Time to take the frame home and add the print to it.
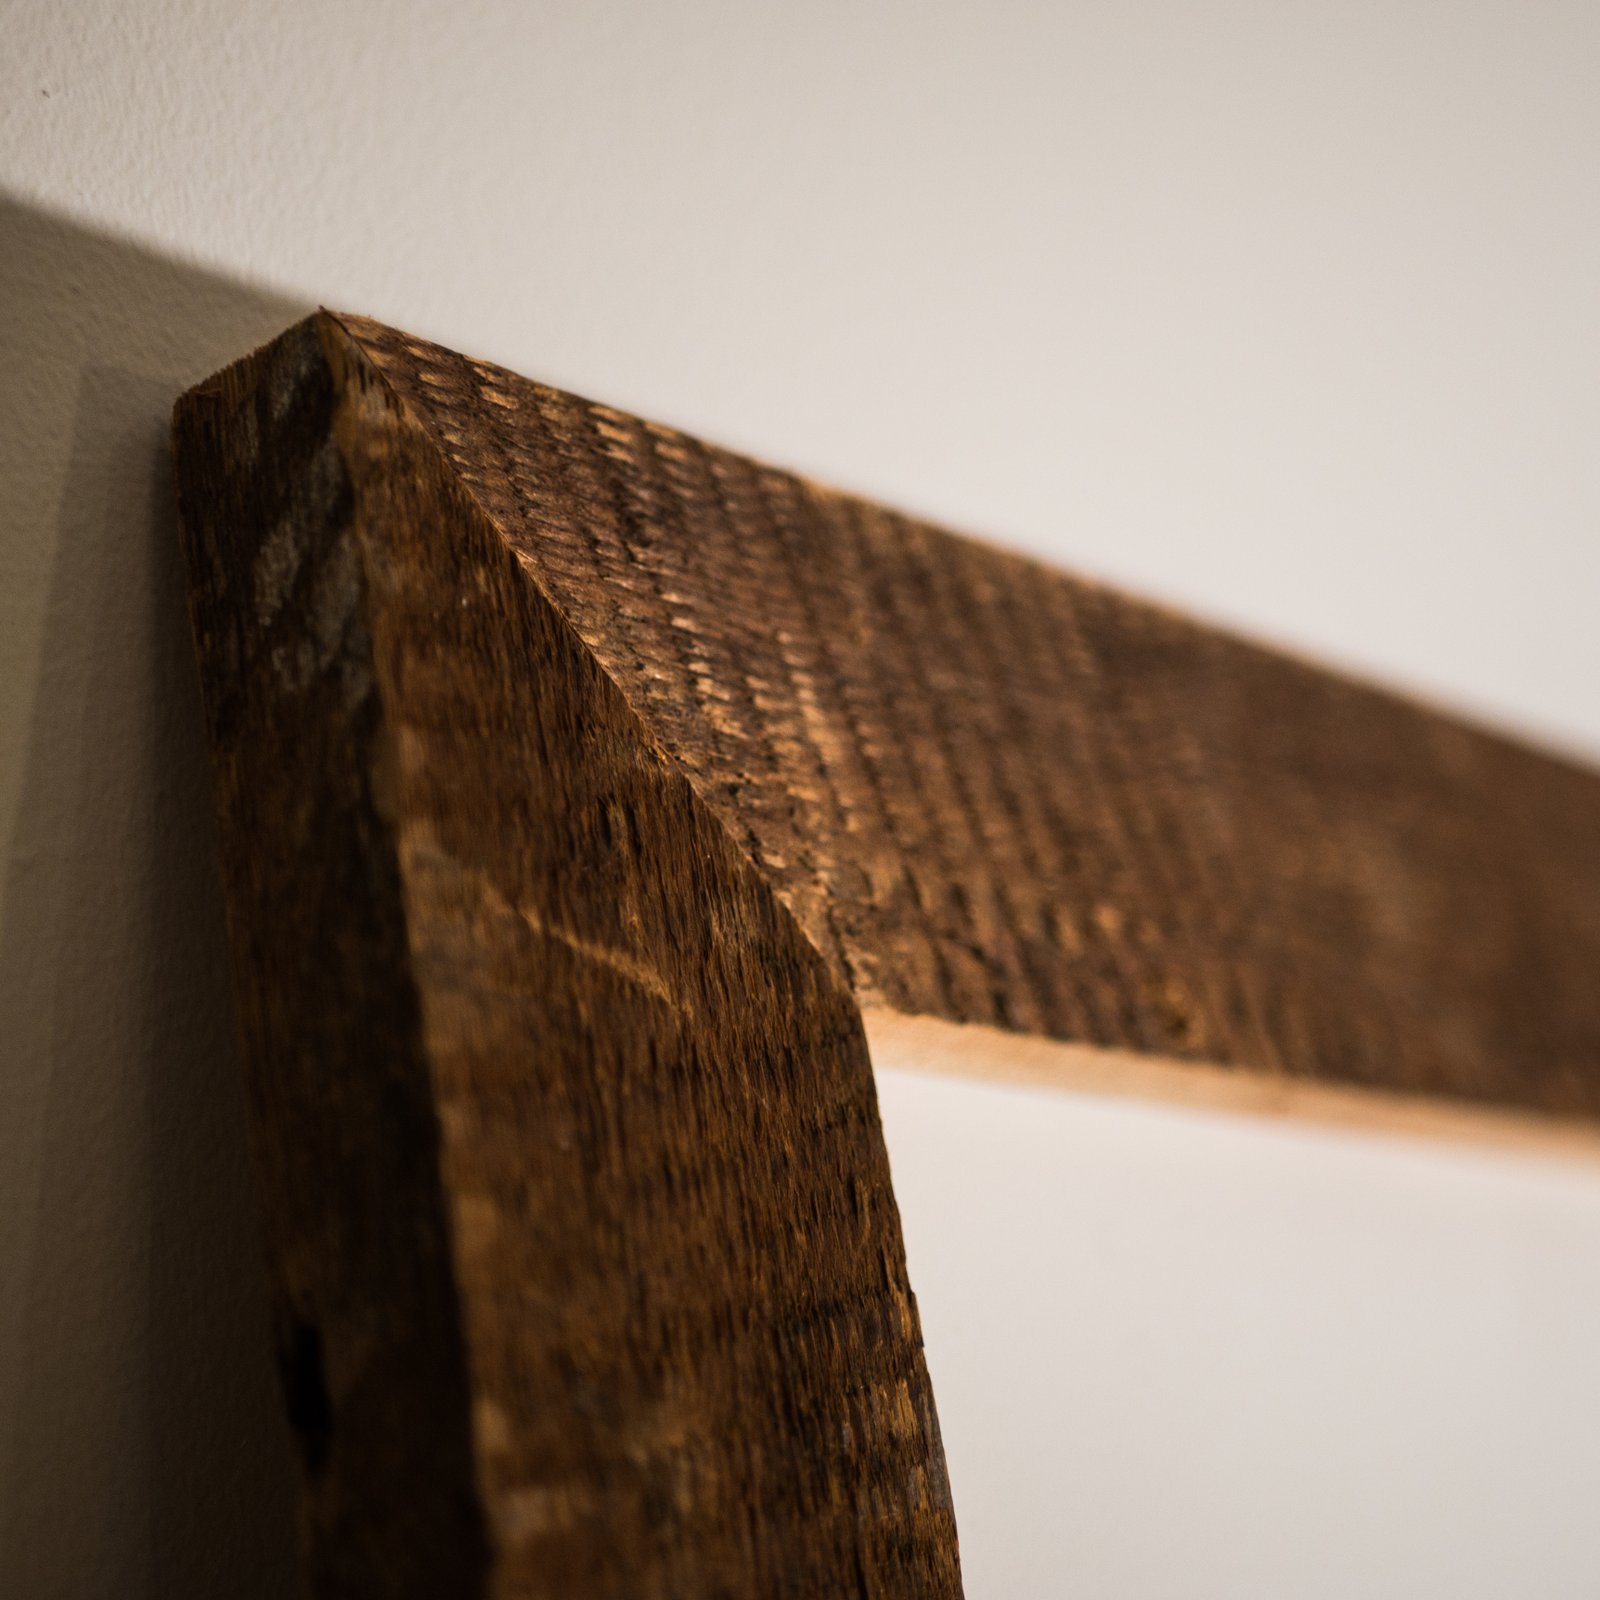
The frame is definitely a bit rough, but cut it some slack, its made from wood that’s probably close to 100 years old. I really like how it turned out. I don’t have much “rustic” wood in my room so it will definitely make a splash there.
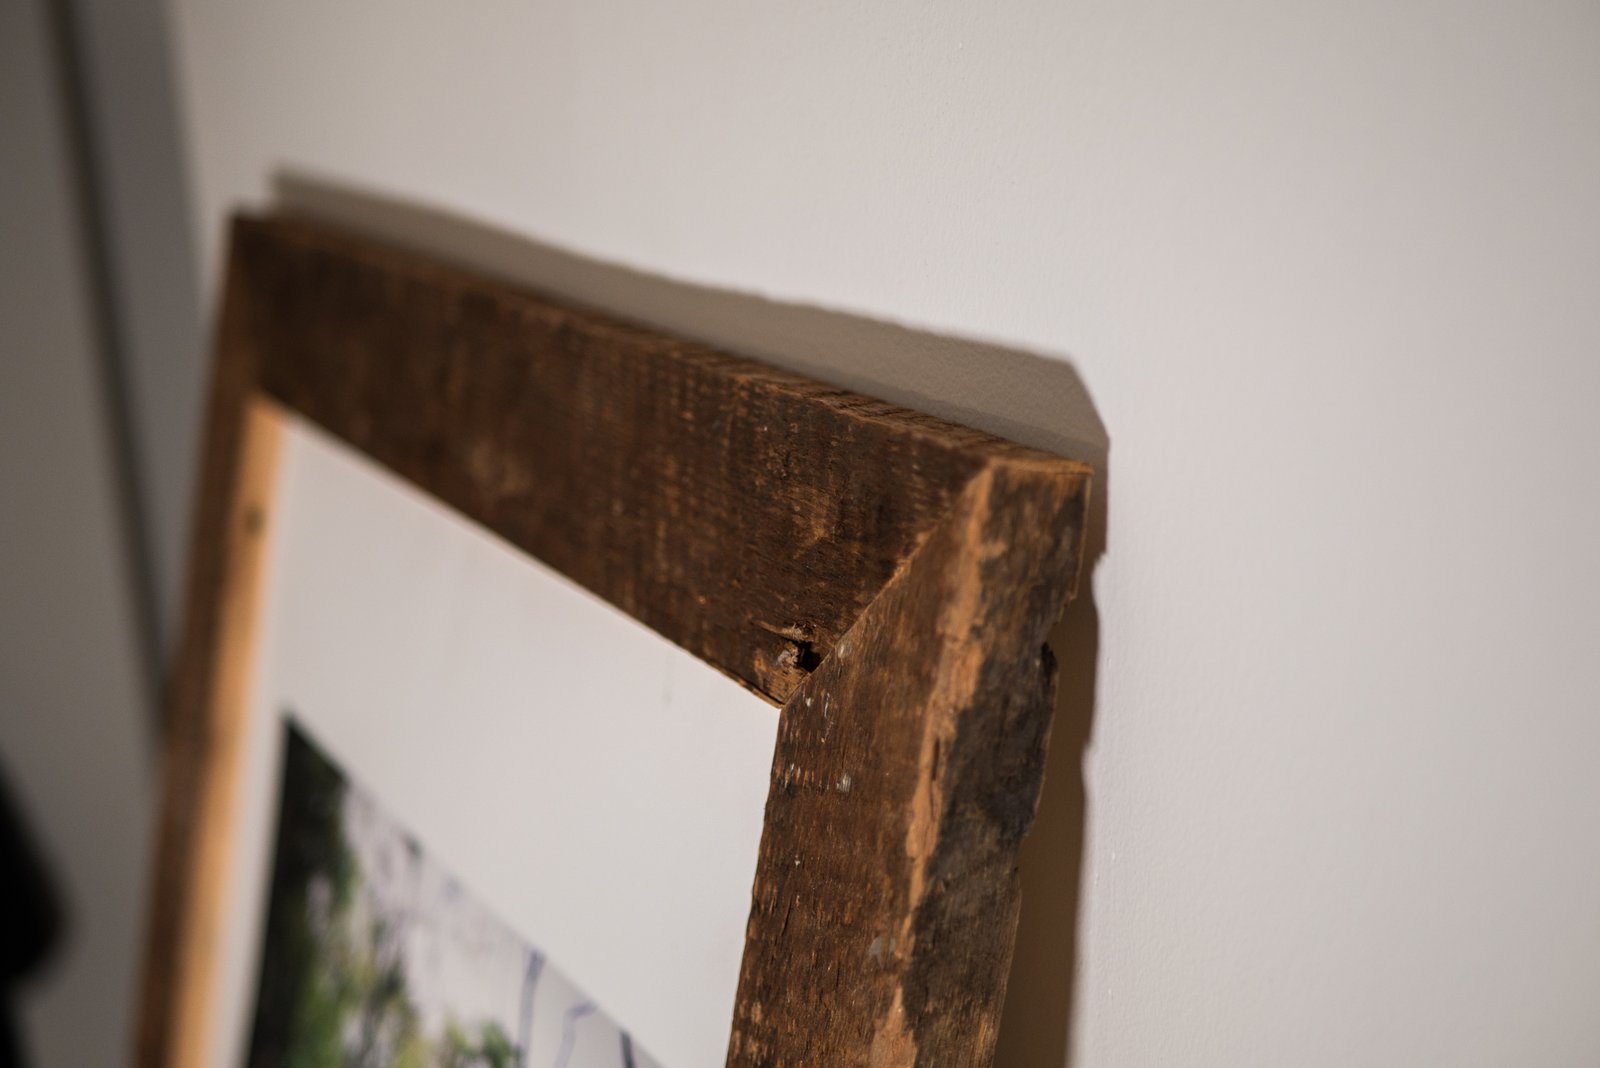
~100 Years later and you can still see the original tool marks in the surface of the wood.
Hope you enjoyed this project! If you’ve got any questions leave them in the comments and I’ll answer them.