Fix small trim cracks for cheap!
How do you guys like my new clickbait title scheme? Well you’re reading this so you must at least like it on a subconscious level.
Do you live in an old house like I do? Do you have baseboards and other trim around your house that’s pulling away from the wall in spots? Do you have trim work with small hairline cracks? It’s surprisingly common and happens all the time, I notice it in just about every house I go into. Here’s an example of what I’m talking about.

Maybe small cracks and gaps in your trim dont bother you, thats ok, your just an uncivilized barbarian. This article won’t be for you. For the rest of you, who like me, are triggered by small cosmetic defects in your trim work keep reading. I spent about an hour and $10 going around my bedroom fixing all of imperfection I could find. Here’s what I used, and what you’re going to need to follow along at home.

First you’ll need some latex caulking, here’s the stuff I used. Because my trim is all white I used white caulking. The caulking comes in a wide ranges of colours. Do your best to match it to the colour of your trim. If you’re really struggling to find a shade of caulking that matches your trim you can always use clear caulking, it tends to take on the colour of whatever it’s applied to. It also works really well when you have two different colours meeting each other. Don’t get freaked out when the “clear” caulking comes out of the tube white, it’ll dry clear.
Next get yourself a decent caulking gun. Generally I try and buy the simplest all metal caulking gun I can find. If you’re a beginner however a cheap plastic dripless caulking gun will probably do you just fine.
Finally you’ll need a couple of cheap rags. I use microfiber clothes like these ones, but really any rag will do. Cut up an old t-shirt or use an old pair of socks. Only order those clothes if you feel like supporting me.

First step if going to be wetting your rag. Because latex caulking is water based, any mistakes you make can easily be cleaned up with a little bit of water, which makes it incredible user friendly for first timers. No need to worry about messing anything up here!

Then you’ll have to cut the tip on your caulking tube. From the factory the caulking tubes come completely sealed so they don’t dry out. By cutting the tip you’re creating a hole for the caulking to flow out of. An exacto or other sharp knife works nicely for this. Use a cutting board or something similar to keep the caulking tube stable. If you try and cut it while holding it in your hand you will mess up the tip. Trust me, I’ve been trying for years and I still can’t do it.

You don’t need to cut much off of the tip. In fact a small hole is usually the best bet. However larger gaps and cracks may require a larger hole. Use your own discretion, but err on the side of too small. As you can see in this photo I cut my tip at a 45 degree angle. This makes application much easier, because it allows you to hold you caulking gun at a 45 degree angle from whatever you’re applying your caulking to.
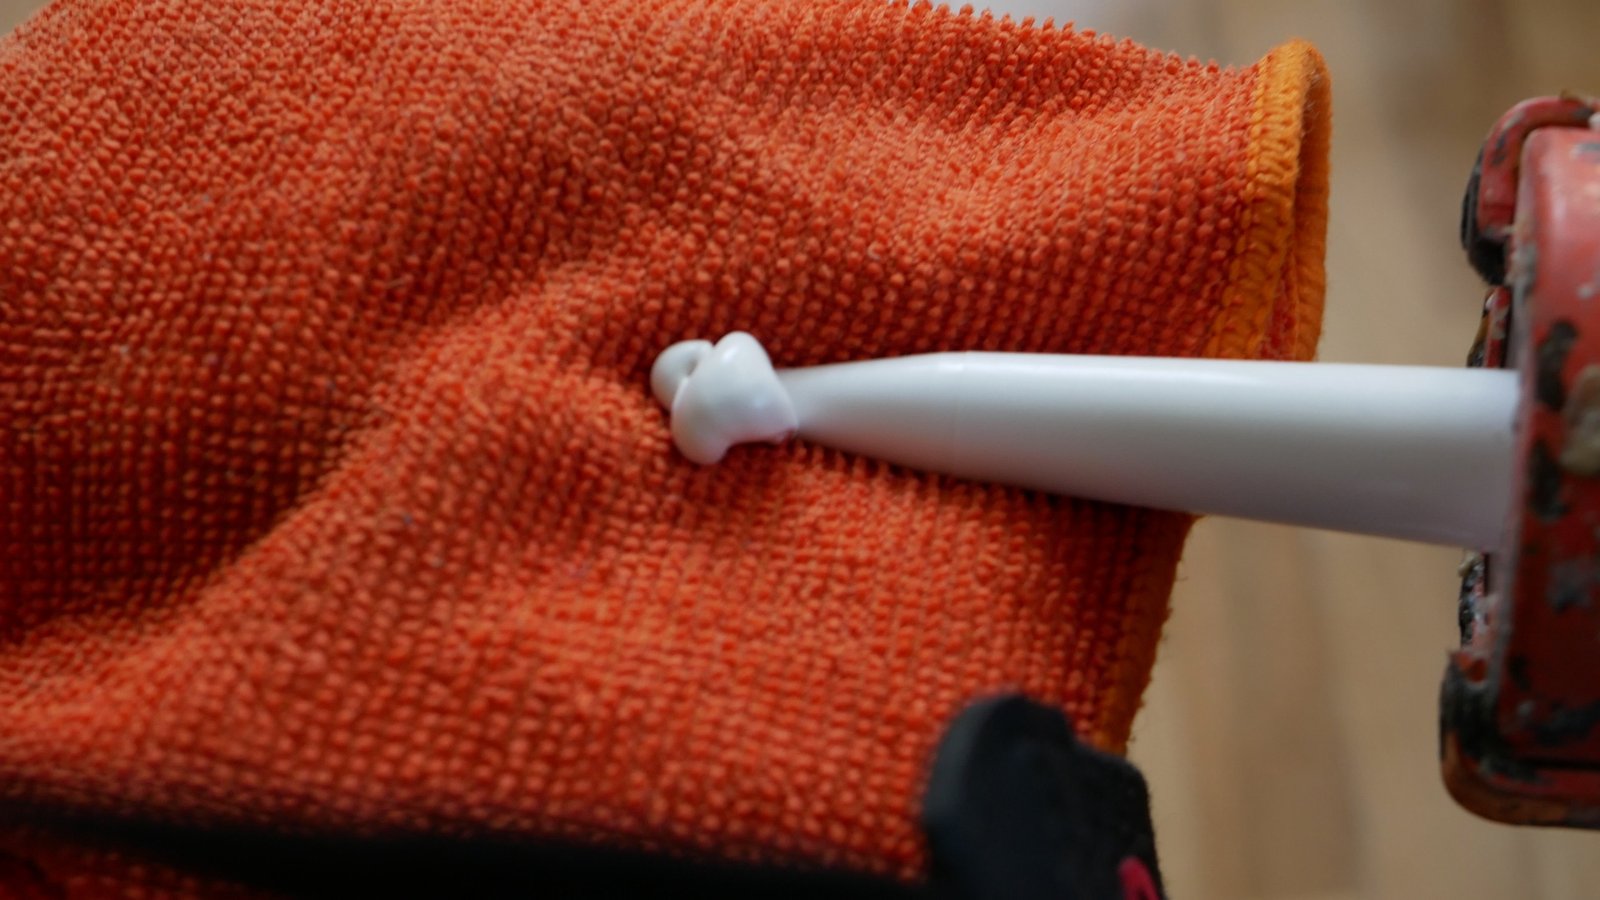
You’re almost ready to go. Last step is to prime the caulking gun. Squeeze the trigger until the caulking begins to flow from the tip. Clean it up and you’re ready to rock!

Next find an offending crack that you want fix. This one will do for me, a piece of quarter round has come away from the wall ever so slightly and is creating a real eye sore. Place your rag nearby because you’re going to need it handy as you work.

Now take your caulking gun, pull the trigger and as caulking flows out of the tip (haha) slide your caulking gun along the length of the crack (haha, I hadn’t considered how many double entendres this guide would have). The trick here is to apply a thin bead of caulking over the crack. Better to use too little than too much, you can always add more in a second pass.
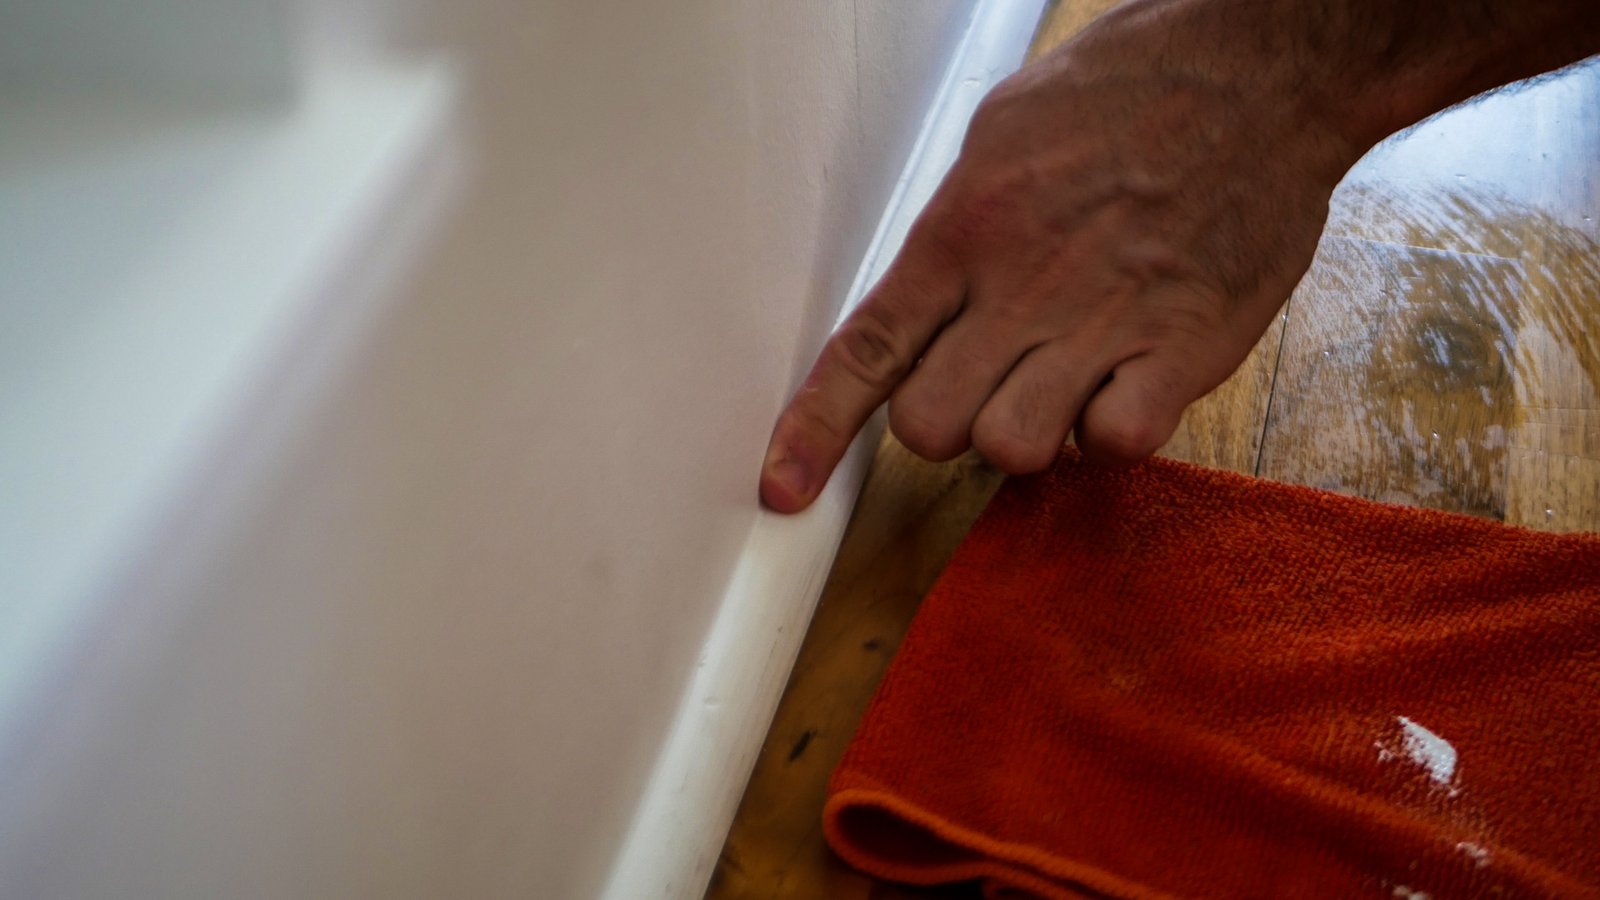
Next take your index finger and slide of along your caulking bead. You’re essentially using you finger like a squeegee. Wiping off excess caulking and forcing it down into the crack you’re trying to fill. You may need to take multiple passes with your finger. Pause often and wipe off your finger on the wet rag.

When you’re all done it should look something like this. Honestly unless you’re on your hands and knees with a magnifying glass you won’t be able to tell there was ever a crack there.
Ok let’s do another one really quickly.
Find yourself a crack that’s offending your aesthetic sensibilities.

Fill it with a colour matched caulking.
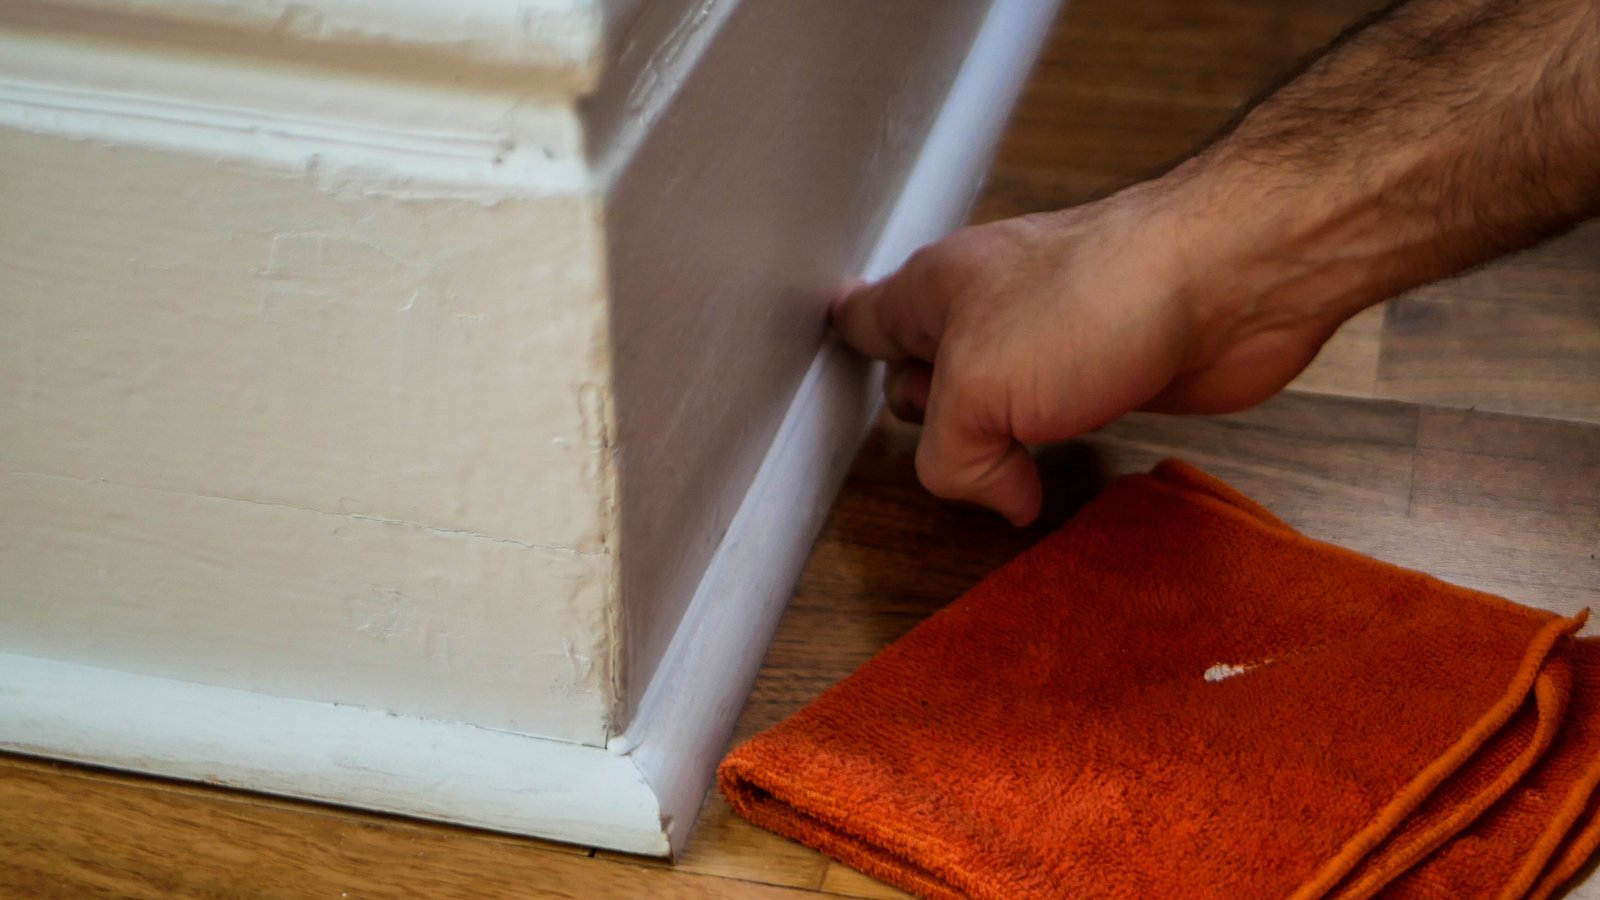
Wipe off any excess. with your index finger. Make sure you keep your finger clean with your wet rag.
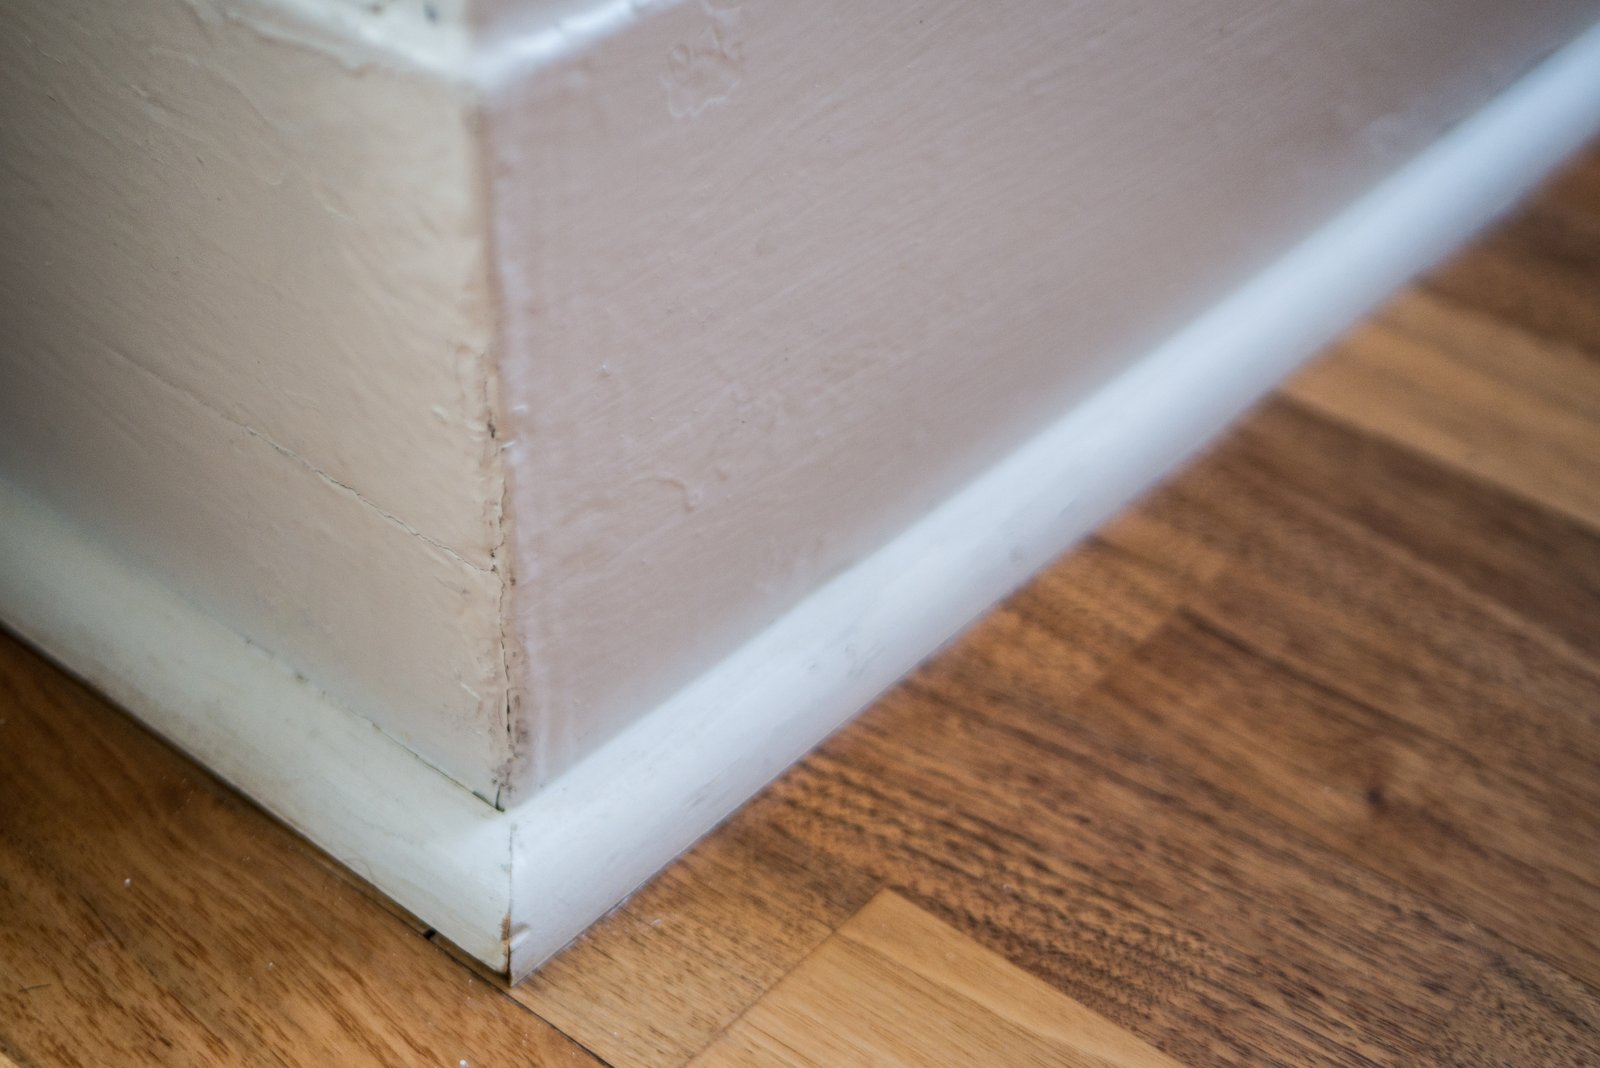
Stand back and admire your handy work. Minor trim imperfections are no match for your DIY skillz.

Now hopefully you understand the power of this white tube. Go forth and improve your own homes! Hit me up below with any questions or comments!