Ask Zac #2 – How do I apply clear coat?
So recently I had a reader named Brian reach out to me and ask me if I had any tips for applying clear coats to wood working projects. You’re in luck Brian, I’ve got a bunch of tips!
Almost all of my projects are finished with a layer (or three) of clear coat. Clear coats are an important part of wood working, not only do they enhance the look and feel of your project but they also add an important layer of protection, helping to seal out moisture.
Applying clear coats can be really finicky though. Do it wrong and you’ll end up with a streaky mess or a surface that’s pot marked with tiny bubbles and ends up looking like the surface of the moon.
I’ve create this list of 5 tips that will help you next time you decide to clear coat a project.
1. Prep, prep, PREP.
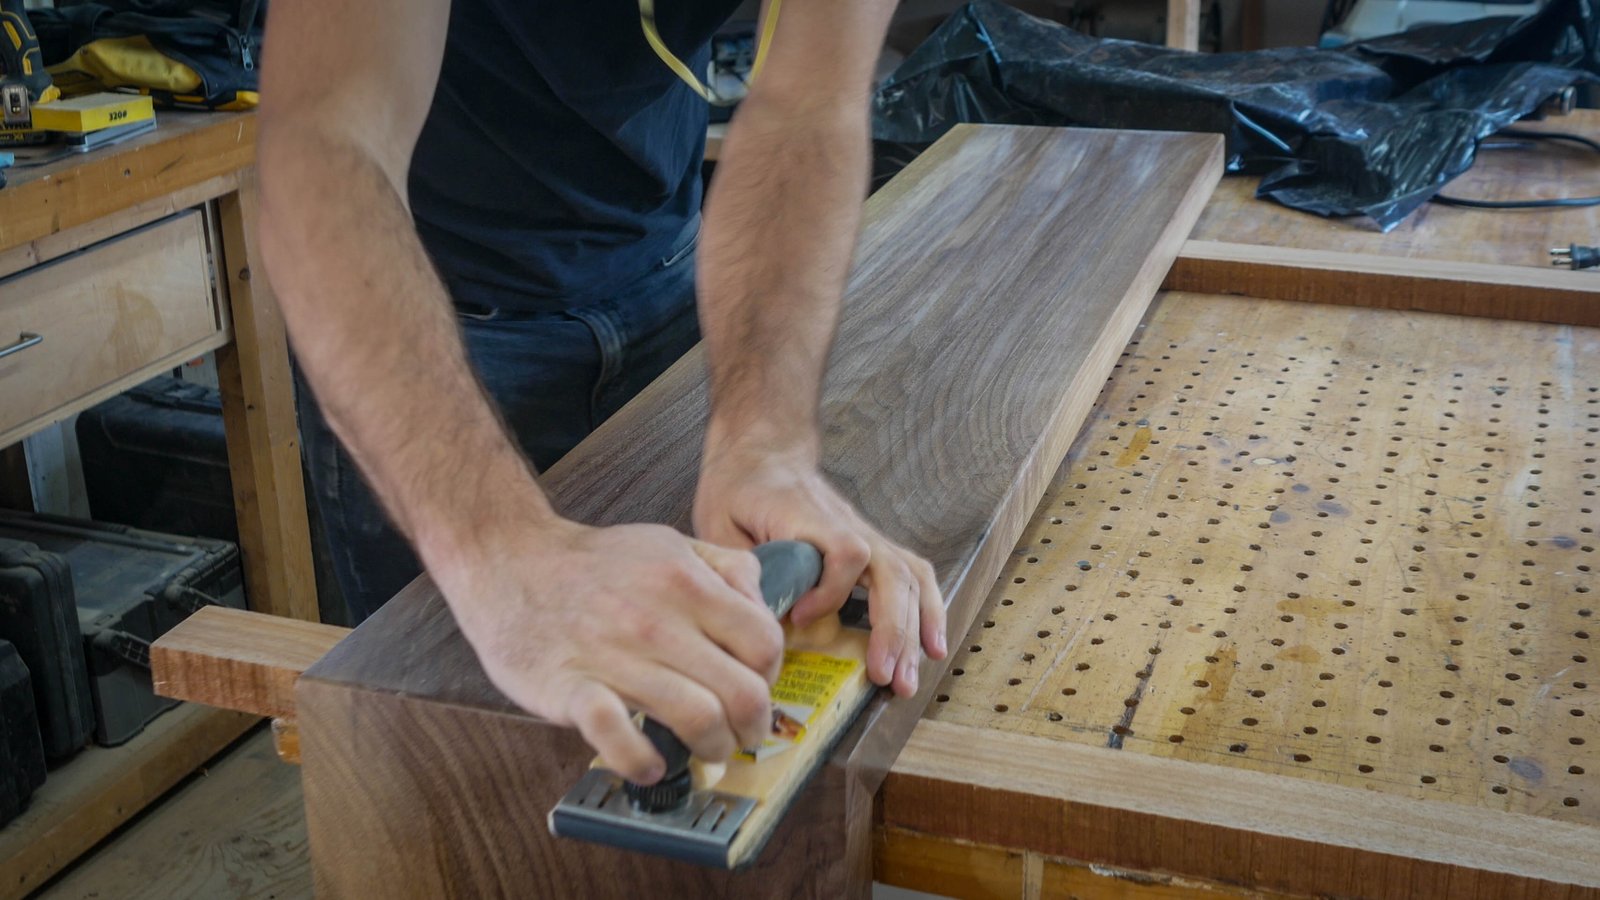
The more time you spend prepping before you clear coat the better. Sand everything you can with a high grit sand paper to eliminate small variations in the surface and prepare the surface for good adhesion.
After that clean everything! Small pieces of dirt and dust trapped underneath your clear coat are going to make it feel uneven and rough.Just remember the story about the princess and the pea! Then after that, clean the rest of your work space. Then clean it again. Seriously, you might have a perfect application of clear coat ruined because you kicked up a little bit of dust across the room and it floated over to your still-wet clear coat.

2. Not all clear coats are created equal. Matt and satin finishes are easier to work with than semi-gloss and glossy finishes. Water based clear coats are usually easier to work with than oil clear coats. Spend some time researching what product you are going to use before you start your project and you can save yourself time.
In general the less glossy the finish the easier it will be to work with. Glossy finishes reflect light and show even the slightest imperfections. Matt finishes on the other hand are less reflective and as such hide slight imperfections better.
Water based clear coats dry faster, reducing the amount of time you have to wait between coats. This allows you to apply thinner coats and gives you more time to correct imperfections between coats.

3. Did I just say thinner coats?! I did and that’s because many thin coats are better than a single thick coat. When you’re rolling or brushing on your clear coat don’t obsess over getting a thick perfect coat on the first try. You’re better off to put it on thin, even if you don’t get perfect coverage in the first coat. Thin coats are less likely to show brush and roller marks, as well as drips and other imperfections.
Thinner coats also allows you to work faster which is important because it means you avoid having the clear coat start to dry as you’re applying it.
Don’t expect to get perfect coverage in a single pass, especially when you’re first starting out. Most of my project have 3-4 coat of clear coat on them, usually because it takes me that many tries before I get a finish I find acceptable.

4. Once you apply your cleat coat don’t try and go back to fix a small imperfection.
I know it’s tempting, but it isn’t worth it! Say you just finished applying a layer of clear coat to an end table your making and you spot a single hair sitting right in the middle of it. You might be tempted to grab it with your fingers. Don’t. Instead of a hair in the middle of your end table you’re going to end up with your finger prints in its place.
Just leave it, let it dry, and sand it out before applying your next coat.

5. Sand between coats! This is probably the most important tip I have, so I’m putting at the end where you will remember it the best. Any mistake you make can be sanded out between coats, and believe me there will be some mistakes!
Grab a fine grit sand paper, like a 220 or 320 and spend a few minutes sanding between applications of clear coat. As you add more coats progress to even finer sand paper.
Not only is it a good chance to remove imperfections, but it also makes for a smoother finished product. If you don’t sand between coats the natural ridges and variations in the surface of the wood will still be felt through the clear coat. If this is the look and feel you’re going for then by all means, skip the sanding phase, but if you’re looking for a smooth glassy surface, you’re going to have to sand between coats.
That’s all the tips I have for applying clear coats. Hope you enjoyed them. If you have any other questions feel free to ask me. Ask me in the comments. Send me an email. Follow me on Instagram and ask me there. I don’t care. I’m not picky, there’s a bunch of ways to reach me.